- I2Cdevlib(用于 I2C 通信)
- MPU6050(用于 MPU6050 控制)
步骤如下:
- cd ~/Arduino/libraries
- git clone https://github.com/jrowberg/i2cdevlib
- mv i2cdevlib/Arduino/I2Cdev .
- mv i2cdevlib/Arduino/MPU6050 .
然后创建一个Arduino Sketch 项目
- arduino-cli sketch new esp32c5-mpu6050
- cd ~/esp32c5-mpu6050
创建主文件 esp32c5-mpu6050.ino,内容如下:
- #include <Arduino.h>
- #include "I2Cdev.h"
- #include "MPU6050_6Axis_MotionApps20.h"
- #include "Wire.h"
-
- #define INTERRUPT_PIN 2
- #define SDA_PIN 9
- #define SCL_PIN 10
- #define COB_PIN 15
-
- MPU6050 mpu;
-
- volatile bool mpuInterrupt = false;
- bool dmpReady = false;
- uint8_t mpuIntStatus;
- uint8_t devStatus;
- uint16_t packetSize;
- uint8_t fifoBuffer[64];
-
- Quaternion q;
- VectorFloat gravity;
- float ypr[3]; // [yaw, pitch, roll]
-
- void IRAM_ATTR dmpDataReady() {
- mpuInterrupt = true;
- }
-
- void setup() {
- Serial.begin(9600);
- Wire.begin(SDA_PIN, SCL_PIN);
- Wire.setClock(100000);
-
- mpu.initialize();
- if (!mpu.testConnection()) {
- Serial.println("MPU6050连接失败!");
- while (1);
- }
-
- devStatus = mpu.dmpInitialize();
- if (devStatus != 0) {
- Serial.printf("DMP初始化失败,状态码: %d\n", devStatus);
- while (1);
- }
-
- mpu.setXGyroOffset(220);
- mpu.setYGyroOffset(76);
- mpu.setZGyroOffset(-85);
- mpu.setZAccelOffset(1788);
-
- mpu.CalibrateAccel(6);
- mpu.CalibrateGyro(6);
- mpu.setDMPEnabled(true);
-
- pinMode(INTERRUPT_PIN, INPUT);
- attachInterrupt(digitalPinToInterrupt(INTERRUPT_PIN), dmpDataReady, RISING);
- mpuIntStatus = mpu.getIntStatus();
- dmpReady = true;
- packetSize = mpu.dmpGetFIFOPacketSize();
-
- pinMode(COB_PIN, OUTPUT);
- digitalWrite(COB_PIN, HIGH);
- Serial.println("ESP32-C5 + MPU6050 + COB Light 初始化完成!");
- digitalWrite(COB_PIN, LOW);
- delay(3);
- digitalWrite(COB_PIN, HIGH);
- }
-
- void loop() {
- if (!dmpReady) return;
-
- uint16_t fifoCount = mpu.getFIFOCount();
-
- if (!mpuInterrupt && fifoCount < packetSize) return;
-
- mpuInterrupt = false;
- mpuIntStatus = mpu.getIntStatus();
- fifoCount = mpu.getFIFOCount();
-
- if((mpuIntStatus & 0x10) || fifoCount == 1024){
- mpu.resetFIFO();
- Serial.println("DAMN, FIFO特喵的溢出了!");
- return;
- }
-
- if (mpuIntStatus & 0x02) {
- while (fifoCount < packetSize) fifoCount = mpu.getFIFOCount();
- mpu.getFIFOBytes(fifoBuffer, packetSize);
- fifoCount -= packetSize;
- mpu.dmpGetQuaternion(&q, fifoBuffer);
- mpu.dmpGetGravity(&gravity, &q);
- mpu.dmpGetYawPitchRoll(ypr, &q, &gravity);
- /*
- Serial.print("YAW: ");
- Serial.print(ypr[0] * 180 /M_PI);
- Serial.print("\tPITCH: ");
- Serial.print(ypr[1] * 180 /M_PI);
- if ((ypr[1] * 180 /M_PI) > 50.0){
- digitalWrite(COB_PIN, LOW);}
- else {
- digitalWrite(COB_PIN, HIGH);
- }
- Serial.print("\tROLL: ");
- Serial.println(ypr[2] * 180 /M_PI);
- */
- Serial.printf("IMU:%.2f,%.2f,%.2f\n",(ypr[0]*180/M_PI),(ypr[1]*180/M_PI),(ypr[2]*180/M_PI));
- }
- }
编译并上传代码到esp32-C5:
- # 编译
- arduino-cli compile --fqbn esp32:esp32:esp32:CDCOnBoot=cdc esp32c5-mpu6050
-
- # 上传(替换为你的串口)
- arduino-cli upload -p /dev/ttyACM0--fqbn esp32:esp32:esp32:CDCOnBoot=cdc esp32c5-mpu6050
打开串口监视器看看是否有数据输出:
- arduino-cli monitor -p /dev/ttyACM0 -c baudrate=115200
如果一切正确,可以看到类似下面的输出:
- IMU: -12.34, 45.33, -3.21
到这里,ESP32-C5 的数据采集并通过串口输出就好了,接下来我们到树莓派上去搭建数据采集的环境。
在树莓派上把「yaw/pitch/roll 序列」变成「画圈 / 画×」的 AI 分类器,整套流程可以塞进 4 步就能完成。
1. 数据采集和打标签(要在树莓派主机上完成)
操作思路: ESP32 ---》 串口 ---》 树莓派USB串口读取
2. 写个简单的采集脚本, 每类动作记录1条 .csv 文件,然后全部记录下来后再机器学习。
采集脚本如下:
- pi@rpi16g:~/esp32_TinyML_MPU6050 $ cat collect_data.py
- # 功能:通过MPU6050采集数据集,目前采集4组,circle是划圆,cross是划十字,左右就是向左砍和向右砍
- # 目标;帮老黄的金箍棒灯效采集数据
- # Editor: 漂移菌
- # 串口数据来自接入的ESP32
-
- import serial
- import time
- import csv
- import os
-
-
- GESTURES = ["circle", "cross", "left", "right"]
- SAMPLES_PER_GESTURE = 30 # 每种手势采集30条
- SAMPLE_DURATION = 2.0 # 每条样本2秒
- SAMPLE_RATE = 50 # 50HZ
- TOTAL_READS = int(SAMPLE_RATE * SAMPLE_DURATION)
-
- ser = serial.Serial("/dev/ttyUSB0", 9600, timeout=1)
- time.sleep(2)
-
- def collect_gesture(gesture_name, index):
- filename = f"{gesture_name}/{gesture_name}_{index:03d}.csv"
- print(f"准备采集: {filename}, 请在2秒内完成动作...")
- time.sleep(2)
- data = []
- try:
- while len(data) < TOTAL_READS:
- line = ser.readline().decode('utf-8', errors='ignore').strip()
- if line:
- print(line)
- parts = line.split(',')
- if len(parts) == 3:
- try:
- yaw, pitch, roll = map(float, parts)
- data.append([yaw, pitch, roll])
- print(f"✅\r已采集: {len(data)}条数据", end='\n')
- except ValueError:
- print("跳过坏数据:", line)
-
- print(f"✅ 采集完成:{filename}, 共{len(data)}条数据")
- except KeyboardInterrupt:
- print(f"✅ 手动结束采集:{filename}, 共{len(data)}条数据")
- with open(filename, 'w', newline='') as f:
- writer = csv.writer(f)
- writer.writerow(["yaw", "pitch", "roll"])
- writer.writerows(data)
-
- if __name__ == "__main__":
- for gesture in GESTURES:
- os.makedirs(gesture, exist_ok=True)
- for i in range(1, SAMPLES_PER_GESTURE+1):
- input(f"\n按下回车开始采集{gesture}第{i}条...")
- collect_gesture(gesture, i)
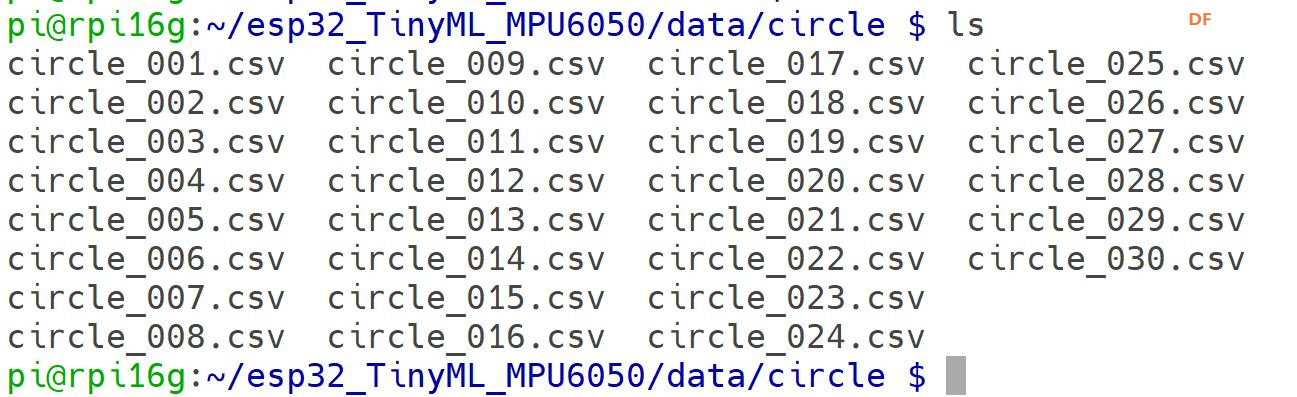
然后根据提示执行,分别进行画圆圈,打×, 左挥,右砍, 采集到足够的数据会在当前目录下看到类似这样的几个文件夹:
复制代码
五个分类目录和120个文件,这些数据信息单独如下:
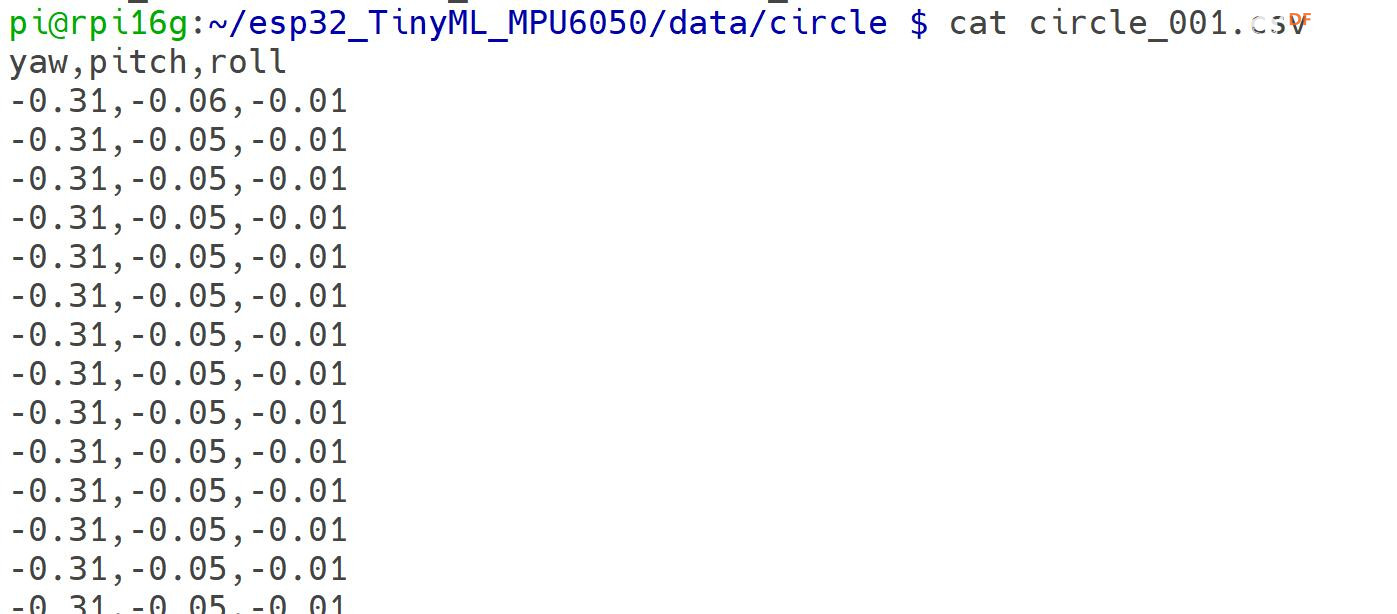
然后就可以编写代码来训练了。
目前你已经有:
- ✅ ESP32 + MPU6050 采集的 yaw/pitch/roll 数据(CSV 格式)
- ✅ 树莓派5(性能足够)
目标就是在树莓派5 本地训练一个TinyML级别的模型了。哈哈
用于识别:
- 画圈(circle)
- 打叉(cross)
- 左挥(left)
- 右挥(right)
最终的solution如下:
✅ 方案:用 scikit-learn 训练轻量模型 → 导出为 C数组 → ESP32 上推理
[td]步骤 | 工具 | 说明 |
1. 数据加载 | pandas | 读取 CSV(yaw/pitch/roll) |
2. 特征提取 | scipy / scikit-learn | 提取时域特征(均值、方差、能量、峰值) |
3. 标签编码 | sklearn.preprocessing | 四类:circle/cross/left/right |
4. 模型训练 | RandomForestClassifier 或 SVM | 轻量、快速、适合树莓派 |
5. 模型导出 | micromlgen 或 sklearn-porter | 导出为 C 代码 |
6. ESP32 推理 | C 语言 | 直接运行模型,控制 RGB |
树莓派先要安装依赖:
- sudo apt update
- sudo apt install python3-pip
- pip3 install pandas scikit-learn scipy micromlgen
然后就可以编写一个训练脚本,例如我这里是train_local.py
- import os
- import pandas as pd
- import numpy as np
- from sklearn.ensemble import RandomForestClassifier
- from sklearn.model_selection import train_test_split
- from sklearn.metrics import classification_report
- from micromlgen import port # 转换成c代码
- import pickle
-
-
- # 0. 先做个函数提取特征
- def extract_features(df):
- return [
- df['yaw'].mean(), df['yaw'].std(), df['yaw'].max(), df['yaw'].min(),
- df['pitch'].mean(), df['pitch'].std(), df['pitch'].max(), df['pitch'].min(),
- df['roll'].mean(), df['roll'].std(), df['roll'].max(), df['roll'].min(),]
-
- # 1. 尝试加载所有的CSV文件.
- def load_data(folder):
- X, y = [], []
- label = os.path.basename(folder)
- for file in os.listdir(folder):
- if file.endswith('.csv'):
- df = pd.read_csv(os.path.join(folder, file))
- # 提取时域特征
- features = extract_features(df)
- X.append(features)
- y.append(label)
- return X, y
-
-
- # 2. 加载所有类别
- X_all, y_all = [], []
-
- for gesture in ['circle', 'cross', 'left', 'right']:
- X, y = load_data(f'data/{gesture}')
- X_all.extend(X)
- y_all.extend(y)
-
- X_all = np.array(X_all)
- print(f"X_all.shape = {X_all.shape}")
-
- # 3. 训练模型
- X_train, X_test, y_train, y_test = train_test_split(X_all, y_all, test_size=0.2)
- clf = RandomForestClassifier(n_estimators=30, max_depth=10)
- clf.fit(X_train, y_train)
-
- with open("my_esp32-gesture-RFmodel.pkl", 'wb') as f:
- pickle.dump(clf, f)
-
- # 4. 评估模型
- print(classification_report(y_test, clf.predict(X_test)))
- print('-'* 50)
- print(f"训练集准确率: {clf.score(X_all, y_all):.2f}")
-
- # 5. 导出一个C头文件,后面烧录到esp32
-
- with open('model.h', 'w') as f:
- f.write(port(clf))
-
- print(f"已经生成model.h头文件")
这时候执行这个脚本就会很快训练出一个非常精准的模型,然后还会得到一个model.h的头文件,这个需要放到arduino项目里
然后继续下面的步骤:
- 把 model.h 放到 Arduino 项目里
- 每次采集 2 秒数据(100 条),提取同样的 12 个特征
- 调用 predict(features) → 返回类别索引
- 根据类别控制 RGB 灯
然后安装到金箍棒里面,我目前还在打印和调试,未完,待续吧~更新比较慢。但是不会断。哈哈
那个训练的过程我发布到B站了,链接如下:


 沪公网安备31011502402448
 置顶卡
置顶卡 变色卡
变色卡 千斤顶
千斤顶
 创作达人
创作达人
 编辑选择奖
编辑选择奖
 编辑选择奖
编辑选择奖
 创客造
创客造
 编辑选择奖
编辑选择奖


