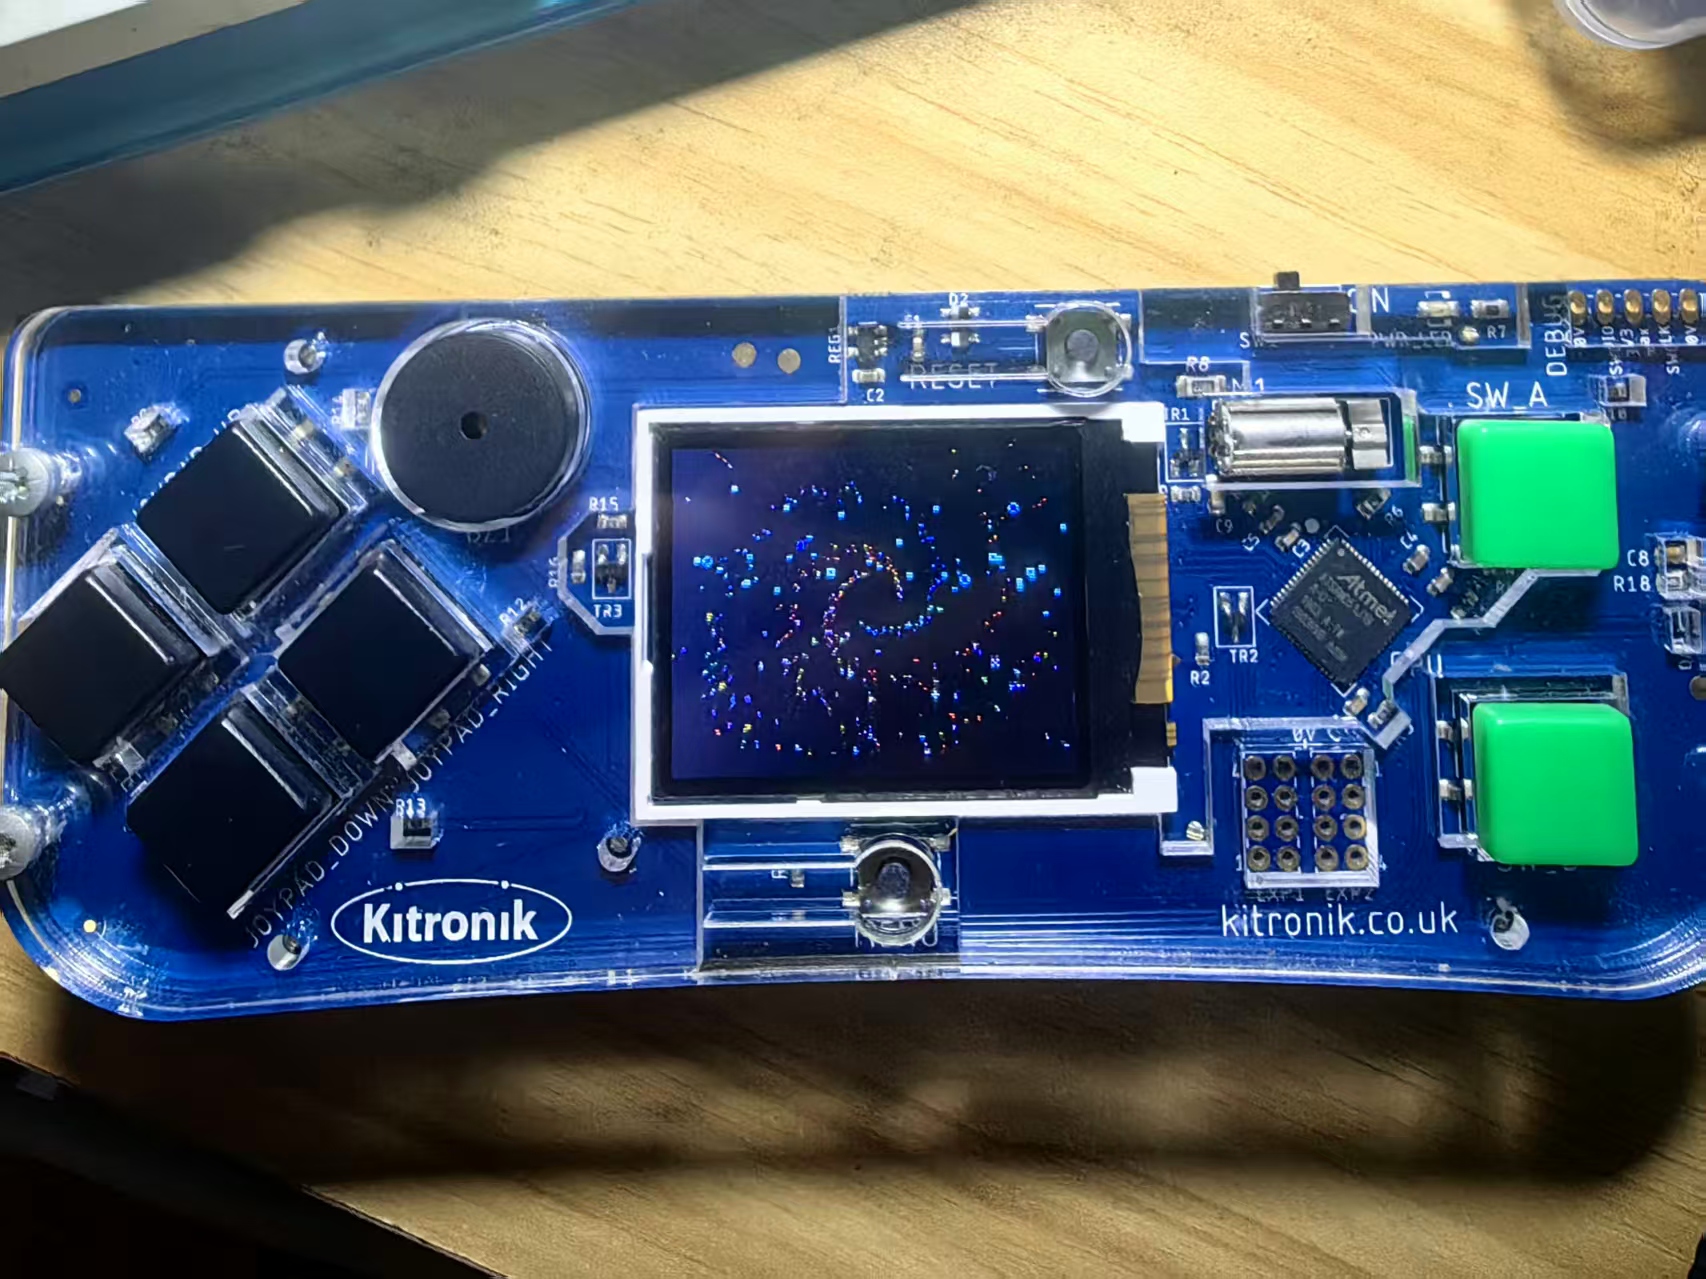
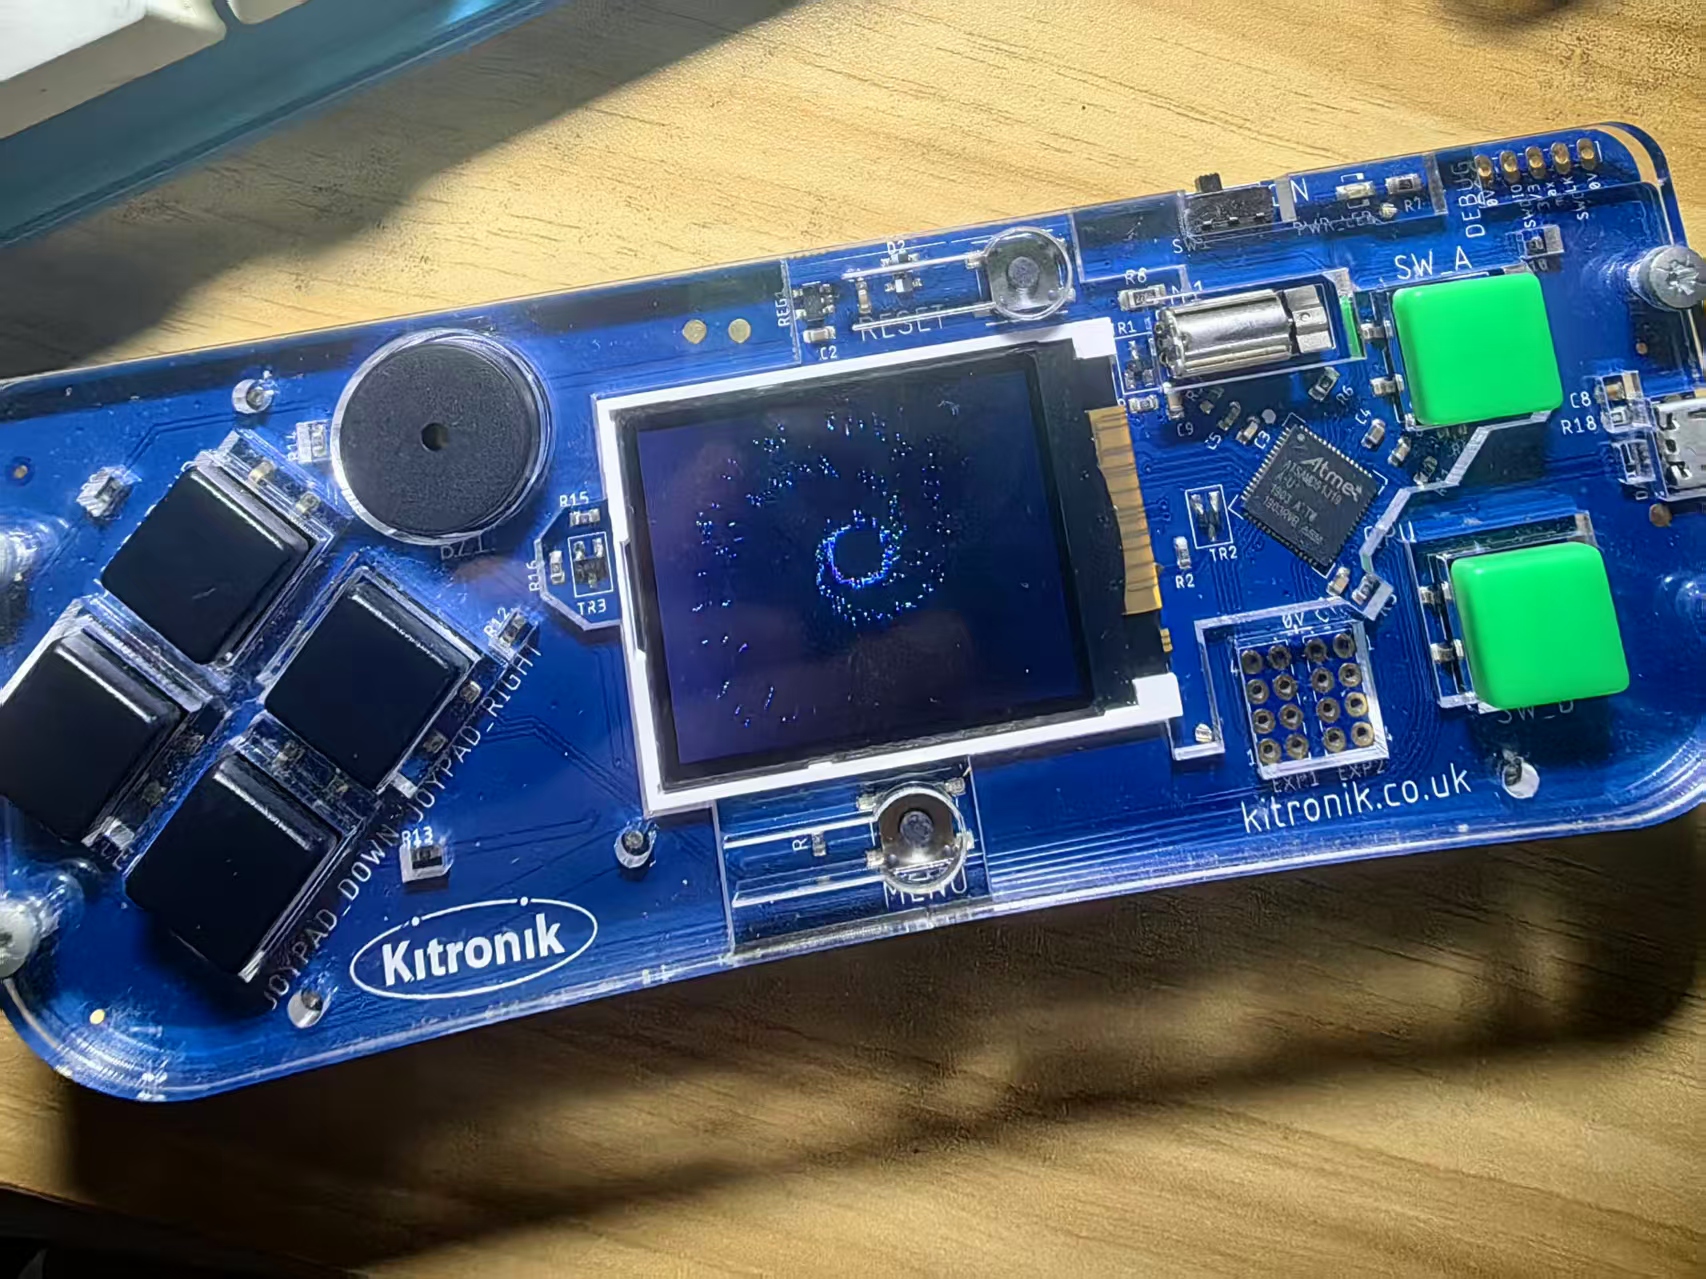
作为学习、练习与尝试,这里创建一个粒子效果的小游戏。
打开网页版:https://arcade.makecode.com/,设置项目名称:粒子效果
JavaScript 实验代码
- interface ParticleDemonstration {
- start(): particles.ParticleSource[];
- }
-
- // show controls
- let ctlMessage = image.create(scene.screenWidth(), 10);
- ctlMessage.printCenter("Effects: 'A' (+), 'B' (-)", 0, 0);
- let msgSprite = sprites.create(ctlMessage);
- let msgInterval = 0;
-
- const myDemonstrations: ParticleDemonstration[] = [];
- let count = 1;
-
- controller.A.onEvent(ControllerButtonEvent.Pressed, function () {
- count = Math.min(count + 1, 6);
- });
-
- controller.B.onEvent(ControllerButtonEvent.Pressed, function () {
- count = Math.max(count - 1, 1);
- });
-
- namespace demonstrations {
- export class Fire implements ParticleDemonstration {
- start() {
- const sources: particles.ParticleSource[] = [];
- const factory = new particles.FireFactory(8);
- const src = new particles.FireSource(makeSimpleAnchor(), 100, factory);
- src.setAcceleration(0, -40);
-
- sources.push(src);
- return sources;
- }
- }
-
- export class Spinner implements ParticleDemonstration {
- start() {
- class RingFactory extends particles.RadialFactory {
- createParticle(anchor: particles.ParticleAnchor) {
- const p = super.createParticle(anchor);
- p.lifespan = this.galois.randomRange(200, 350);
- return p;
- }
- }
-
- const sources: particles.ParticleSource[] = [];
- const colors = [0x9, 0xA, 0xB, 0xC];
- const factory = new RingFactory(20, 30, 10, colors);
- const src = new particles.ParticleSource(makeSimpleAnchor(), 400, factory);
-
- sources.push(src);
- return sources;
- }
- }
-
- export class BubbleConfetti implements ParticleDemonstration {
- start() {
- const sources: particles.ParticleSource[] = [];
- const min = 1000;
- const anchor = makeSimpleAnchor();
- anchor.width = screen.width;
-
- const bubbleFactory = new particles.BubbleFactory(anchor, min, min * 2.5);
- sources.push(new particles.BubbleSource(anchor, 30, bubbleFactory.stateCount - 1, bubbleFactory));
-
- const confettiFactory = new particles.ConfettiFactory(anchor.width, 16);
- confettiFactory.setSpeed(50);
-
- sources.push(new particles.ParticleSource(anchor, 50, confettiFactory));
- return sources;
- }
- }
-
- export class RadialGroup implements ParticleDemonstration {
- start() {
- const sources: particles.ParticleSource[] = [];
- const anchor = makeSimpleAnchor();
-
- const radius = Math.percentChance(50) ? 0 : 20;
- const increaseRate = Math.percentChance(50);
-
- control.runInParallel(() => {
- for (let i = 0; i < 3; ++i) {
- const colors = Math.percentChance(10) ?
- [0xC, 0xD, 0xE]
- :
- Math.percentChance(50) ?
- [0x6, 0x7, 0x8, 0x9, 0xA]
- :
- undefined;
- let factory: particles.ParticleFactory = new particles.RadialFactory(radius, 90, 5, colors);
- const src = new particles.ParticleSource(anchor, increaseRate ? 50 + (i * 50) : 100, factory);
- sources.push(src);
- pause(350);
- }
- });
-
- return sources;
- }
- }
-
- export class Stars implements ParticleDemonstration {
- start() {
- class StarFactory extends particles.ParticleFactory {
- protected galois: Math.FastRandom;
- protected possibleColors: number[];
- images: Image[];
-
- constructor(possibleColors?: number[]) {
- super();
- this.galois = new Math.FastRandom();
- this.images = [
- img`
- 1
- `, img`
- 1 . 1
- . 1 .
- 1 . 1
- `, img`
- . 1 .
- 1 1 1
- . 1 .
- `
- ];
-
- if (possibleColors && possibleColors.length)
- this.possibleColors = possibleColors;
- else
- this.possibleColors = [1];
- }
-
- createParticle(anchor: particles.ParticleAnchor) {
- const p = super.createParticle(anchor);
-
- p._x = Fx8(this.galois.randomRange(0, screen.width));
- p._y = Fx8(0);
- p.vy = Fx8(this.galois.randomRange(40, 60));
-
- // set lifespan based off velocity and screen height (plus a little to make sure it doesn't disappear early)
- p.lifespan = Fx.toInt(Fx.mul(Fx.div(Fx8(screen.height + 20), p.vy), Fx8(1000)));
-
- const length = this.possibleColors.length - 1;
- p.color = this.possibleColors[this.possibleColors.length - 1];
- for (let i = 0; i < length; ++i) {
- if (this.galois.percentChance(50)) {
- p.color = this.possibleColors[i];
- break;
- }
- }
-
- // images besides the first one are only used on occasion
- p.data = this.galois.percentChance(15) ? this.galois.randomRange(1, this.images.length - 1) : 0;
-
- return p;
- }
-
- drawParticle(p: particles.Particle, x: Fx8, y: Fx8) {
- // on occasion, twinkle from white to yellow
- const twinkleFlag = 0x8000;
- const rest = 0x7FFF;
- if (twinkleFlag && p.data) {
- if (this.galois.percentChance(10)) {
- p.color = 1;
- p.data &= rest;
- }
- } else if (p.color === 1 && this.galois.percentChance(1)) {
- p.color = 5;
- p.data |= twinkleFlag;
- }
-
- const selected = this.images[rest & p.data].clone();
- selected.replace(0x1, p.color);
- screen.drawImage(selected, Fx.toInt(x), Fx.toInt(y));
- }
- }
-
- const sources: particles.ParticleSource[] = [];
- const colors = [1];
- for (let i = 0; i < 4; i++)
- colors.push(randint(2, 0xE));
-
- const factory = new StarFactory(colors);
- const src = new particles.ParticleSource(makeSimpleAnchor(), 25, factory)
- sources.push(src);
- return sources;
- }
- }
- }
-
- function makeSimpleAnchor(): particles.ParticleAnchor {
- return {
- x: screen.width >> 1,
- y: screen.height >> 1
- };
- }
-
- // Radial group as a lot of different possible configurations, so make it twice as likely as others
- for (let i = 0; i < 2; i++) {
- myDemonstrations.push(new demonstrations.RadialGroup());
- }
- myDemonstrations.push(new demonstrations.Stars());
- myDemonstrations.push(new demonstrations.BubbleConfetti());
- myDemonstrations.push(new demonstrations.Spinner());
- myDemonstrations.push(new demonstrations.Fire());
-
- forever(() => {
- particles.disableAll()
-
- for (let i = 0; i < count; ++i) {
- Math.pickRandom(myDemonstrations)
- .start();
- }
-
- msgSprite.top = scene.screenHeight();
- msgSprite.top += msgInterval % 5 == 0 ? -10 : 0;
- msgInterval += 1;
- pause(3000);
- });
|


 沪公网安备31011502402448
 置顶卡
置顶卡 变色卡
变色卡 千斤顶
千斤顶


 萌萌哒新人
萌萌哒新人
 活跃会员
活跃会员
 宣传大使
宣传大使
 牛X认证
牛X认证
 创作达人
创作达人
 ARD DAY
 摸鱼团员
摸鱼团员
 志“童”道合
 编辑选择奖
编辑选择奖


