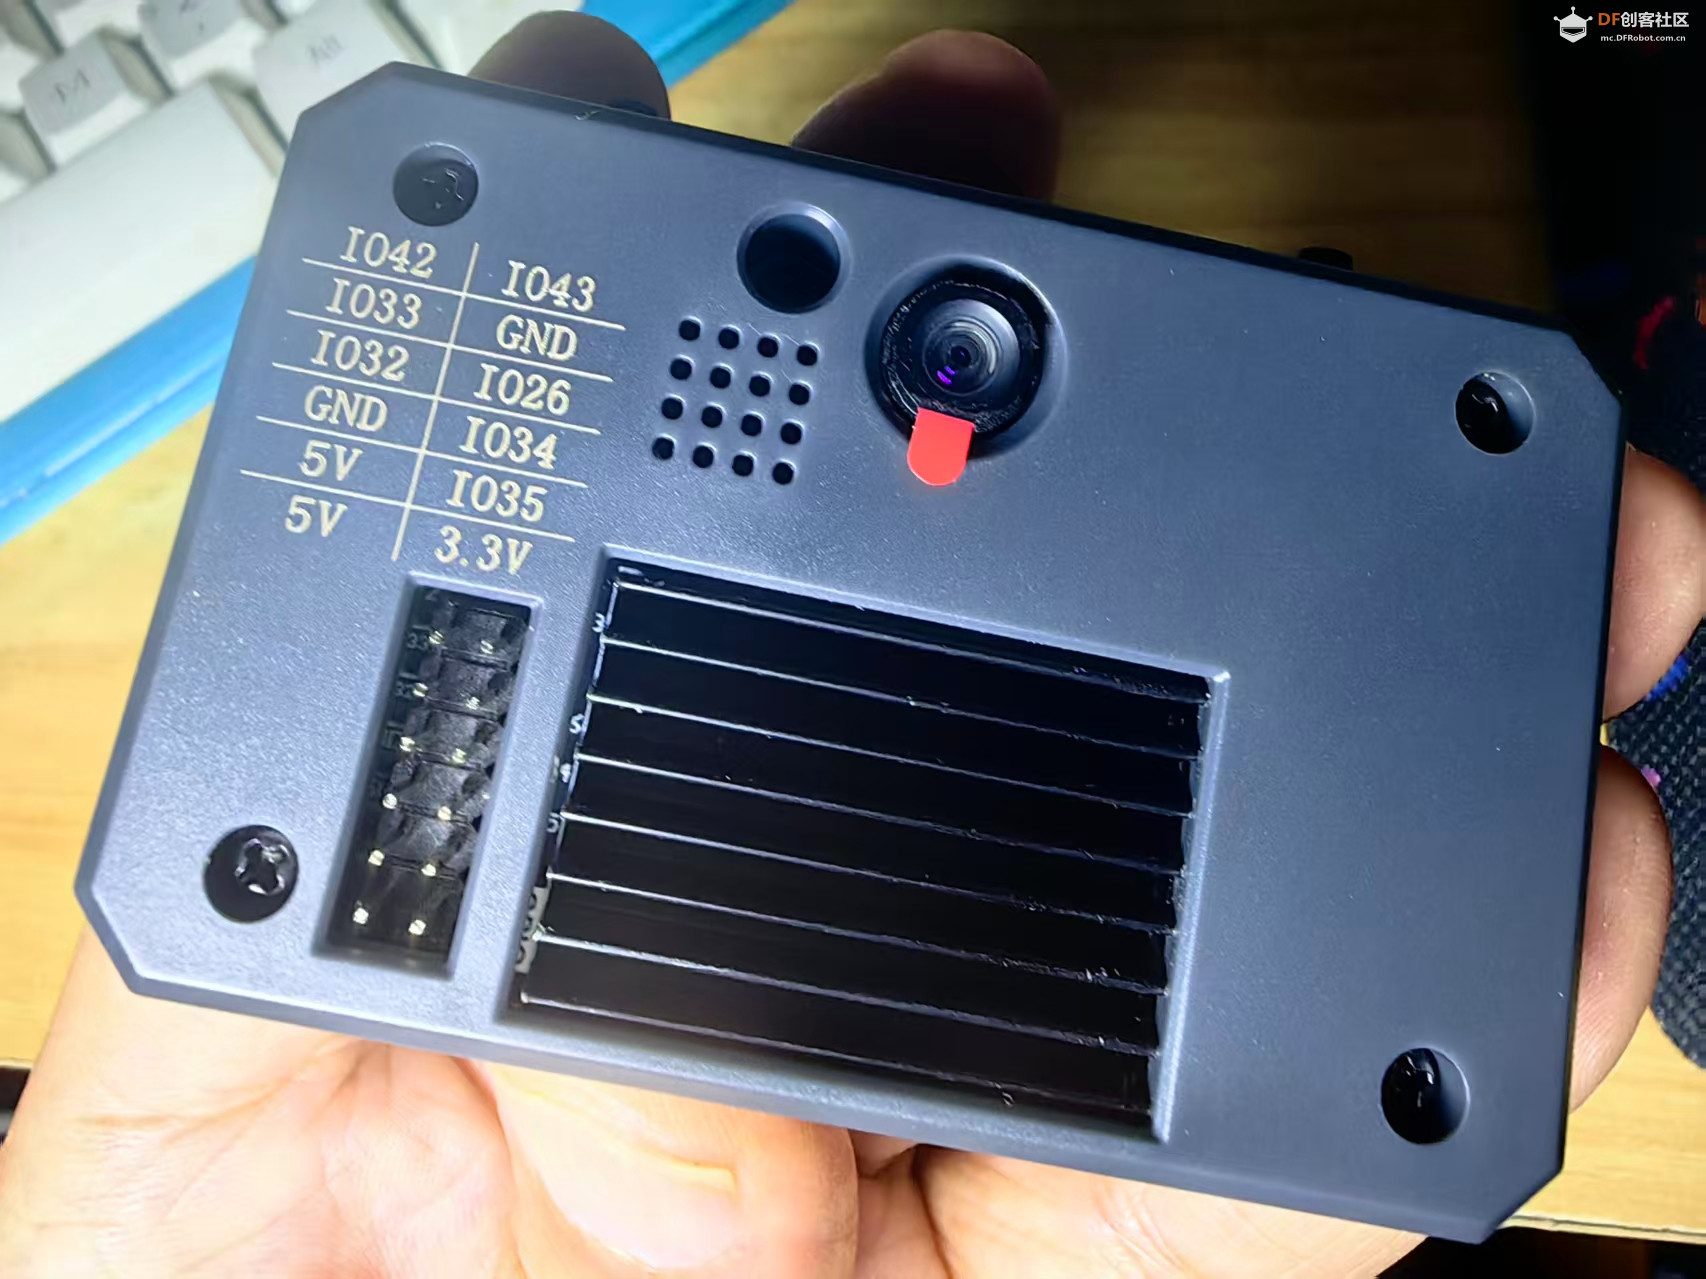
MicroPython中draw_line函数的核心功能是绘制直线,基本参数包括起始点坐标、结束点坐标和颜色,部分实现还支持线宽和颜色格式的设置。在K230平台上,使用image模块绘制直线:
API 文档
draw_line 函数可实现在图像上绘制一条线。
语法
- image.draw_line(x0, y0, x1, y1, color)
参数解释
x1, y1:起点坐标
x2, y2:终点坐标
color:颜色,使用RGB888格式或灰度值
thickness:线宽,单位为像素3
示例
- img.draw_line(10, 10, 100, 100, color=(255, 0, 0)) # 绘制红色线
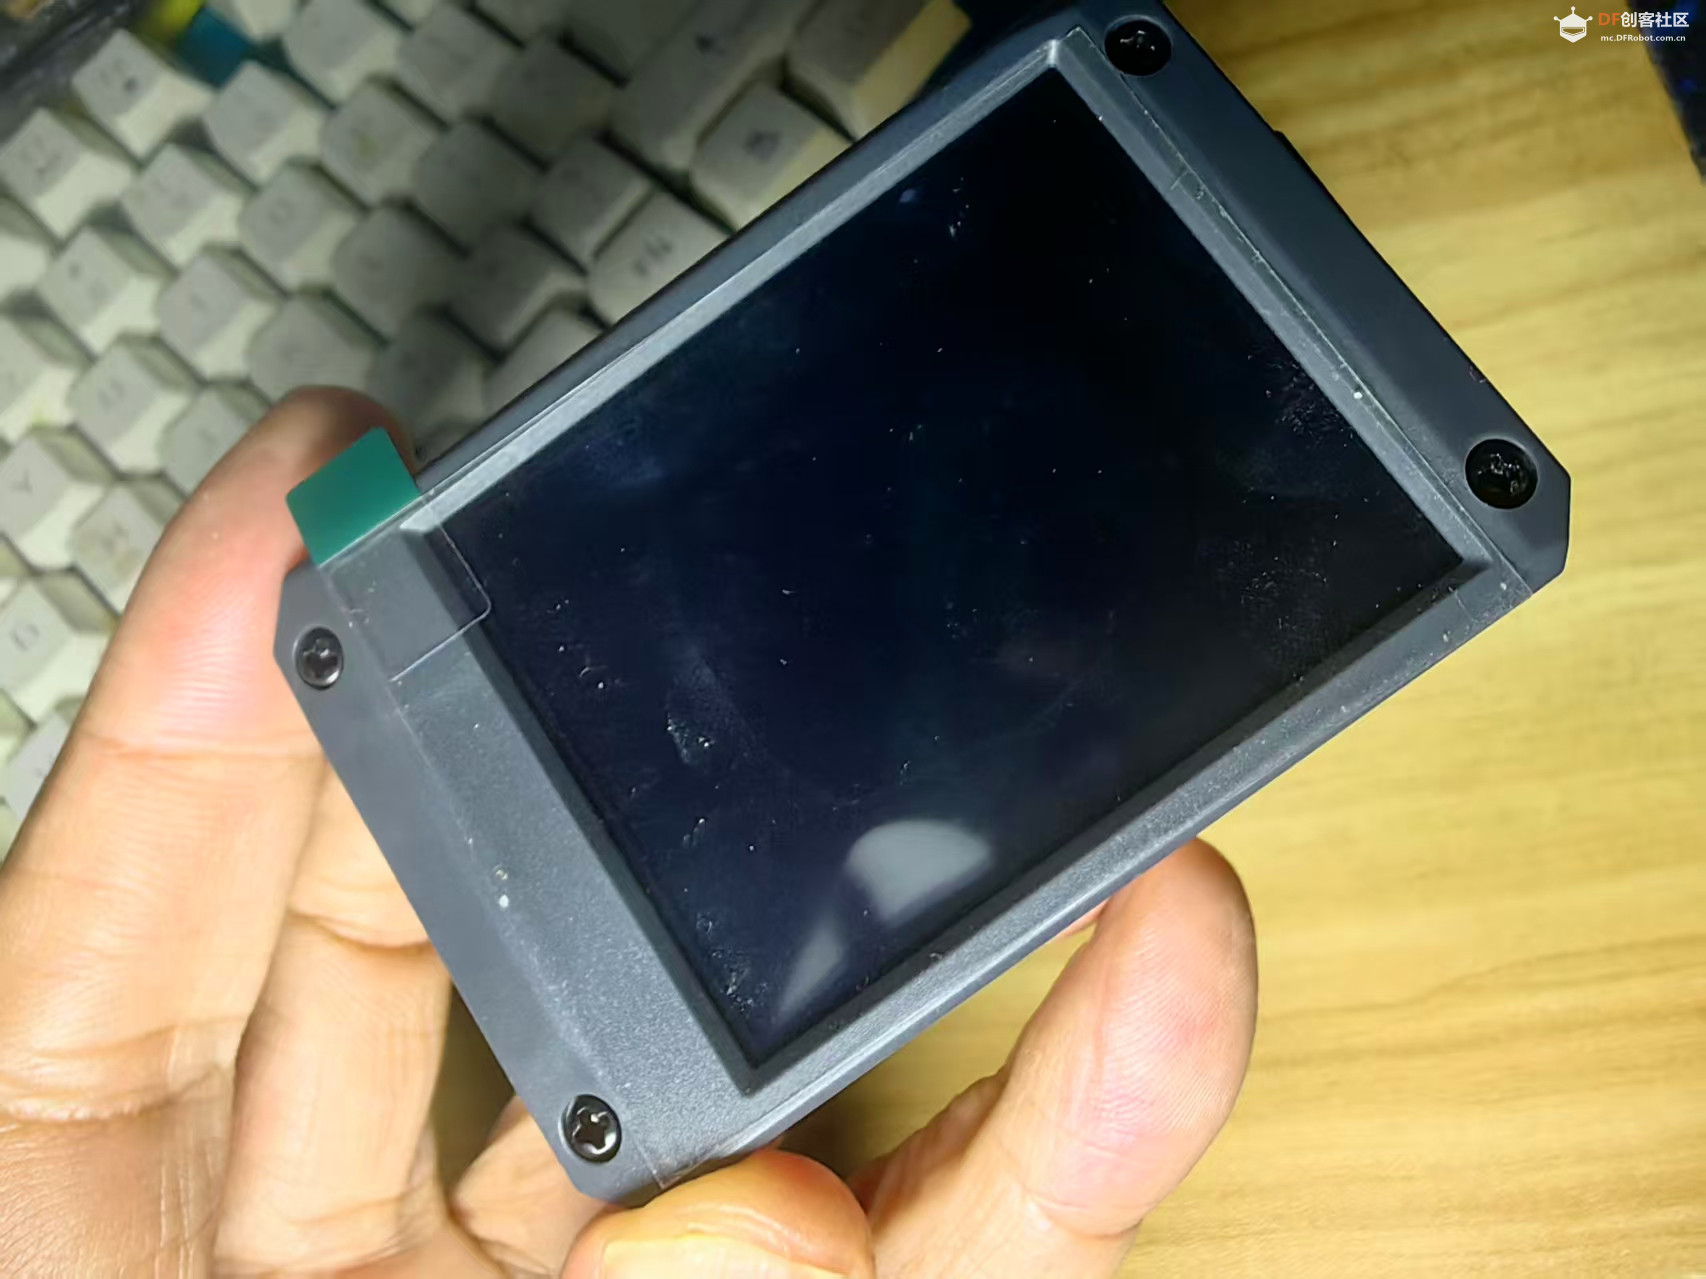
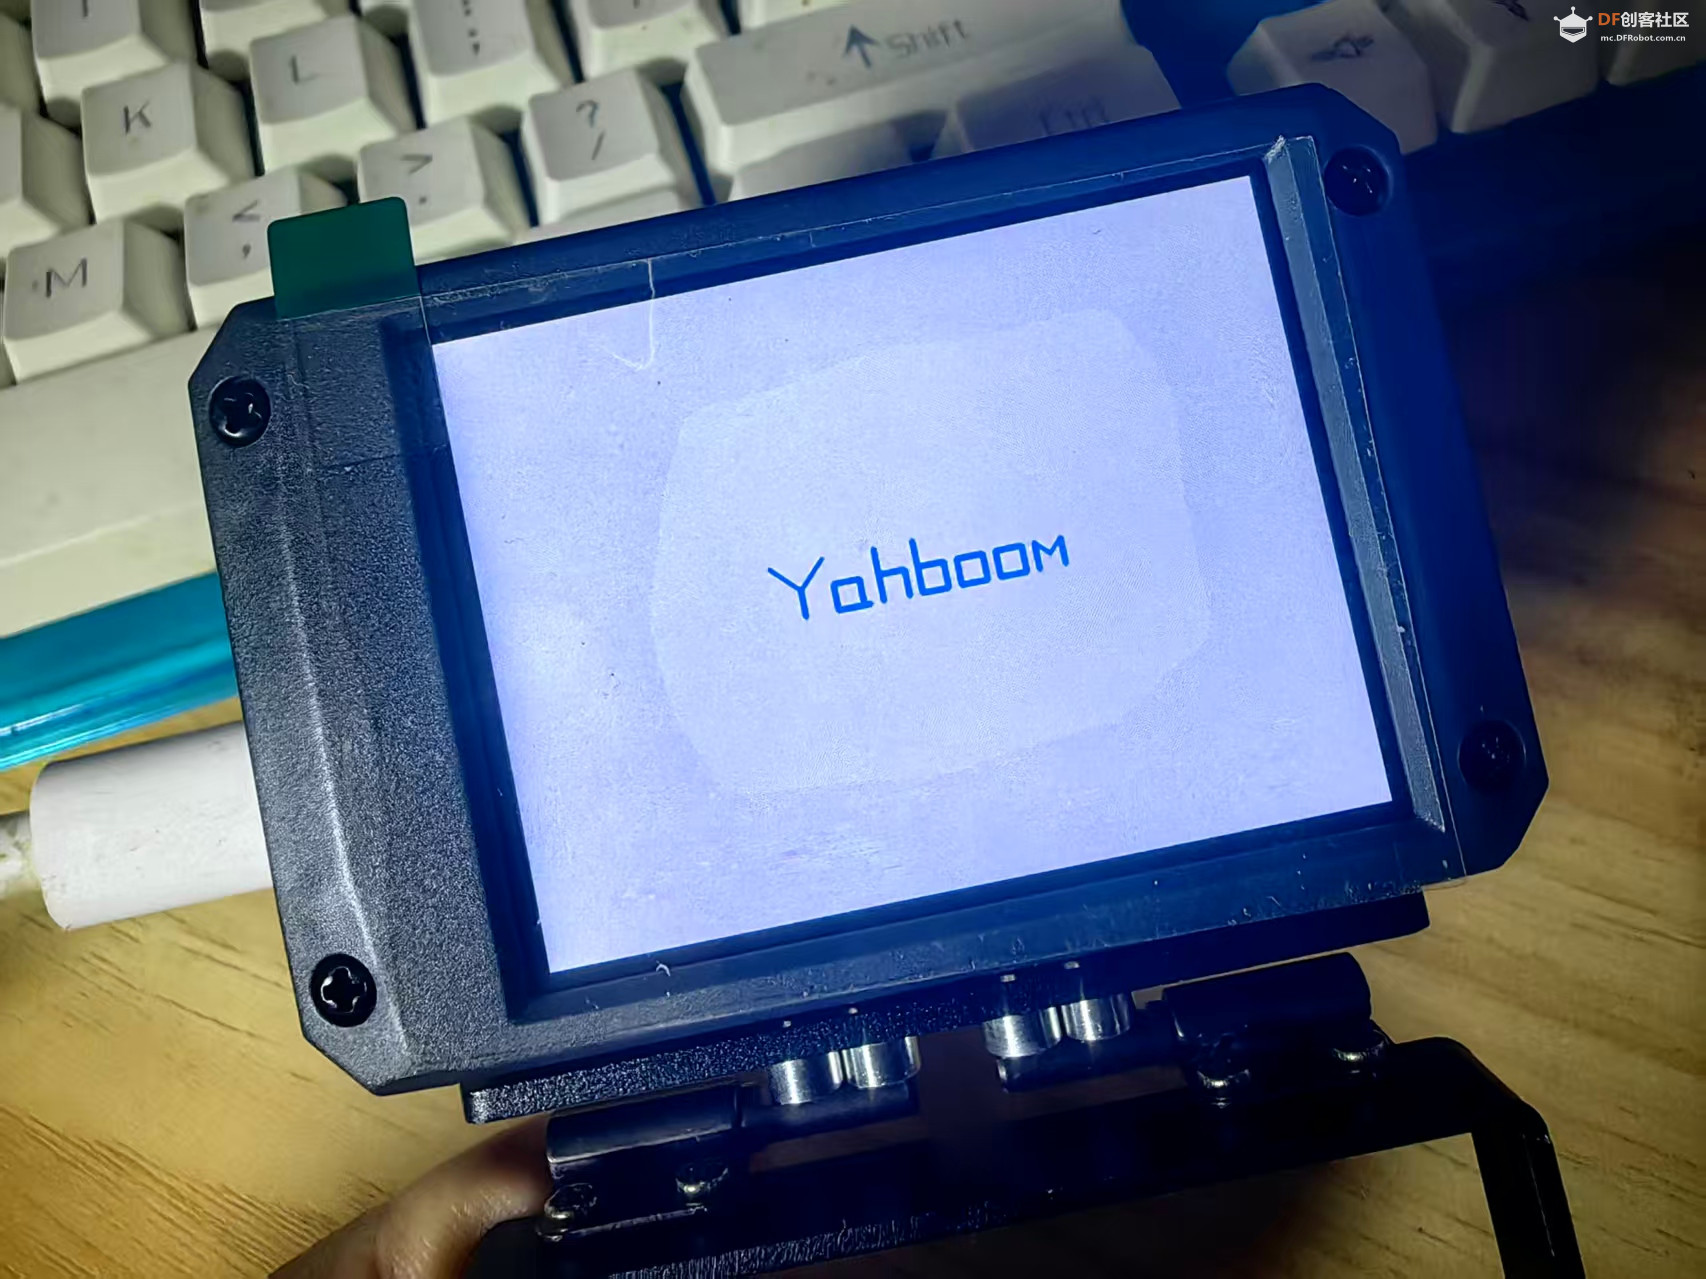
CanMV K230 AI 视觉识别模块之使用Draw_line方法绘制线条
测试实验代码
- #【花雕动手做】CanMV K230 AI 视觉识别模块之使用Draw_line方法绘制线条
-
- # 导入系统模块:时间、随机数、系统路径
- import time, os, urandom, sys
-
- # 导入显示和媒体处理模块(硬件相关)
- from media.display import * # 显示屏驱动
- from media.media import * # 媒体资源管理
-
- # 定义显示屏分辨率常量(640x480)
- DISPLAY_WIDTH = 640
- DISPLAY_HEIGHT = 480
-
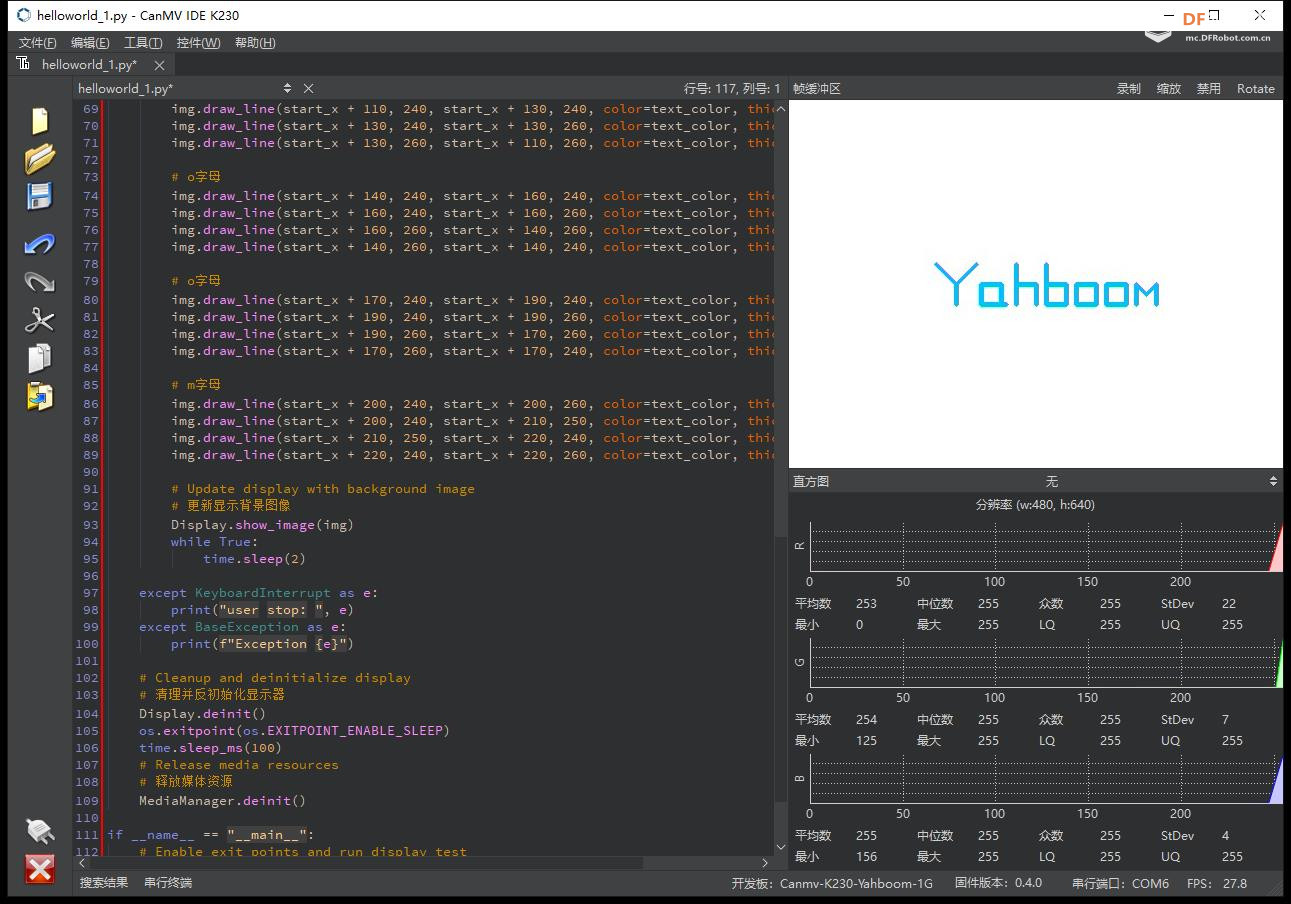
- def display_test():
- """测试显示功能:用draw_line绘制字母'Yahboom'"""
-
- # 1. 创建白色背景图像(ARGB8888格式支持透明度)
- img = image.Image(DISPLAY_WIDTH, DISPLAY_HEIGHT, image.ARGB8888)
- img.clear() # 清空图像
- img.draw_rectangle(0, 0, DISPLAY_WIDTH, DISPLAY_HEIGHT, color=(255,255,255), fill=True) # 填充白色
-
- # 2. 初始化显示屏(ST7701驱动芯片)和媒体管理器
- Display.init(Display.ST7701, width=DISPLAY_WIDTH, height=DISPLAY_HEIGHT, to_ide=True)
- MediaManager.init()
-
- try:
- # 3. 设置绘制参数:文字颜色(天蓝色)、粗细(5像素)
- thickness = 5
- text_color = (0, 191, 255) # RGB格式
-
- # 计算文本起始X坐标(居中显示)
- text_width = 200 # 预估文本总宽度
- start_x = (DISPLAY_WIDTH - text_width) // 2
-
- # 4. 绘制字母'Y'(通过多条线段组合)
- img.draw_line(start_x, 220, start_x + 20, 240, color=text_color, thickness=thickness) # 左斜线
- img.draw_line(start_x + 20, 240, start_x + 40, 220, color=text_color, thickness=thickness) # 右斜线
- img.draw_line(start_x + 20, 240, start_x + 20, 260, color=text_color, thickness=thickness) # 中竖线
-
- # 5. 绘制字母'a'(矩形框架)
- img.draw_line(start_x + 45, 240, start_x + 65, 240, color=text_color, thickness=thickness) # 上横
- img.draw_line(start_x + 65, 240, start_x + 65, 260, color=text_color, thickness=thickness) # 右竖
- img.draw_line(start_x + 70, 260, start_x + 45, 260, color=text_color, thickness=thickness) # 下横
- img.draw_line(start_x + 45, 260, start_x + 45, 240, color=text_color, thickness=thickness) # 左竖
-
- # 6. 绘制字母'h'(类似'n'但带右侧竖线)
- img.draw_line(start_x + 80, 220, start_x + 80, 260, color=text_color, thickness=thickness) # 左竖
- img.draw_line(start_x + 80, 240, start_x + 100, 240, color=text_color, thickness=thickness) # 中横
- img.draw_line(start_x + 100, 240, start_x + 100, 260, color=text_color, thickness=thickness) # 右竖
-
- # 7. 绘制字母'b'(类似'd'的左半部分)
- img.draw_line(start_x + 110, 220, start_x + 110, 260, color=text_color, thickness=thickness) # 左竖
- img.draw_line(start_x + 110, 240, start_x + 130, 240, color=text_color, thickness=thickness) # 上横
- img.draw_line(start_x + 130, 240, start_x + 130, 260, color=text_color, thickness=thickness) # 右竖
- img.draw_line(start_x + 130, 260, start_x + 110, 260, color=text_color, thickness=thickness) # 下横
-
- # 8. 绘制字母'o'(矩形框)
- img.draw_line(start_x + 140, 240, start_x + 160, 240, color=text_color, thickness=thickness) # 上横
- img.draw_line(start_x + 160, 240, start_x + 160, 260, color=text_color, thickness=thickness) # 右竖
- img.draw_line(start_x + 160, 260, start_x + 140, 260, color=text_color, thickness=thickness) # 下横
- img.draw_line(start_x + 140, 260, start_x + 140, 240, color=text_color, thickness=thickness) # 左竖
-
- # 9. 重复绘制'o'(可能是拼写错误,应为'm')
- # ...(此处代码与上一个'o'相同,实际应为'm'的绘制逻辑)
-
- # 更新显示屏内容
- Display.show_image(img)
-
- # 保持显示(循环等待用户中断)
- while True:
- time.sleep(2)
-
- # 异常处理:用户中断或系统错误
- except KeyboardInterrupt as e:
- print("用户停止:", e)
- except BaseException as e:
- print(f"异常: {e}")
-
- # 10. 释放资源:反初始化显示屏和媒体管理器
- Display.deinit()
- os.exitpoint(os.EXITPOINT_ENABLE_SLEEP) # 进入低功耗模式
- time.sleep_ms(100)
- MediaManager.deinit()
-
- # 主程序入口
- if __name__ == "__main__":
- os.exitpoint(os.EXITPOINT_ENABLE) # 启用退出点
- display_test()
|


 沪公网安备31011502402448
 置顶卡
置顶卡 变色卡
变色卡 千斤顶
千斤顶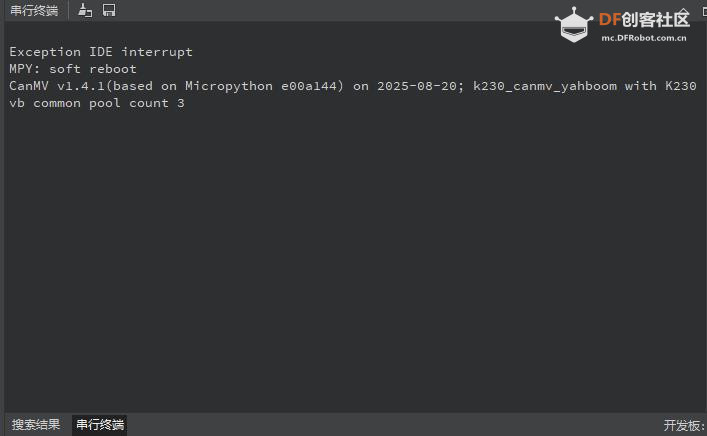

 萌萌哒新人
萌萌哒新人
 活跃会员
活跃会员
 宣传大使
宣传大使
 牛X认证
牛X认证
 创作达人
创作达人
 ARD DAY
 摸鱼团员
摸鱼团员
 志“童”道合
 编辑选择奖
编辑选择奖


