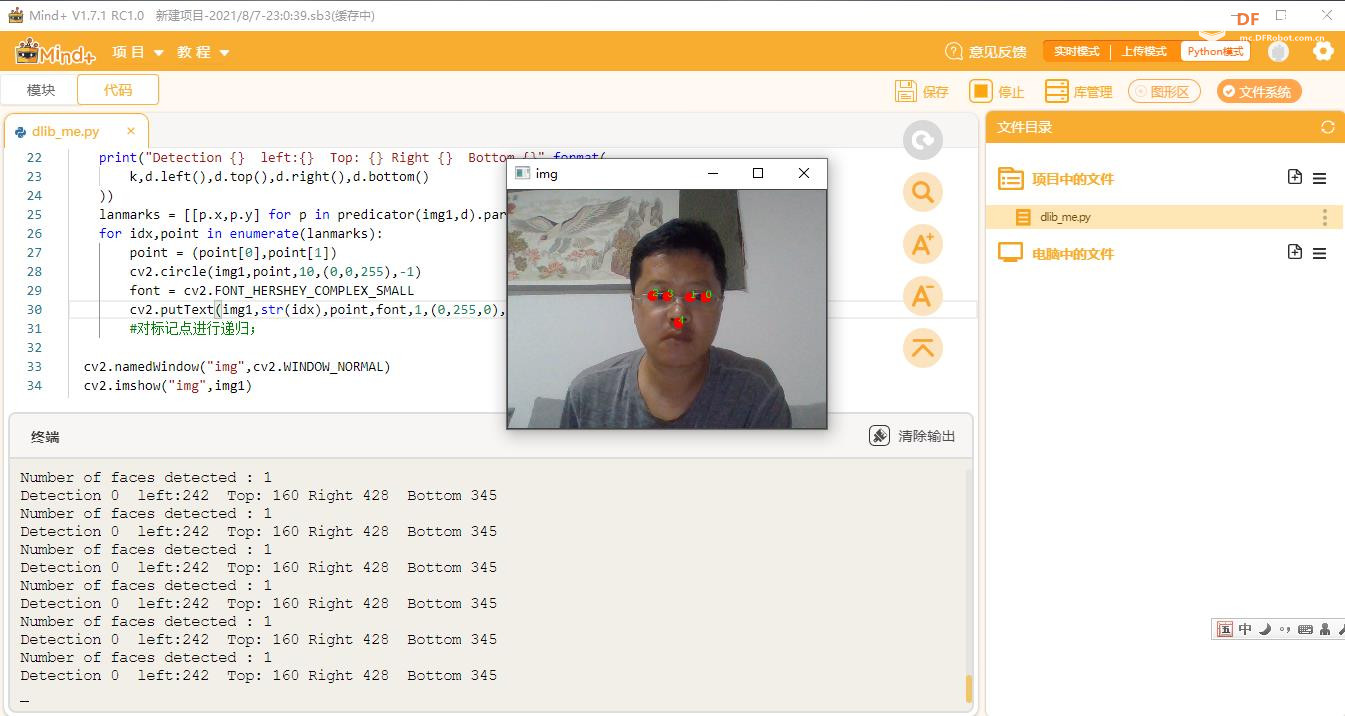
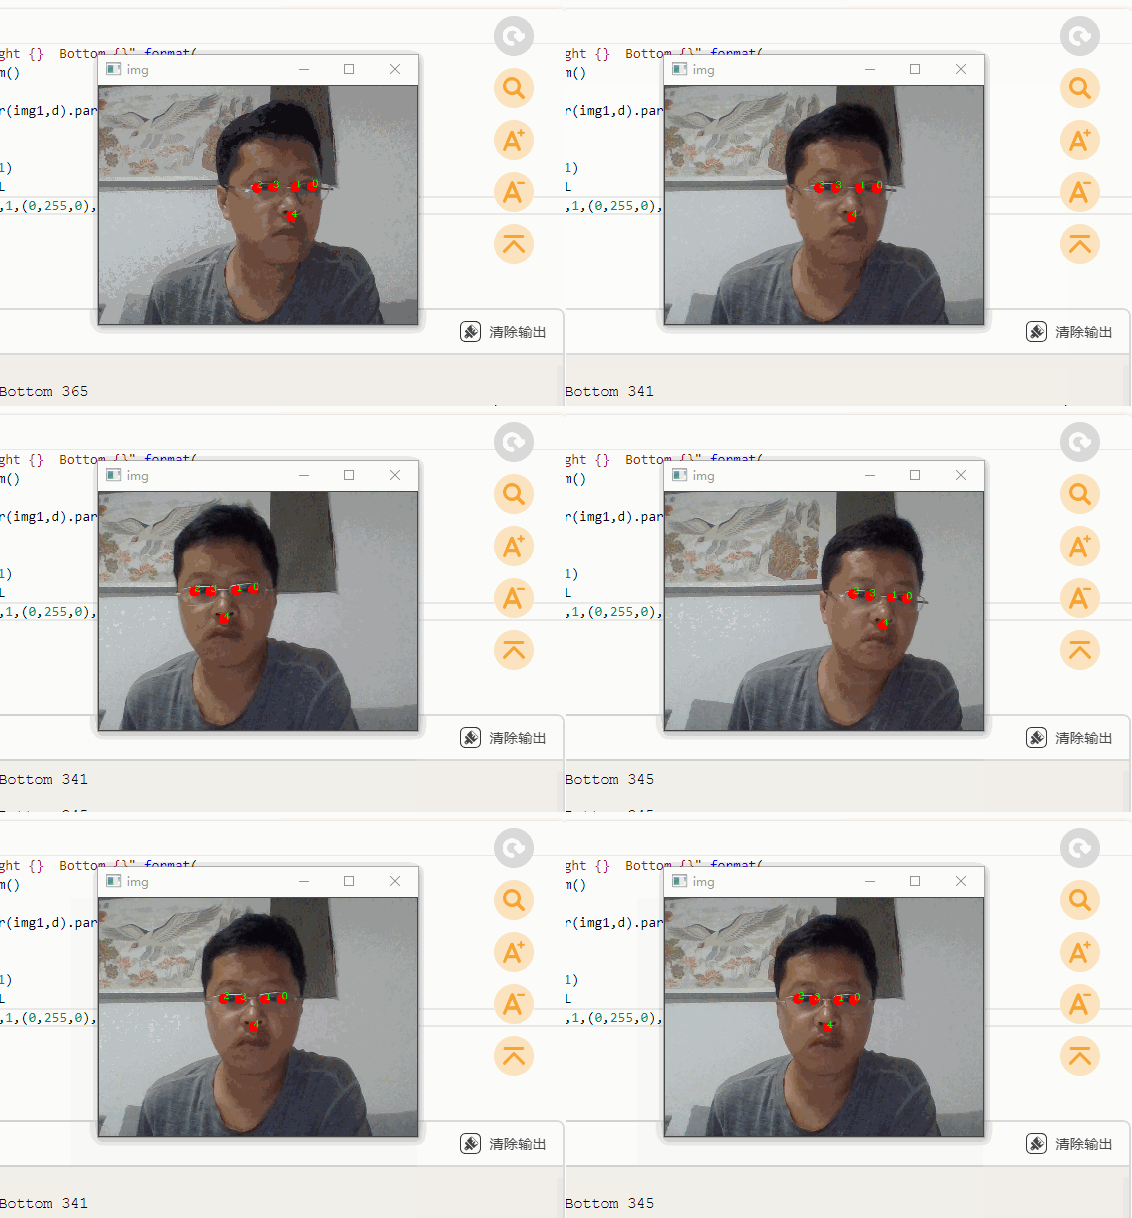
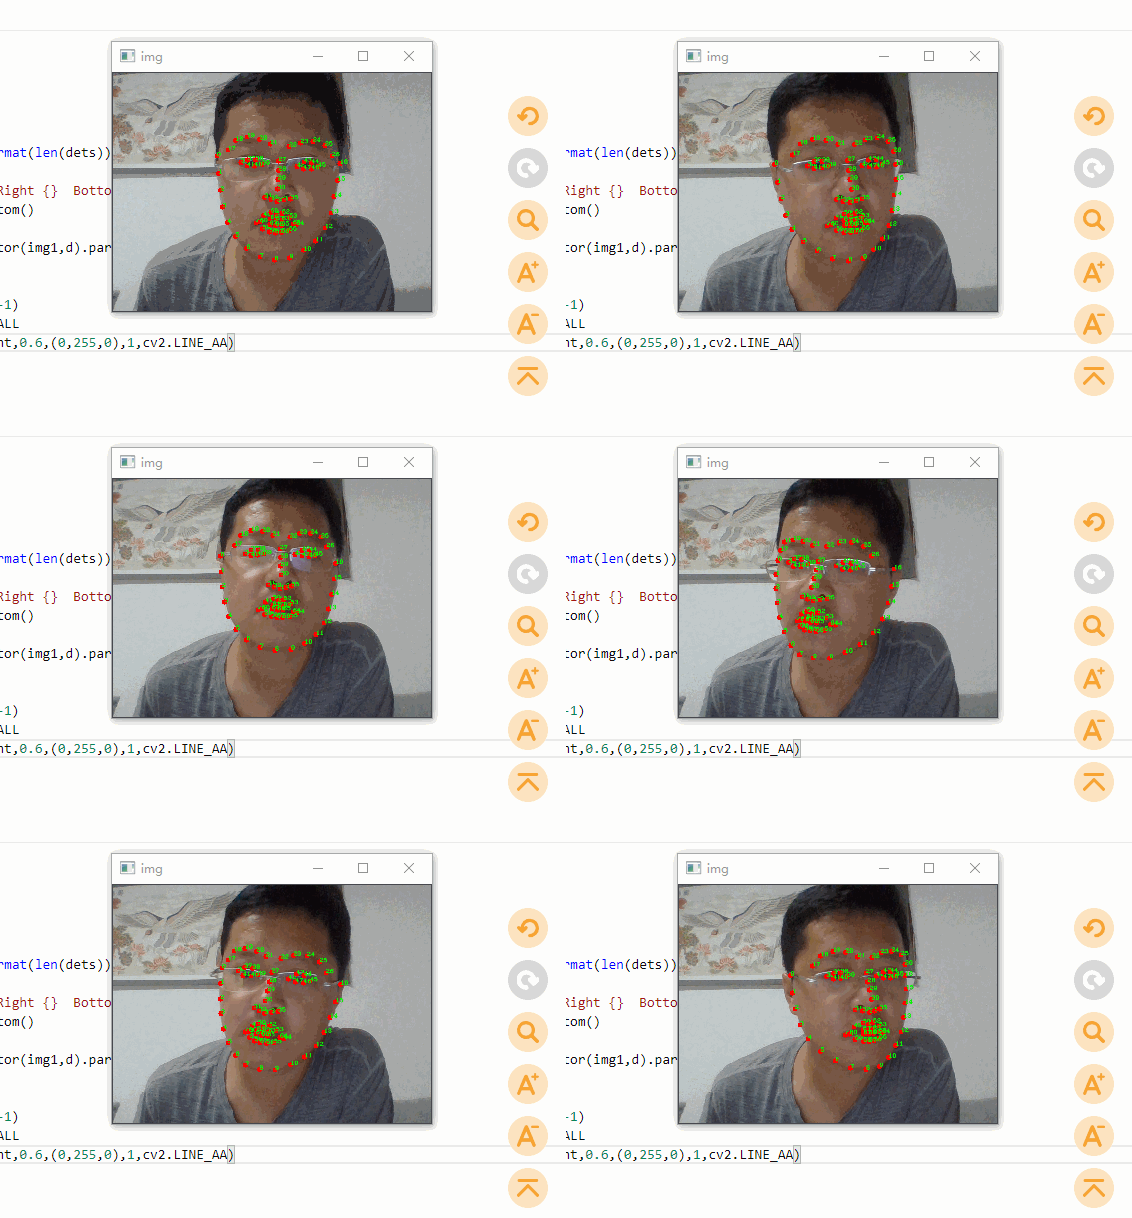
dlib :一个很经典的用于图像处理的开源库,shape_predictor_68_face_landmarks.dat是一个用于人脸68个关键点检测的dat模型库,使用这个模型库可以很方便地进行人脸检测。
【检测人脸5点】
shape_predictor_5_face_landmarks.dat,首先检测人脸5点。
 
-
- import dlib
- import os
- import cv2
-
-
- predictor_path = "shape_predictor_5_face_landmarks.dat"
- cap = cv2.VideoCapture(0) # 打开摄像头
-
-
- detector = dlib.get_frontal_face_detector()
-
- predicator = dlib.shape_predictor(predictor_path)
- #win = dlib.image_window()
- while cap.isOpened():
- ok, img1 = cap.read()
- if not ok:
- break
-
- dets = detector(img1,1)
- print("Number of faces detected : {}".format(len(dets)))
- for k,d in enumerate(dets):
- print("Detection {} left:{} Top: {} Right {} Bottom {}".format(
- k,d.left(),d.top(),d.right(),d.bottom()
- ))
- lanmarks = [[p.x,p.y] for p in predicator(img1,d).parts()]
- for idx,point in enumerate(lanmarks):
- point = (point[0],point[1])
- cv2.circle(img1,point,5,(0,0,255),-1)
- font = cv2.FONT_HERSHEY_COMPLEX_SMALL
- cv2.putText(img1,str(idx),point,font,0.6,(0,255,0),1,cv2.LINE_AA)
- #对标记点进行递归;
-
- cv2.namedWindow("img",cv2.WINDOW_NORMAL)
- cv2.imshow("img",img1)
- c = cv2.waitKey(1)
- if c & 0xFF == ord('q'):
- break
- cap.release()#释放摄像头并销毁所有窗口
- cv2.destroyAllWindows()
-
-
-
-
-
-
【人脸68个关键点】
修改:
- predictor_path = "shape_predictor_68_face_landmarks.dat"
【文件位置】
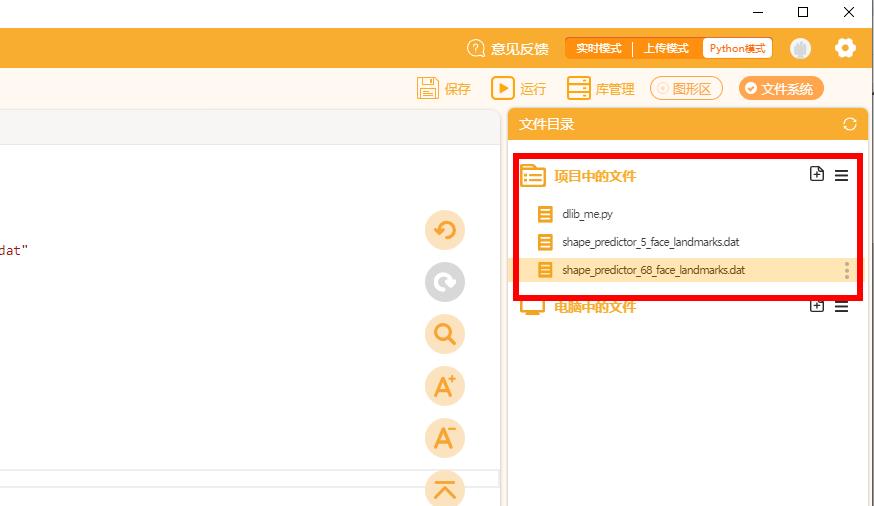
shape_predictor_5_face_landmarks.dat,shape_predictor_68_face_landmarks.dat,两文件需放到与py文件同目录下:

【附件】
两文件下载:
http://dlib.net/files/

| 


 沪公网安备31011502402448