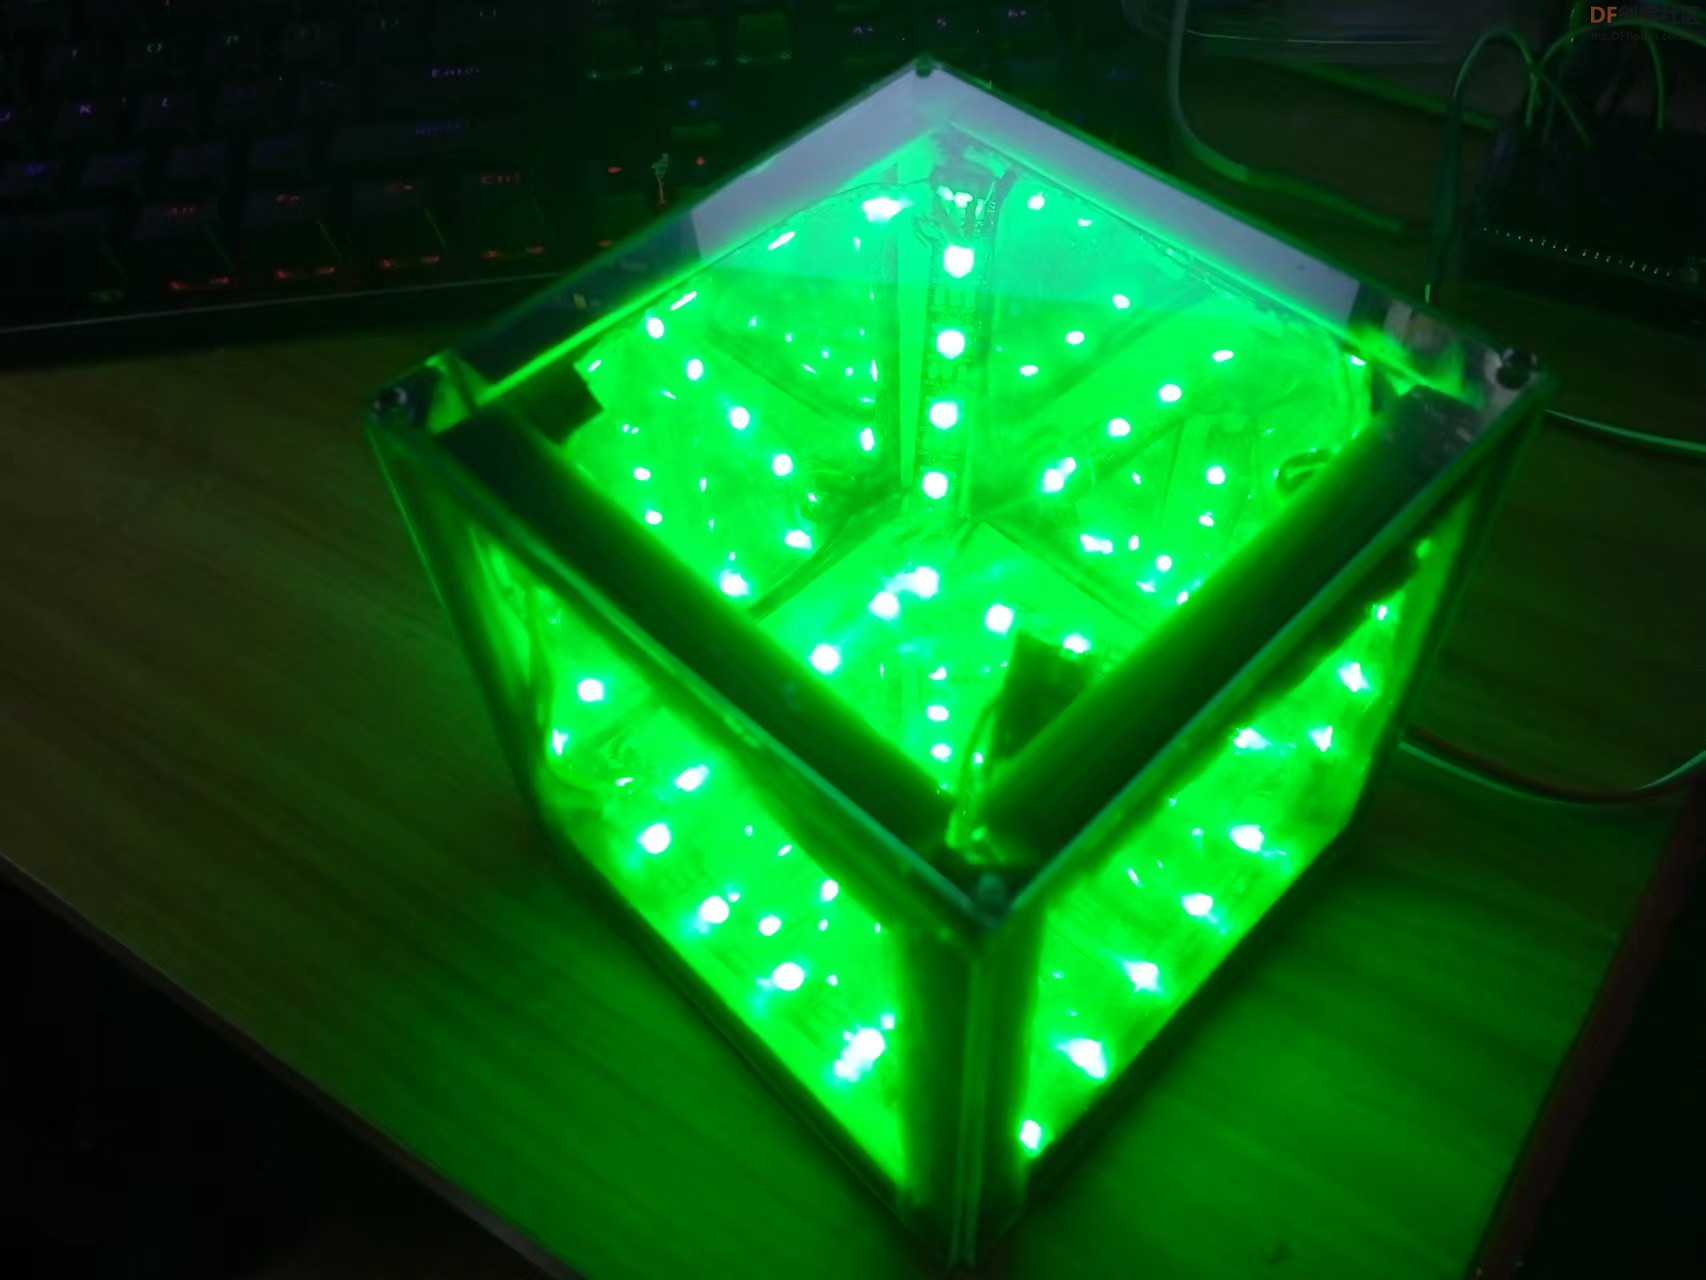
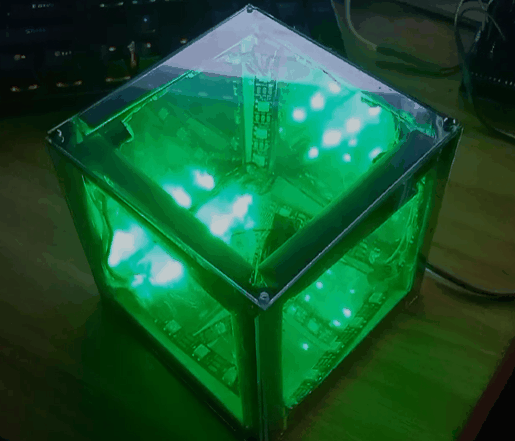
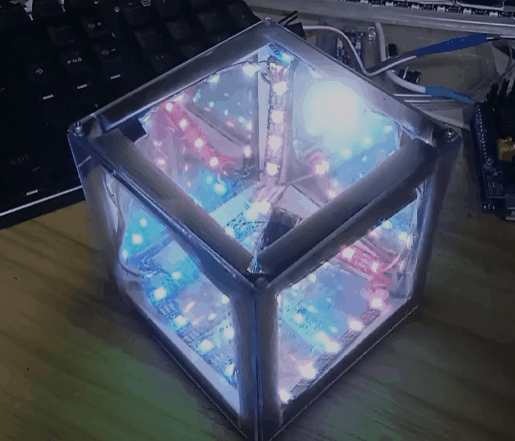
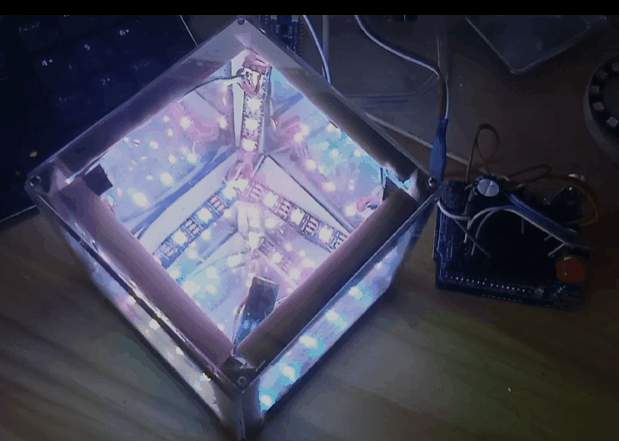
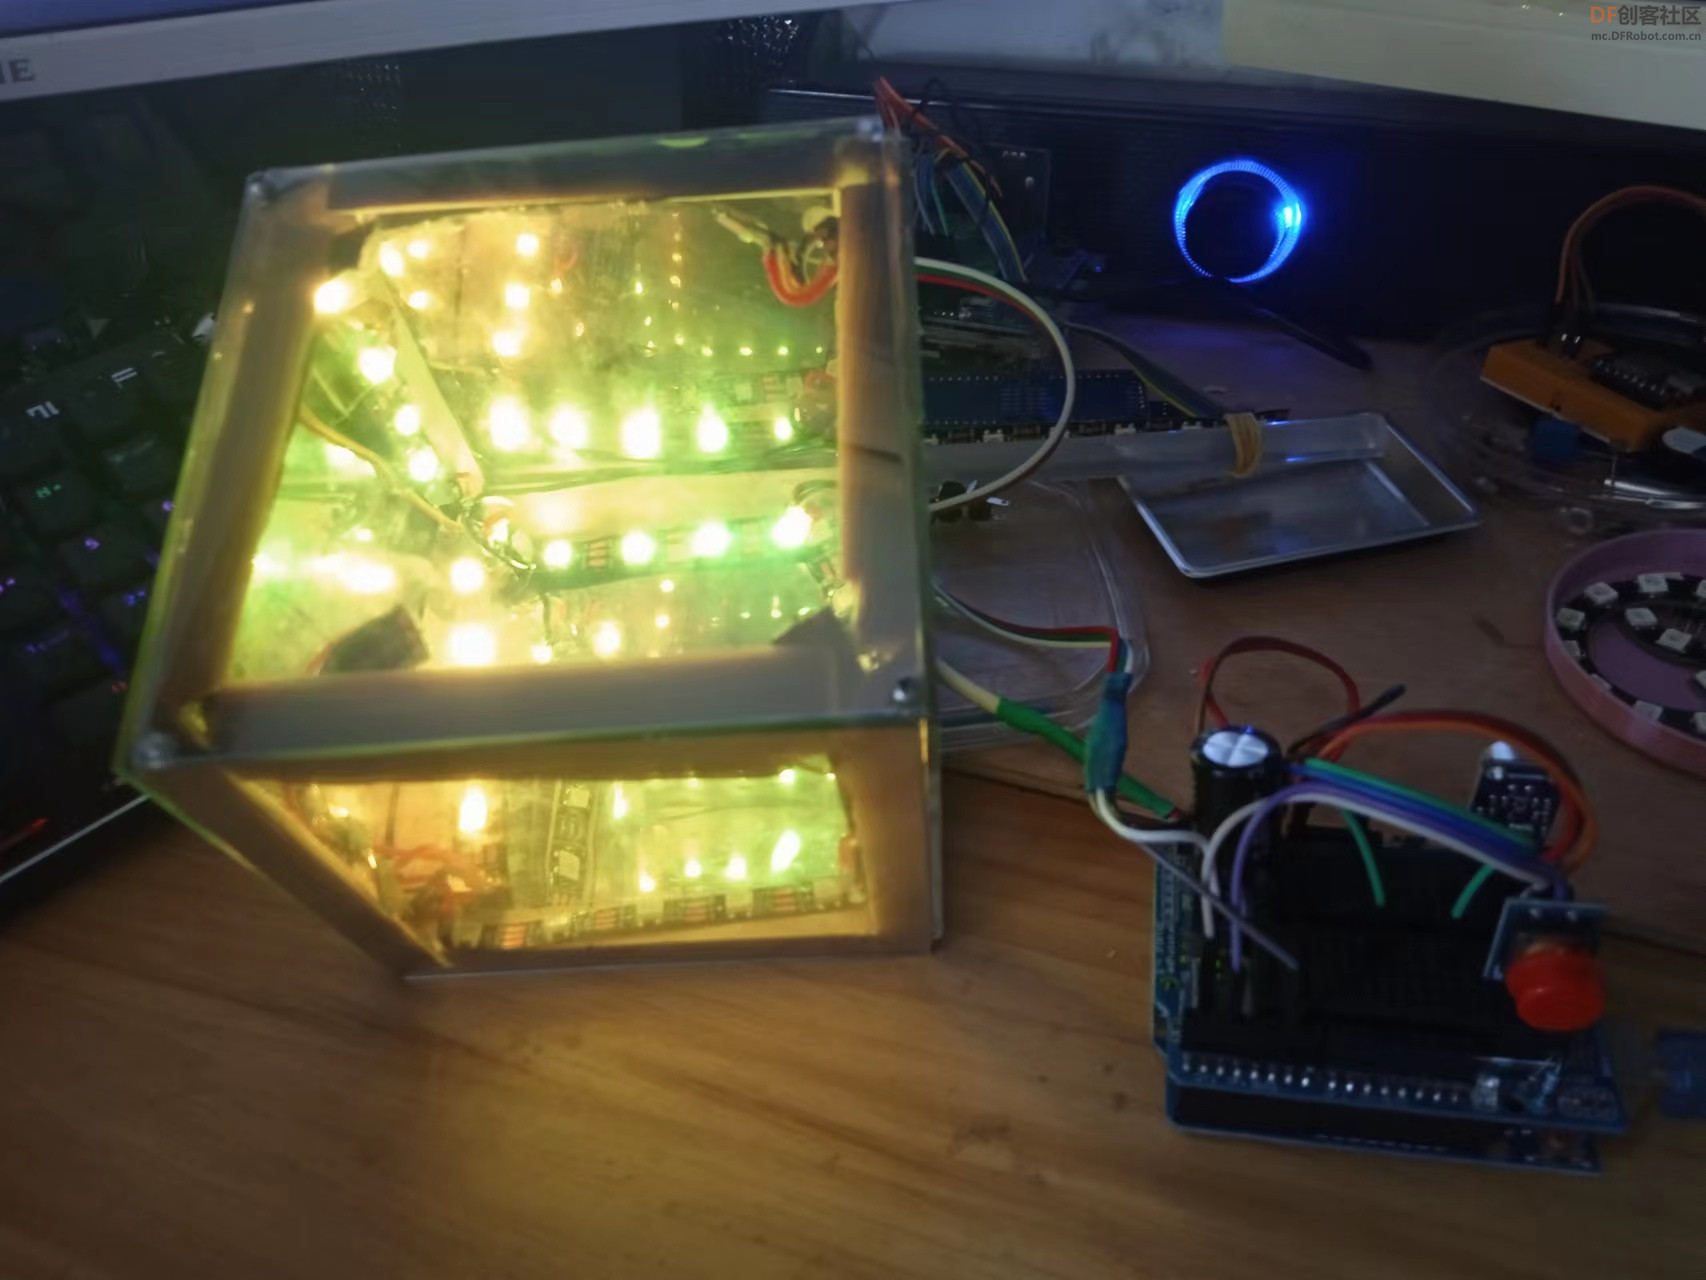
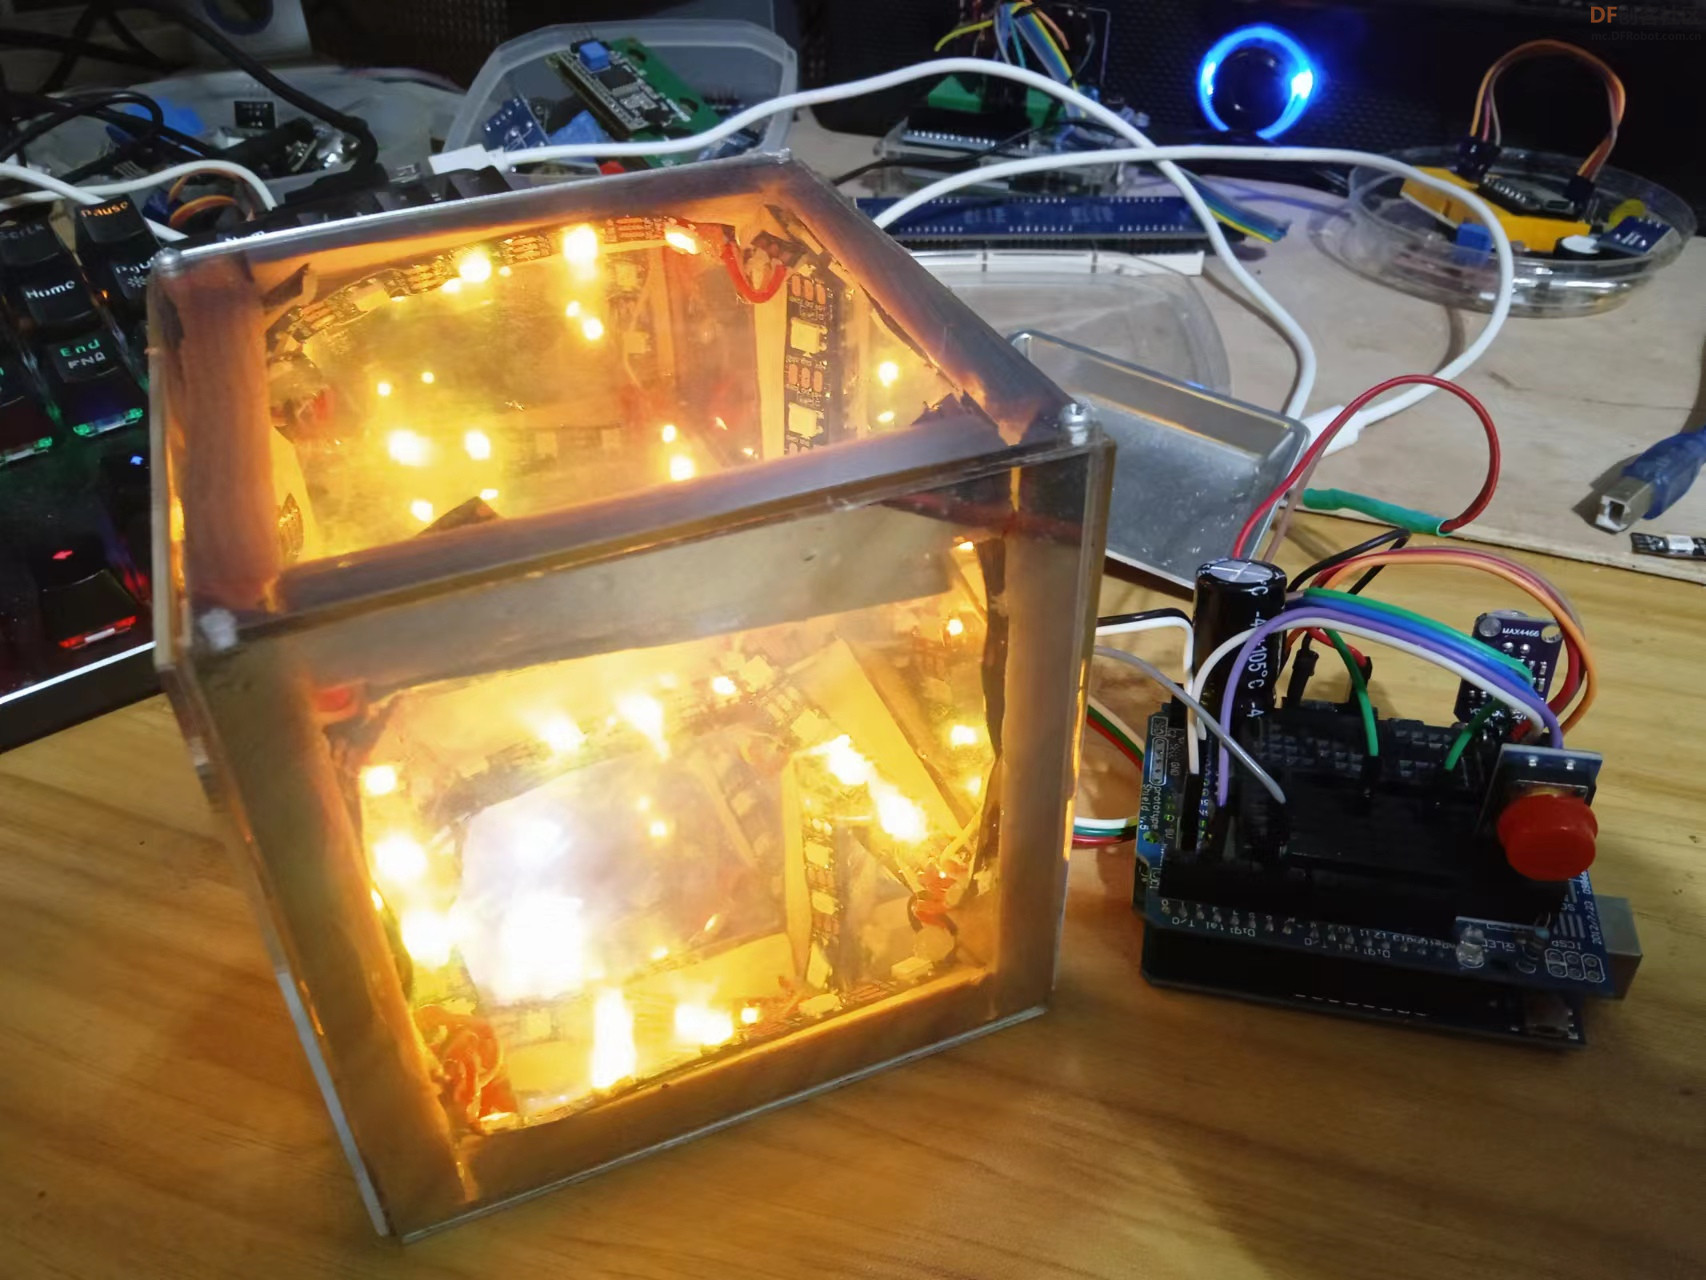
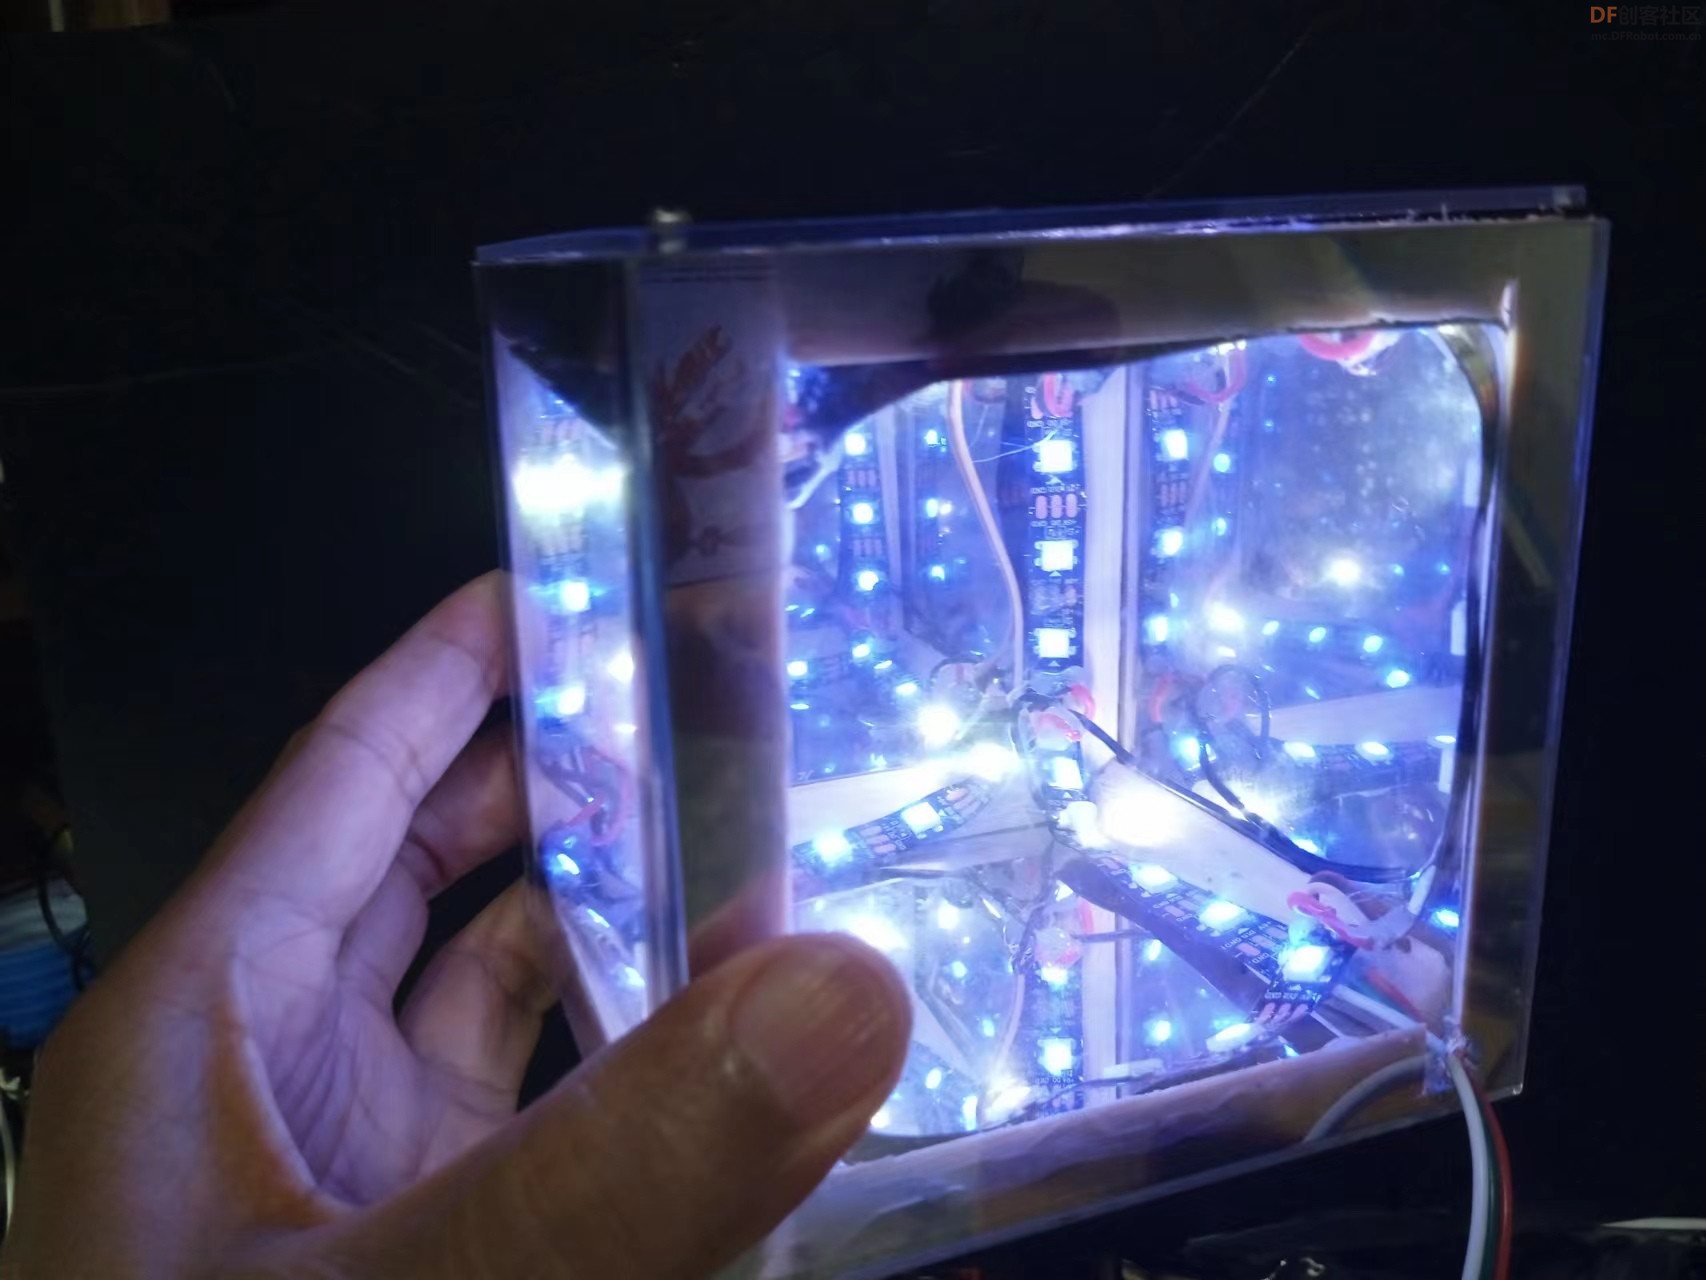
【花雕动手做】有趣好玩的音乐可视化系列小项目(22)--LED无限魔方
项目程序之六:一个用 FastLED 编程的LED无限魔方体
- /*
- 【花雕动手做】有趣好玩的音乐可视化系列小项目(22)--LED无限魔方
- 项目程序之六:一个用 FastLED 编程的LED无限魔方体
- */
-
- #include <FastLED.h>
-
- #define LED_PIN 6
- #define LEDS_PER_SEGMENT 5
- #define SEGMENTS 12
- #define BRIGHTNESS 200
- #define NUM_LEDS LEDS_PER_SEGMENT * SEGMENTS
- #define NUM_LEDS_WITH_SAFETY NUM_LEDS + 1
-
- CRGB source1[NUM_LEDS_WITH_SAFETY];
- CRGB source2[NUM_LEDS_WITH_SAFETY];
- CRGB output[NUM_LEDS_WITH_SAFETY];
-
- uint8_t blendAmount = 0;
- uint8_t patternCounter = 0;
- uint8_t source1Pattern = 0;
- uint8_t source2Pattern = 1;
- bool useSource1 = false;
-
- void setup() {
- FastLED.addLeds<WS2812B, LED_PIN, GRB>(output, NUM_LEDS_WITH_SAFETY);
- FastLED.setBrightness(BRIGHTNESS);
- Serial.begin(57600);
- }
-
- void loop() {
- EVERY_N_MILLISECONDS(10) {
- blend(source1, source2, output, NUM_LEDS, blendAmount); //在两个源之间混合
-
- if (useSource1) {
- if (blendAmount < 255) blendAmount++; //混合“向上”到源 2
- } else {
- if (blendAmount > 0) blendAmount--; //将“向下”混合到源 1
- }
- }
-
- EVERY_N_SECONDS(8) {
- nextPattern();
- }
-
- runPattern(source1Pattern, source1); //同时运行两种模式
- runPattern(source2Pattern, source2);
-
- FastLED.show();
- }
-
- void nextPattern() {
- patternCounter = (patternCounter + 1) % 5;
-
- if (useSource1) source1Pattern = patternCounter;
- else source2Pattern = patternCounter;
-
- useSource1 = !useSource1;
- }
-
- void runPattern(uint8_t pattern, CRGB *LEDarray) {
- switch (pattern) {
- case 0:
- rainbowComet(LEDarray);//彩虹彗星
- break;
- case 1:
- prettyNoise(LEDarray);//漂亮噪声
- break;
- case 2:
- randomStar(LEDarray);//随机星
- break;
- case 3:
- fillRainbow(LEDarray);//填充彩虹
- break;
- case 4:
- pixels(LEDarray);// 像素
- break;
- }
- }
-
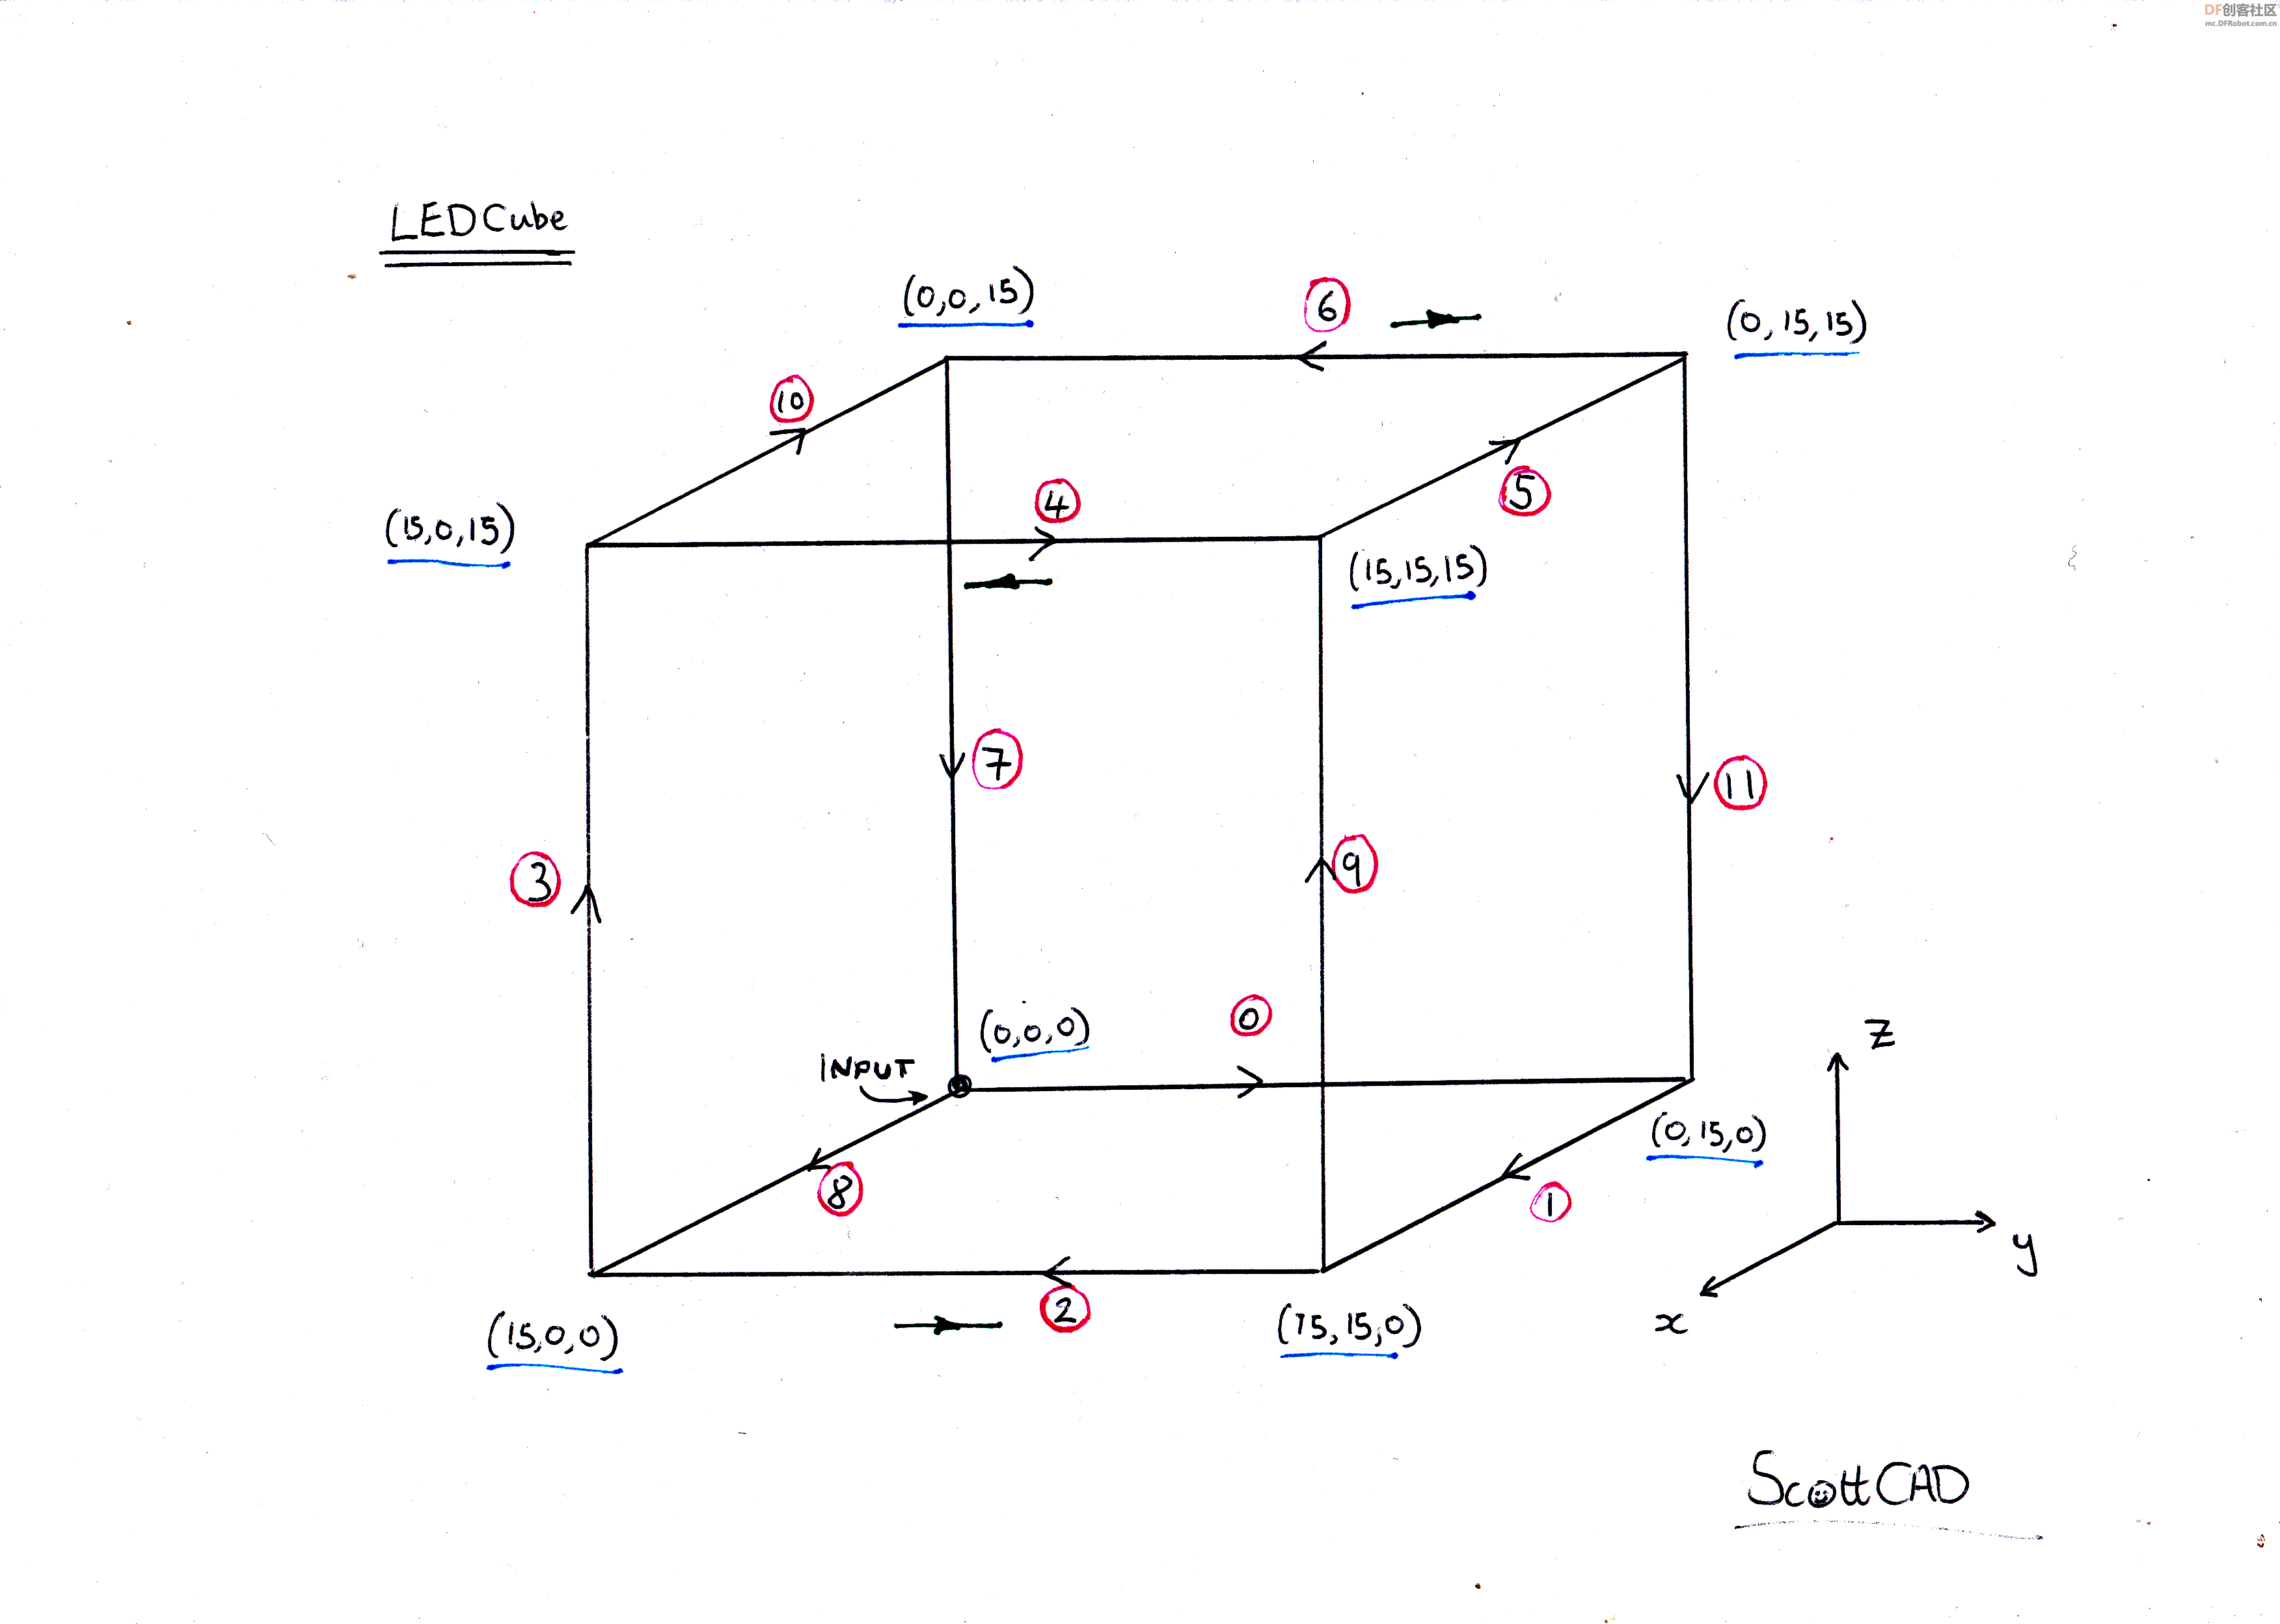
- uint8_t xyz(uint8_t x, uint8_t y, uint8_t z) {
-
- /*边缘的坐标从 0 到 5。每条边缘只有 5 个“真实”像素,
- * 所以只有 1 - 5 个 LED。缺少顶点(角)。
- * 如果请求这些顶点之一,则返回一个不显示的安全像素。
- * 我们对立方体内部的坐标也做同样的事情,即不在边缘上。
- */
-
- uint8_t lps = LEDS_PER_SEGMENT;
- uint8_t safePx = NUM_LEDS;
-
- if ((x == 0 || x == lps + 1) && (y == 0 || y == lps + 1) && (z == 0 || z == lps + 1)) return safePx;
-
- // z 方向边缘
- if (x == 0 && y == 0) return (8 * lps) - z; // Seg 7
- if (x == 0 && y == lps + 1) return (12 * lps) - z; // Seg 11
- if (x == lps + 1 && y == 0) return (3 * lps) + z - 1; // Seg 3
- if (x == lps + 1 && y == lps + 1) return (9 * lps) + z - 1; // Seg 9
-
- // y 方向边
- if (x == 0 && z == 0) return y - 1; // Seg 0
- if (x == 0 && z == lps + 1) return (7 * lps) - y; // Seg 6
- if (x == lps + 1 && z == 0) return (3 * lps) - y; // Seg 2
- if (x == lps + 1 && z == lps + 1) return (4 * lps) + y - 1; // Seg 4
-
- // x 方向边
- if (y == 0 && z == 0) return (8 * lps) + x - 1; // Seg 8
- if (y == 0 && z == lps + 1) return (11 * lps) - x; // Seg 10
- if (y == lps + 1 && z == 0) return lps + x - 1; // Seg 1
- if (y == lps + 1 && z == lps + 1) return (6 * lps) - x; // Seg 5
-
- //如果以上都不是,我们的坐标无效
- return safePx;
- }
-
- //------------ Patterns below ------------//
-
- void pixels(CRGB *LEDarray) {
- static uint8_t pos = 0;
- static uint8_t a = 0;
- static uint8_t b = 0;
-
- //填充所有像素并将它们混合在一起
- for (int c = 0; c <= LEDS_PER_SEGMENT + 1; c++) {
- LEDarray[xyz(a,b,c)] = blend(LEDarray[xyz(a,b,c)], CRGB::Orange, 128);
- LEDarray[xyz(a,c,b)] = blend(LEDarray[xyz(a,c,b)], CRGB::Magenta, 128);
- LEDarray[xyz(c,a,b)] = blend(LEDarray[xyz(c,a,b)], CRGB::Blue, 128);
- }
-
- EVERY_N_MILLISECONDS(33) {
- //围绕正方形移动的坐标
- if(pos < 15) a++;
- else if (pos <= (LEDS_PER_SEGMENT * 2) + 1) b++;
- else if (pos <= (LEDS_PER_SEGMENT * 3) + 2) a--;
- else b--;
-
- //再次开始我们到达正方形的尽头
- pos = (pos + 1) % ((LEDS_PER_SEGMENT + 1) * 4);
- }
-
- fadeToBlackBy(LEDarray, NUM_LEDS, 10);
-
- }
-
- void fillRainbow(CRGB *LEDarray) {
- static uint8_t pos = 0;
-
- uint8_t noise = inoise8(millis()/5);
- fill_rainbow(LEDarray, LEDS_PER_SEGMENT, noise, 10);
-
- //复制到其他段
- for (int i = 0; i < SEGMENTS; i++) {
- memmove8(&LEDarray[LEDS_PER_SEGMENT * i], &LEDarray[0], LEDS_PER_SEGMENT * sizeof(CRGB));
- }
-
- //垂直柱子上下移动的白点
- LEDarray[xyz(0, 0, LEDS_PER_SEGMENT - pos)] = CRGB::White;
- LEDarray[xyz(0, LEDS_PER_SEGMENT + 1, pos)] = CRGB::White;
- LEDarray[xyz(LEDS_PER_SEGMENT + 1, LEDS_PER_SEGMENT + 1, LEDS_PER_SEGMENT - pos)] = CRGB::White;
- LEDarray[xyz(LEDS_PER_SEGMENT + 1, 0, pos)] = CRGB::White;
-
- EVERY_N_MILLISECONDS(20) {
- pos = (pos + 1) % LEDS_PER_SEGMENT;
- }
- }
-
- void rainbowComet(CRGB *LEDarray) {
- static uint8_t easeOutVal = 0;
- static uint8_t easeInVal = 0;
-
- //使图案出现在两个段上
- uint8_t ledsPerSegment = LEDS_PER_SEGMENT * 2;
- uint8_t segments = SEGMENTS / 2;
-
- easeOutVal = ease8InOutQuad(easeInVal);
- easeInVal++;
-
- uint8_t pos = lerp8by8(0, ledsPerSegment, easeOutVal);
- uint8_t hue = map(pos, 0, ledsPerSegment, 0, 230);
-
- LEDarray[pos] = CHSV(hue, 255, 255);
- fadeToBlackBy(LEDarray, ledsPerSegment, 20);
-
- //复制到其他段
- for (int i = 0; i < segments; i++) {
- memmove8(&LEDarray[ledsPerSegment * i], &LEDarray[0], ledsPerSegment * sizeof(CRGB));
- }
- }
-
- void randomStar(CRGB *LEDarray) {
- EVERY_N_MILLISECONDS(75) {
- LEDarray[random16(0, NUM_LEDS)] = CRGB::LightGrey;
- }
-
-
- for (int i = 0; i < NUM_LEDS; i++) {
-
- // 亮度
- uint8_t bNoise = inoise8(i * 100, millis());
- bNoise = constrain(bNoise, 50, 200);
- bNoise = map(bNoise, 50, 200, 20, 80);
-
- // 色调
- uint8_t hNoise = inoise8(i * 20, millis() / 5);
- hNoise = constrain(hNoise, 50, 200);
- hNoise = map(hNoise, 50, 200, 160, 192);
-
- if (LEDarray[i].g == 0) {
- LEDarray[i] = CHSV(hNoise, 255, bNoise);
- }
- }
-
- fadeToBlackBy(LEDarray, NUM_LEDS, 5);//淡入黑色(LED 阵列,NUM LEDS,5 个)
- }
-
-
- void prettyNoise(CRGB *LEDarray) {
- fill_noise16 (LEDarray, NUM_LEDS, 1, 0, 100, 1, 1, 50, millis() / 3, 5);
- }
|


 沪公网安备31011502402448

 萌萌哒新人
萌萌哒新人
 活跃会员
活跃会员
 宣传大使
宣传大使
 牛X认证
牛X认证
 创作达人
创作达人
 ARD DAY
 摸鱼团员
摸鱼团员
 志“童”道合
 编辑选择奖
编辑选择奖


