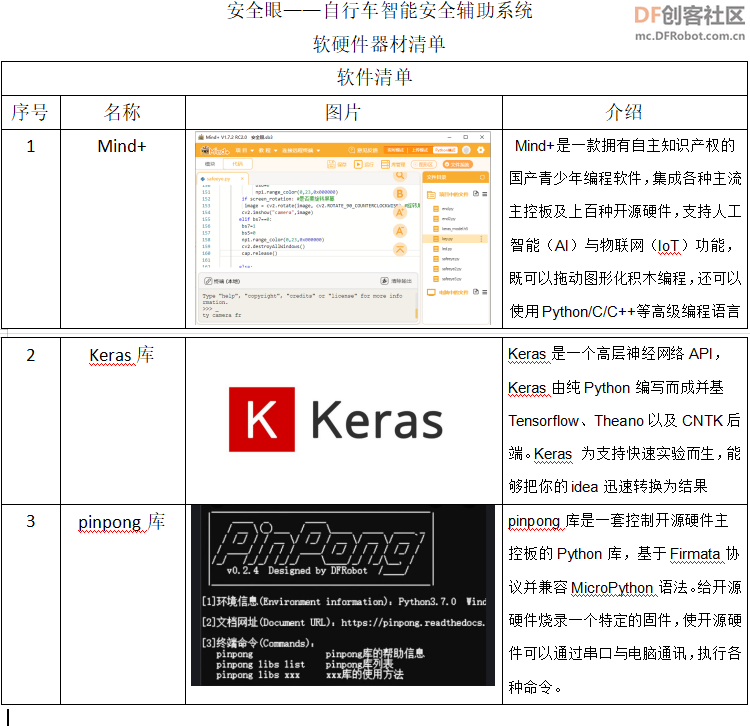
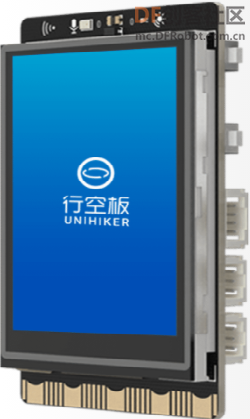
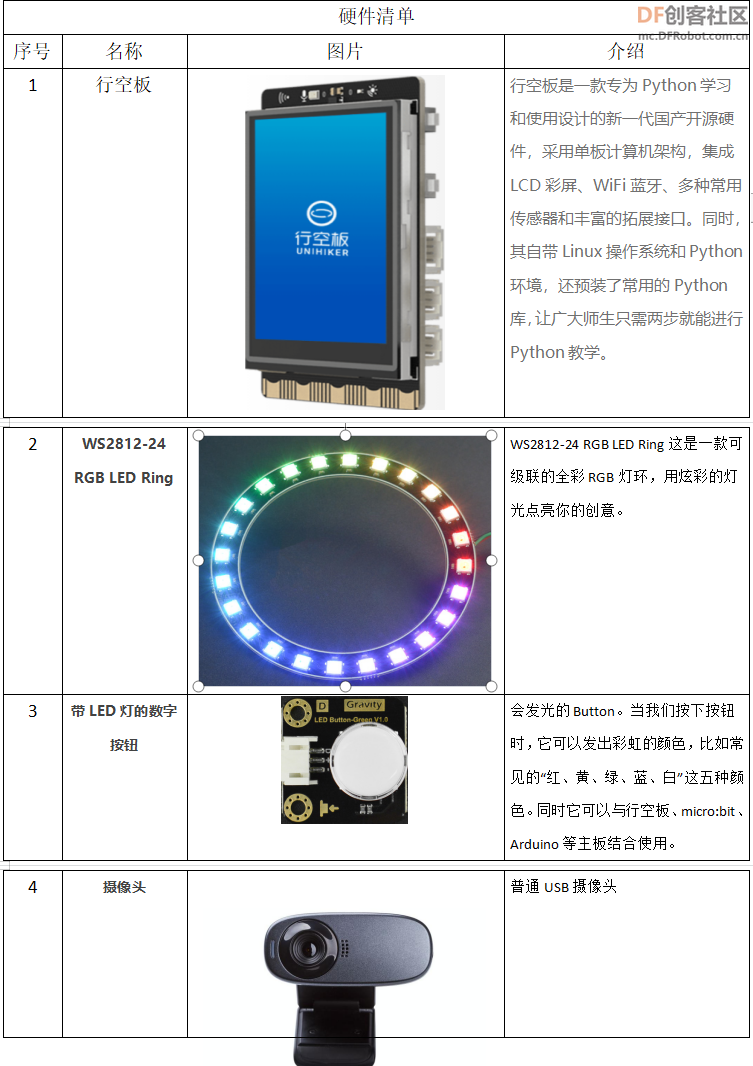
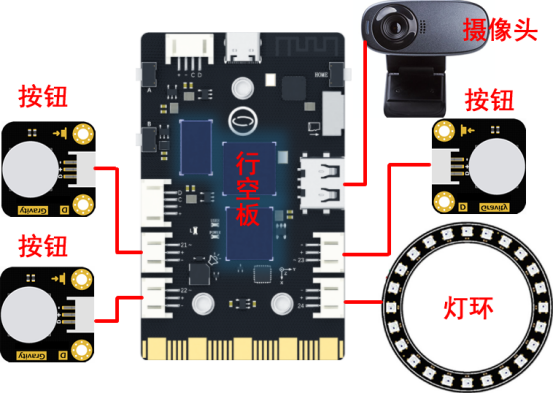
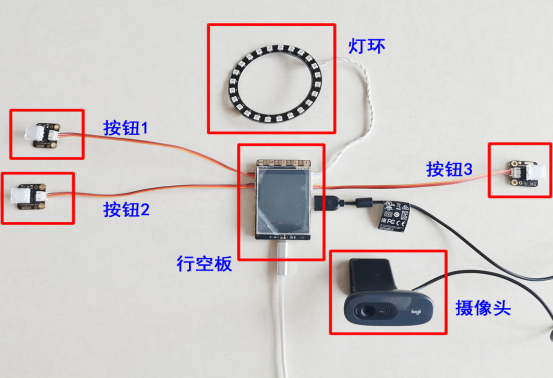
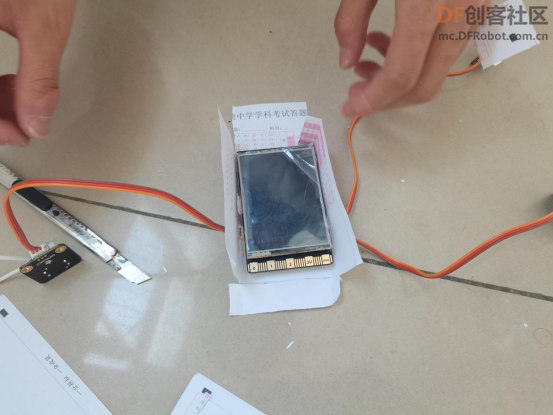
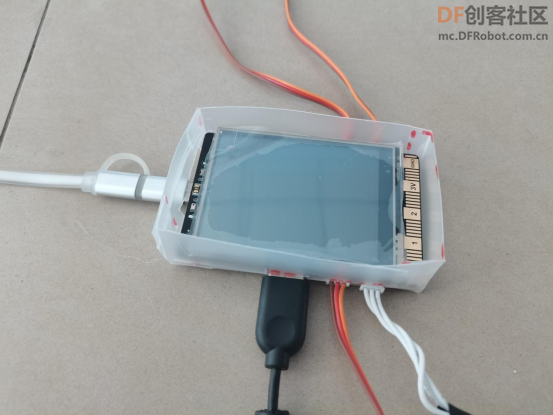
【设计意图】 【作品功能】 【制作元器件与材料】 行空板 行空板是一款专为Python学习和使用设计的新一代国产开源硬件,采用单板计算机架构,集成LCD彩屏、WiFi蓝牙、多种常用传感器和丰富的拓展接口。同时,其自带Linux操作系统和Python环境,还预装了常用的Python库,让广大师生只需两步就能进行Python教学。 【电路连接图 【实物图】 【制作过程】 1.行空板底座 保护行空板背面电子元器件
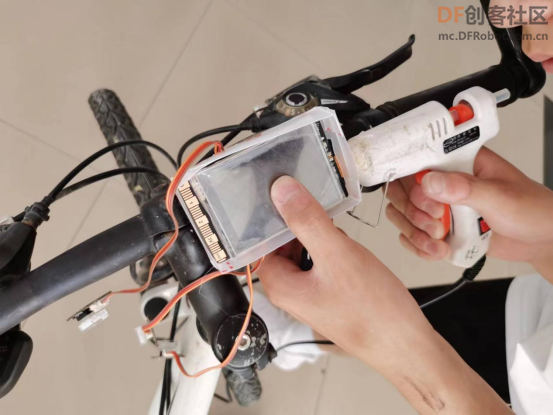
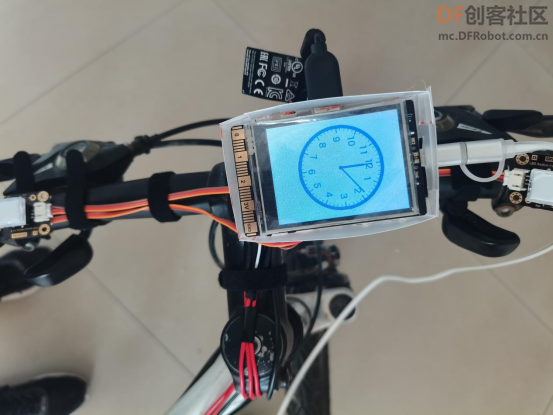
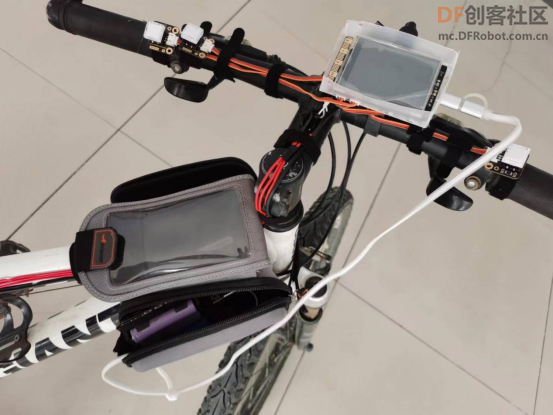
2.安装行空板
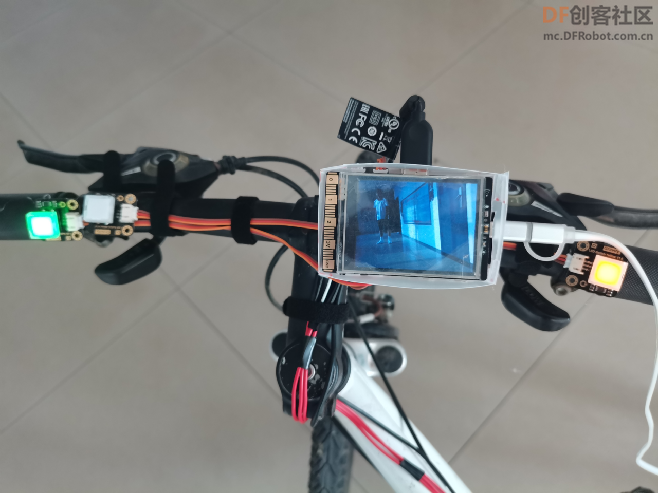
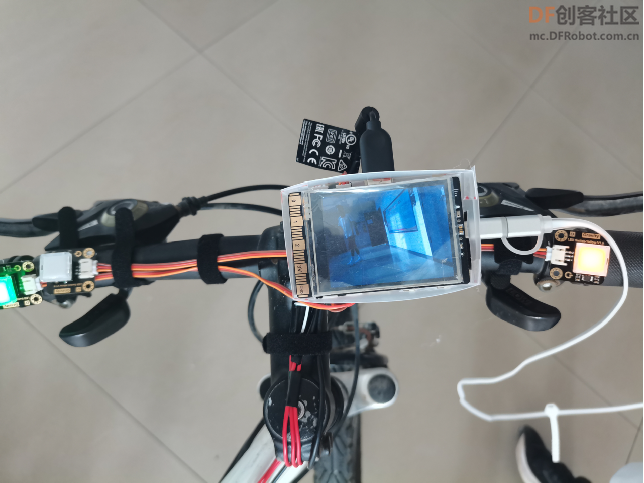
行空板安装在车把正中间,方便查看采集的后面图像。
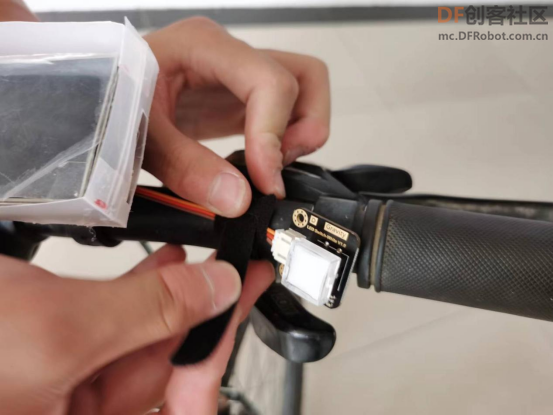
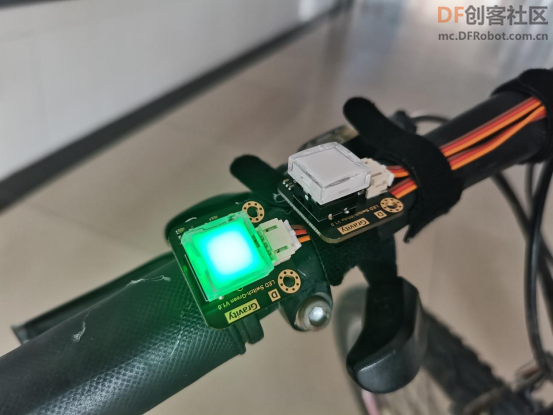
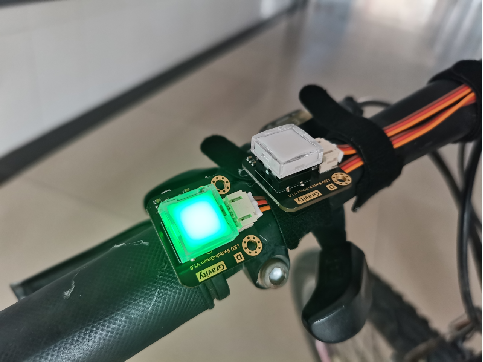
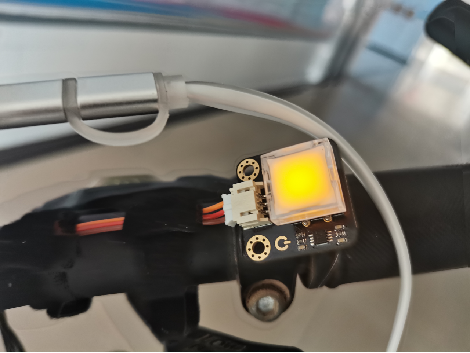
3.安装按钮
按钮安装在车把上,左转向与右转向按钮与左右车把对应。
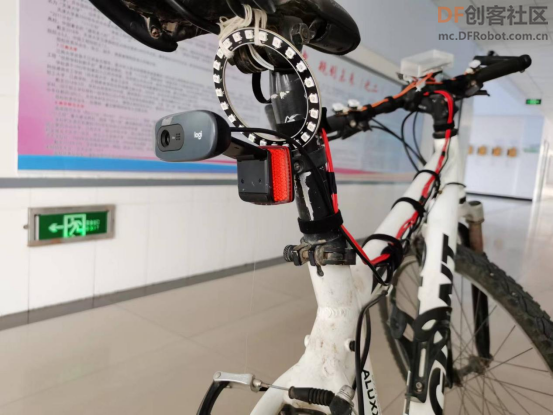
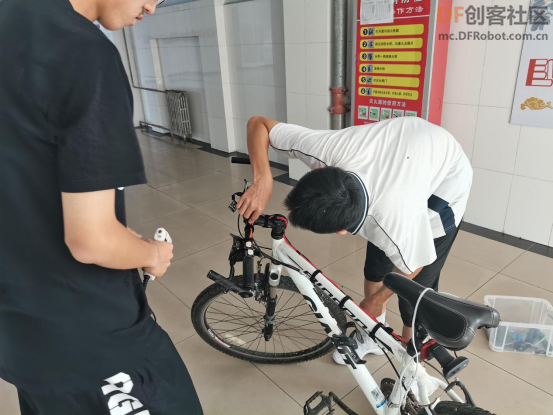
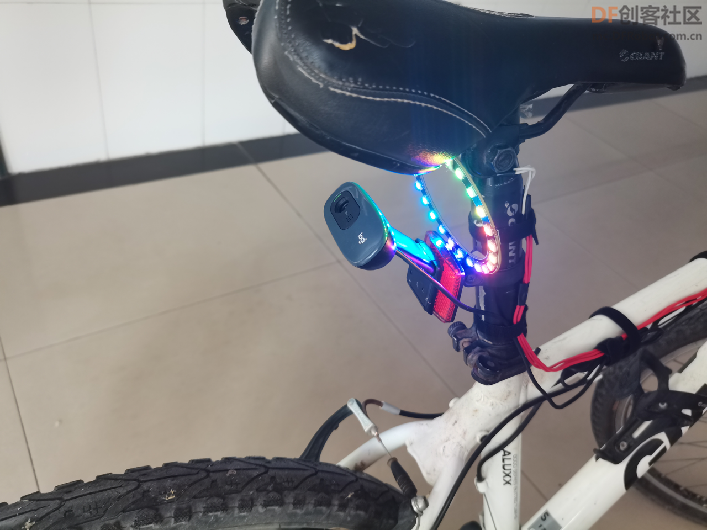
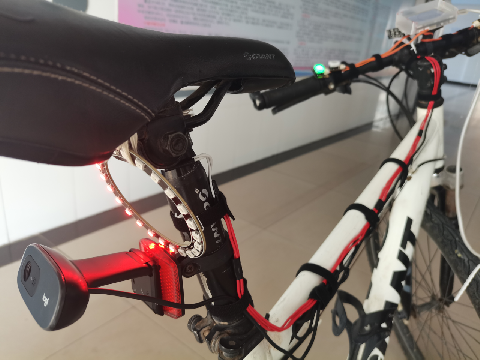
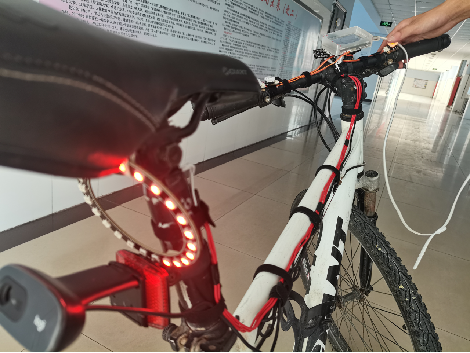
4.安装摄像头与灯环
摄像头与灯环安装在自行车车座后
5.安装电源
6.装置整体图
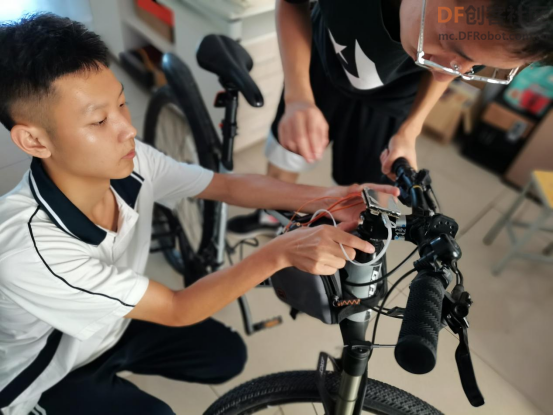
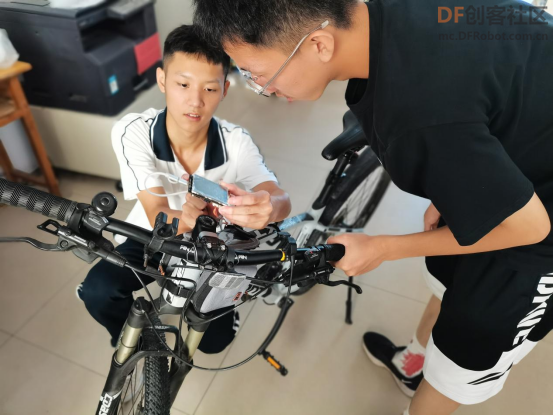
7.安装过程
【技术实现过程】
1.Google Teachable Machine
Google Teachable MachineGoogle Teachable Machine是Google免费的无代码深度学习模型创建网络平台。使用该平台你可以构建模型来对图像,音频甚至姿势进行分类。完成上述操作后,你可以下载经过训练的模型并将其用于你的应用程序。你可以使用Tensorflow或PyTorch之类的框架来构建自定义的卷积神经网络,或者如果你想要一种简单的无代码方式进行此操作,则可以使用 Google Teachable Machine
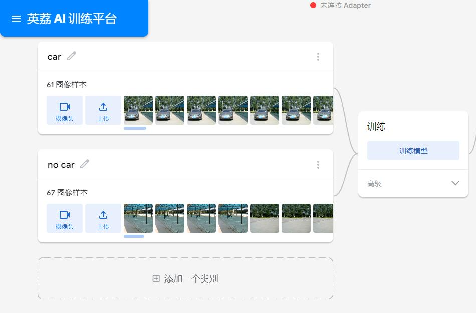
国内可通过英荔 AI 训练平台:
https://train.aimaker.space/train/image
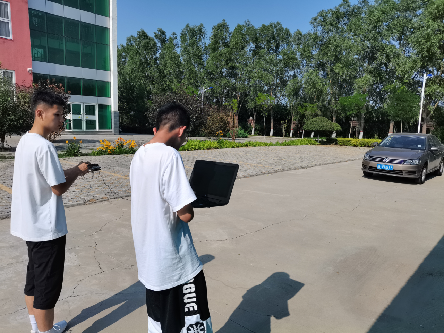
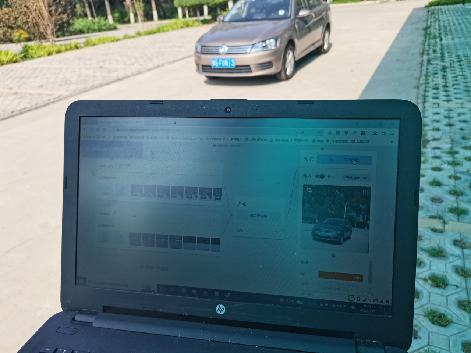
2.通过英荔 AI 训练平台中训练识别车辆的模型
import numpy as np
import cv2
from pinpong.extension.unihiker import *
from pinpong.board import Board,Pin
import tensorflow.keras
model = tensorflow.keras.models.load_model('keras_model.h5')
labels=['car','background']
font= cv2.FONT_HERSHEY_SIMPLEX
u_gui=GUI()
Board().begin()
p_p23_in=Pin(Pin.P23, Pin.IN)
cap = cv2.VideoCapture(0)
       if p_p23_in.read_digital()==True:
            cap = cv2.VideoCapture(0)
            success, image = cap.read()
            if success == False:
                     print("Ignoring empty camera frame.")
                     continue


        image = cv2.flip(image,1)
        img = cv2.resize(image,(224,224))
        img = np.array(img,dtype=np.float32)
        img = np.expand_dims(img,axis=0)
        img = img/255
        prediction = model.predict(img)
        predicted_class = labels[np.argmax(prediction)]
        cv2.putText(image, predicted_class, (123,456), font, 2, (0,255,0), 3)
        if predicted_class=='car':
             cv2.putText(image,'car', (123,456), font, 2, (0,255,0), 3)
        if predicted_class=="background":
             cv2.putText(image,'background', (123,456), font, 2, (0,255,0), 3)
  if cv2.waitKey(1) & 0xFF == ord('q'):
    break
cap.release()


复制代码
# MindPlus
# Python
from pinpong.extension.unihiker import *
from pinpong.board import Board,Pin
from pinpong.board import NeoPixel
import time


Board().begin()
p_p24_out=Pin(Pin.P24, Pin.OUT)

np1 = NeoPixel(p_p24_out,24)
index = 0

while True:
    np1.range_color(0,11,0xFF0000)
    np1.range_color(12,23,0x000000)

    time.sleep(1)
    np1.range_color(0,11,0x000000)
    np1.range_color(12,23,0xFF0000)

    time.sleep(1)
    np1.rainbow(0,23,0,0x0022FF)
    time.sleep(1)
    for i in range(100):
      np1.rotate(1)
      time.sleep(0.1)

复制代码
import cv2

from pinpong.board import Board,Pin
from pinpong.board import NeoPixel
import time
from unihiker import GUI

bs=0


Board().begin()
p_p24_out=Pin(Pin.P24, Pin.OUT)

np1 = NeoPixel(p_p24_out,24)
np1.clear()
p_p21_in=Pin(Pin.P21, Pin.IN)
p_p22_in=Pin(Pin.P22, Pin.IN)

currenttime1=time.time()
currenttime2=time.time()
color1=0xFF0000
color2=0xFF0000

bs1=0
bs2=0
bs3=0
bs4=0
u_gui=GUI()

while True:

    if p_p21_in.read_digital()==True and p_p22_in.read_digital()==False:
        if time.time()-currenttime1>0.2:
           currenttime1=time.time()
           if color1==0x000000:
              color1=0xFF0000
           else:
              color1=0x000000
           np1.range_color(0,11,color1)
        bs3=1
    elif bs3==1:
        bs3=0
        np1.range_color(0,11,0x000000 )
    if p_p22_in.read_digital()==True and p_p21_in.read_digital()==False:
       if time.time()-currenttime2>0.2:
           currenttime2=time.time()
           if color2==0x000000:
              color2=0xFF0000
           else:
              color2=0x000000
           np1.range_color(12,23,color2)
       bs4=1
    elif bs4==1:
        bs4=0
        np1.range_color(12,23,0x000000)
    if p_p22_in.read_digital()==True and


复制代码
import cv2
from pinpong.board import Board,Pin
from pinpong.board import NeoPixel
import time
from unihiker import GUI
bs=0
#False:不旋转屏幕(竖屏显示,上下会有白边)
#True:旋转屏幕(横屏显示)
screen_rotation = True
cap = cv2.VideoCapture(0)
cap.set(cv2.CAP_PROP_FRAME_WIDTH, 320)  #设置摄像头图像宽度
cap.set(cv2.CAP_PROP_FRAME_HEIGHT, 240) #设置摄像头图像高度
cap.set(cv2.CAP_PROP_BUFFERSIZE, 1)     #设置OpenCV内部的图像缓存,可以极大提高图像的实时性。
cv2.namedWindow('camera',cv2.WND_PROP_FULLSCREEN)    #窗口全屏
cv2.setWindowProperty('camera', cv2.WND_PROP_FULLSCREEN, cv2.WINDOW_FULLSCREEN)   #窗口全屏
Board().begin()
p_p24_out=Pin(Pin.P24, Pin.OUT)
np1 = NeoPixel(p_p24_out,24)
np1.clear()
p_p21_in=Pin(Pin.P21, Pin.IN)
p_p22_in=Pin(Pin.P22, Pin.IN)
currenttime1=time.time()
currenttime2=time.time()
color1=0xFF0000
color2=0xFF0000
bs1=0
bs2=0
bs3=0
bs4=0
u_gui=GUI()

while True:

    if p_p22_in.read_digital()==True and p_p21_in.read_digital()==True:
     bs1=0
     success, img = cap.read()
     if not success:
        print("Ignoring empty camera frame.")
        continue
     if bs2==0:
         bs2=1
         cv2.namedWindow('camera',cv2.WND_PROP_FULLSCREEN)    #窗口全屏
         cv2.setWindowProperty('camera', cv2.WND_PROP_FULLSCREEN, cv2.WINDOW_FULLSCREEN)   #窗口全屏
     if screen_rotation: #是否要旋转屏幕
        img = cv2.rotate(img, cv2.ROTATE_90_COUNTERCLOCKWISE) #旋转屏幕
     cv2.imshow('camera',img)
     print("camera")
    else:
     if bs1==0:
       print("1")
       cv2.destroyAllWindows()
       sz=u_gui.draw_clock(x=120,y=100,r=50,color="#0000FF")
       bs2=0
       bs1=1
     else:
       pass
cap.release()
cv2.destroyAllWindow()

复制代码
【演示视频】 


 沪公网安备31011502402448
 置顶卡
置顶卡 变色卡
变色卡 千斤顶
千斤顶


 活跃会员
活跃会员
 宣传大使
宣传大使
 牛X认证
牛X认证
 创客造
创客造
 编辑选择奖
编辑选择奖
 志“童”道合
 编辑选择奖
编辑选择奖
 编辑选择奖
编辑选择奖
 编辑选择奖
编辑选择奖
 编辑选择奖
编辑选择奖


