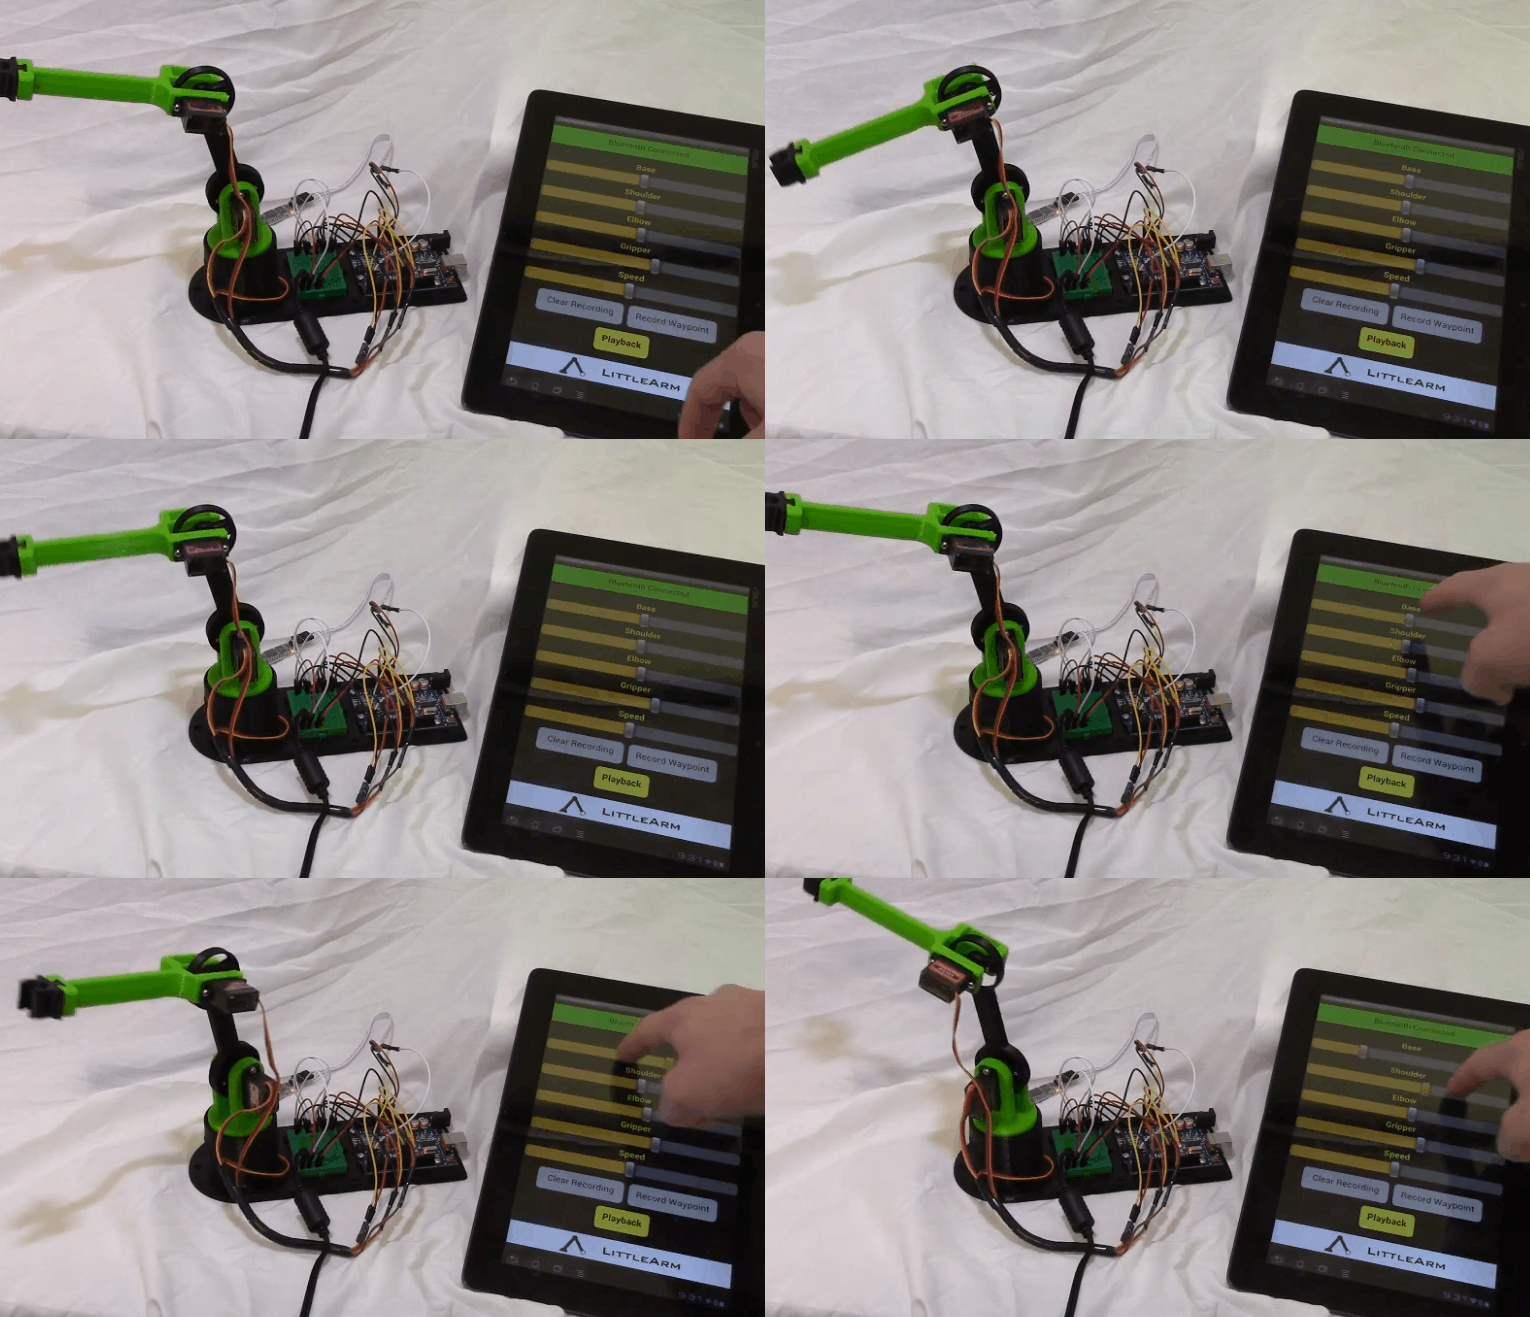
项目代码
- #include <Servo.h> //arduino library
- #include <math.h> //standard c library
-
- #define PI 3.141
-
- Servo baseServo;
- Servo shoulderServo;
- Servo elbowServo;
- Servo gripperServo;
-
- int command;
-
- struct jointAngle{
- int base;
- int shoulder;
- int elbow;
- };
-
- int desiredGrip;
- int gripperPos;
-
- int desiredDelay;
-
- int servoSpeed = 15;
- int ready = 0;
-
- struct jointAngle desiredAngle; //desired angles of the servos
-
- //+++++++++++++++FUNCTION DECLARATIONS+++++++++++++++++++++++++++
-
- int servoParallelControl (int thePos, Servo theServo );
- //+++++++++++++++++++++++++++++++++++++++++++++++++++++++++++
-
- void setup()
- {
- Serial.begin(9600);
- baseServo.attach(9); // attaches the servo on pin 9 to the servo object
- shoulderServo.attach(10);
- elbowServo.attach(11);
- gripperServo.attach(6);
-
- Serial.setTimeout(50); //ensures the the arduino does not read serial for too long
- Serial.println("started");
- baseServo.write(90); //intial positions of servos
- shoulderServo.write(150);
- elbowServo.write(110);
- ready = 0;
- }
-
- //primary arduino loop
- void loop()
- {
- if (Serial.available()){
- ready = 1;
- desiredAngle.base = Serial.parseInt();
- desiredAngle.shoulder = Serial.parseInt();
- desiredAngle.elbow = Serial.parseInt();
- desiredGrip = Serial.parseInt();
- desiredDelay = Serial.parseInt();
-
- if(Serial.read() == '\n'){ // if the last byte is 'd' then stop reading and execute command 'd' stands for 'done'
-
- Serial.flush(); //clear all other commands piled in the buffer
- //send completion of the command
- Serial.print('d');
- }
- }
-
- int status1 = 0;
- int status2 = 0;
- int status3 = 0;
- int status4 = 0;
- int done = 0 ;
-
- while(done == 0 && ready == 1){
- //move the servo to the desired position
- status1 = servoParallelControl(desiredAngle.base, baseServo, desiredDelay);
- status2 = servoParallelControl(desiredAngle.shoulder, shoulderServo, desiredDelay);
- status3 = servoParallelControl(desiredAngle.elbow, elbowServo, desiredDelay);
- status4 = servoParallelControl(desiredGrip, gripperServo, desiredDelay);
-
- if (status1 == 1 & status2 == 1 & status3 == 1 & status4 == 1){
- done = 1;
-
- }
-
- }// end of while
-
-
-
-
- }
-
- //++++++++++++++++++++++++++++++FUNCTION DEFITNITIONS++++++++++++++++++++++++++++++++++++++++++
-
- int servoParallelControl (int thePos, Servo theServo, int theSpeed ){
-
- int startPos = theServo.read(); //read the current pos
- int newPos = startPos;
- //int theSpeed = speed;
-
- //define where the pos is with respect to the command
- // if the current position is less that the actual move up
- if (startPos < (thePos-5)){
-
- newPos = newPos + 1;
- theServo.write(newPos);
- delay(theSpeed);
- return 0;
-
- }
-
- else if (newPos > (thePos + 5)){
-
- newPos = newPos - 1;
- theServo.write(newPos);
- delay(theSpeed);
- return 0;
-
- }
-
- else {
- return 1;
- }
-
-
- }
| 
 沪公网安备31011502402448