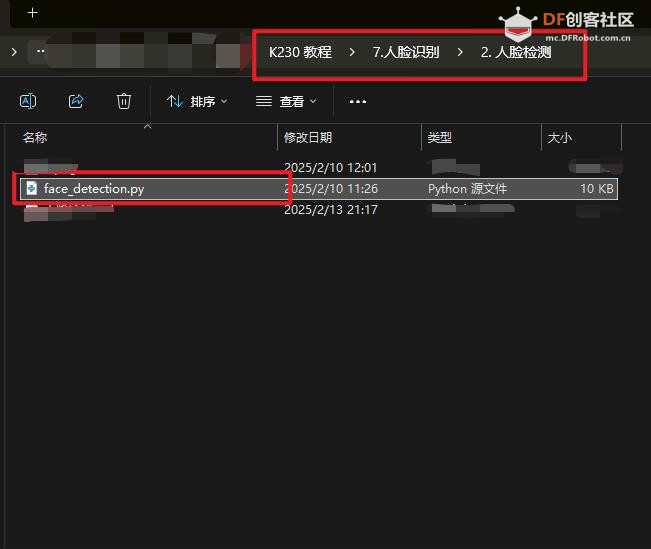
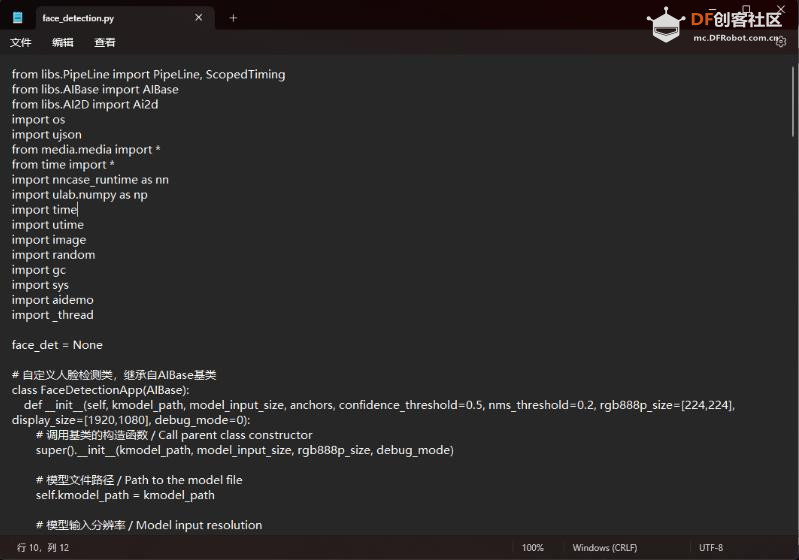
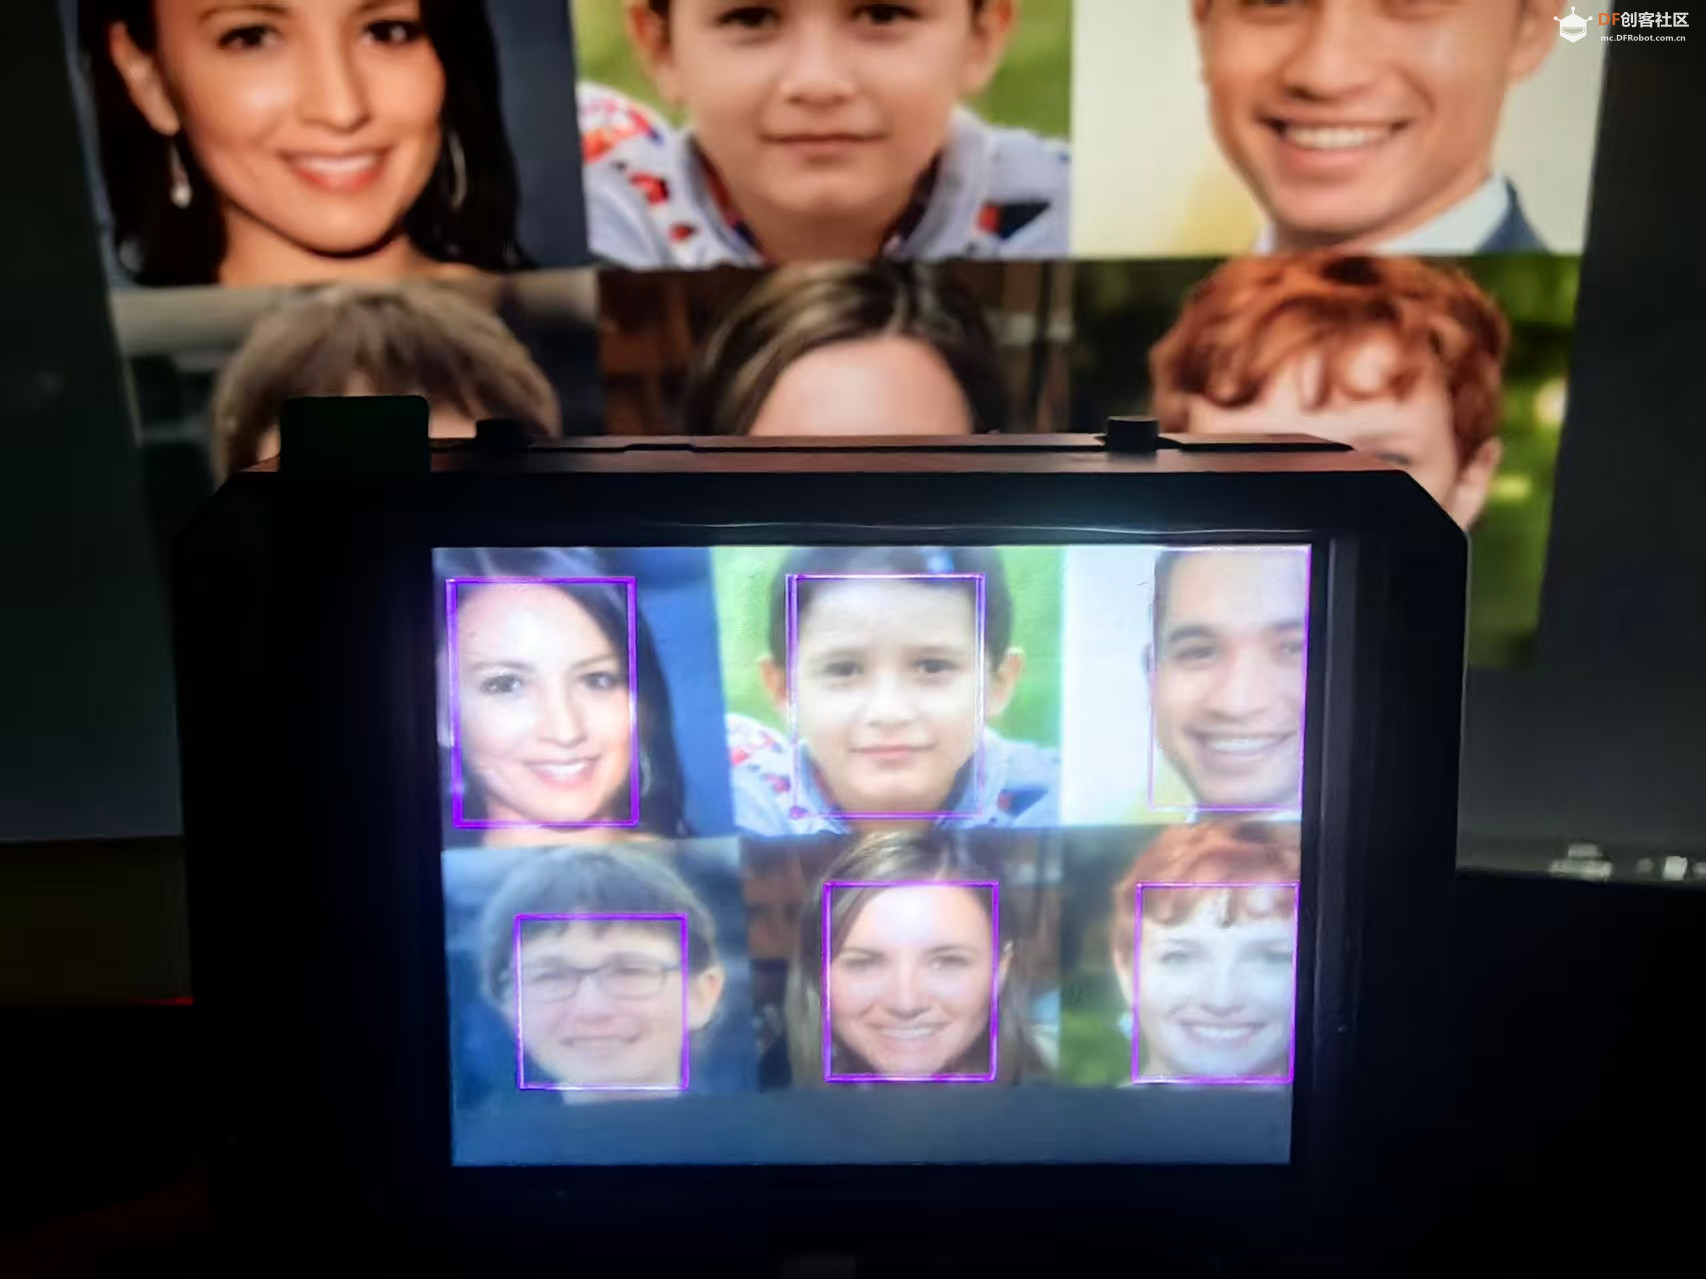
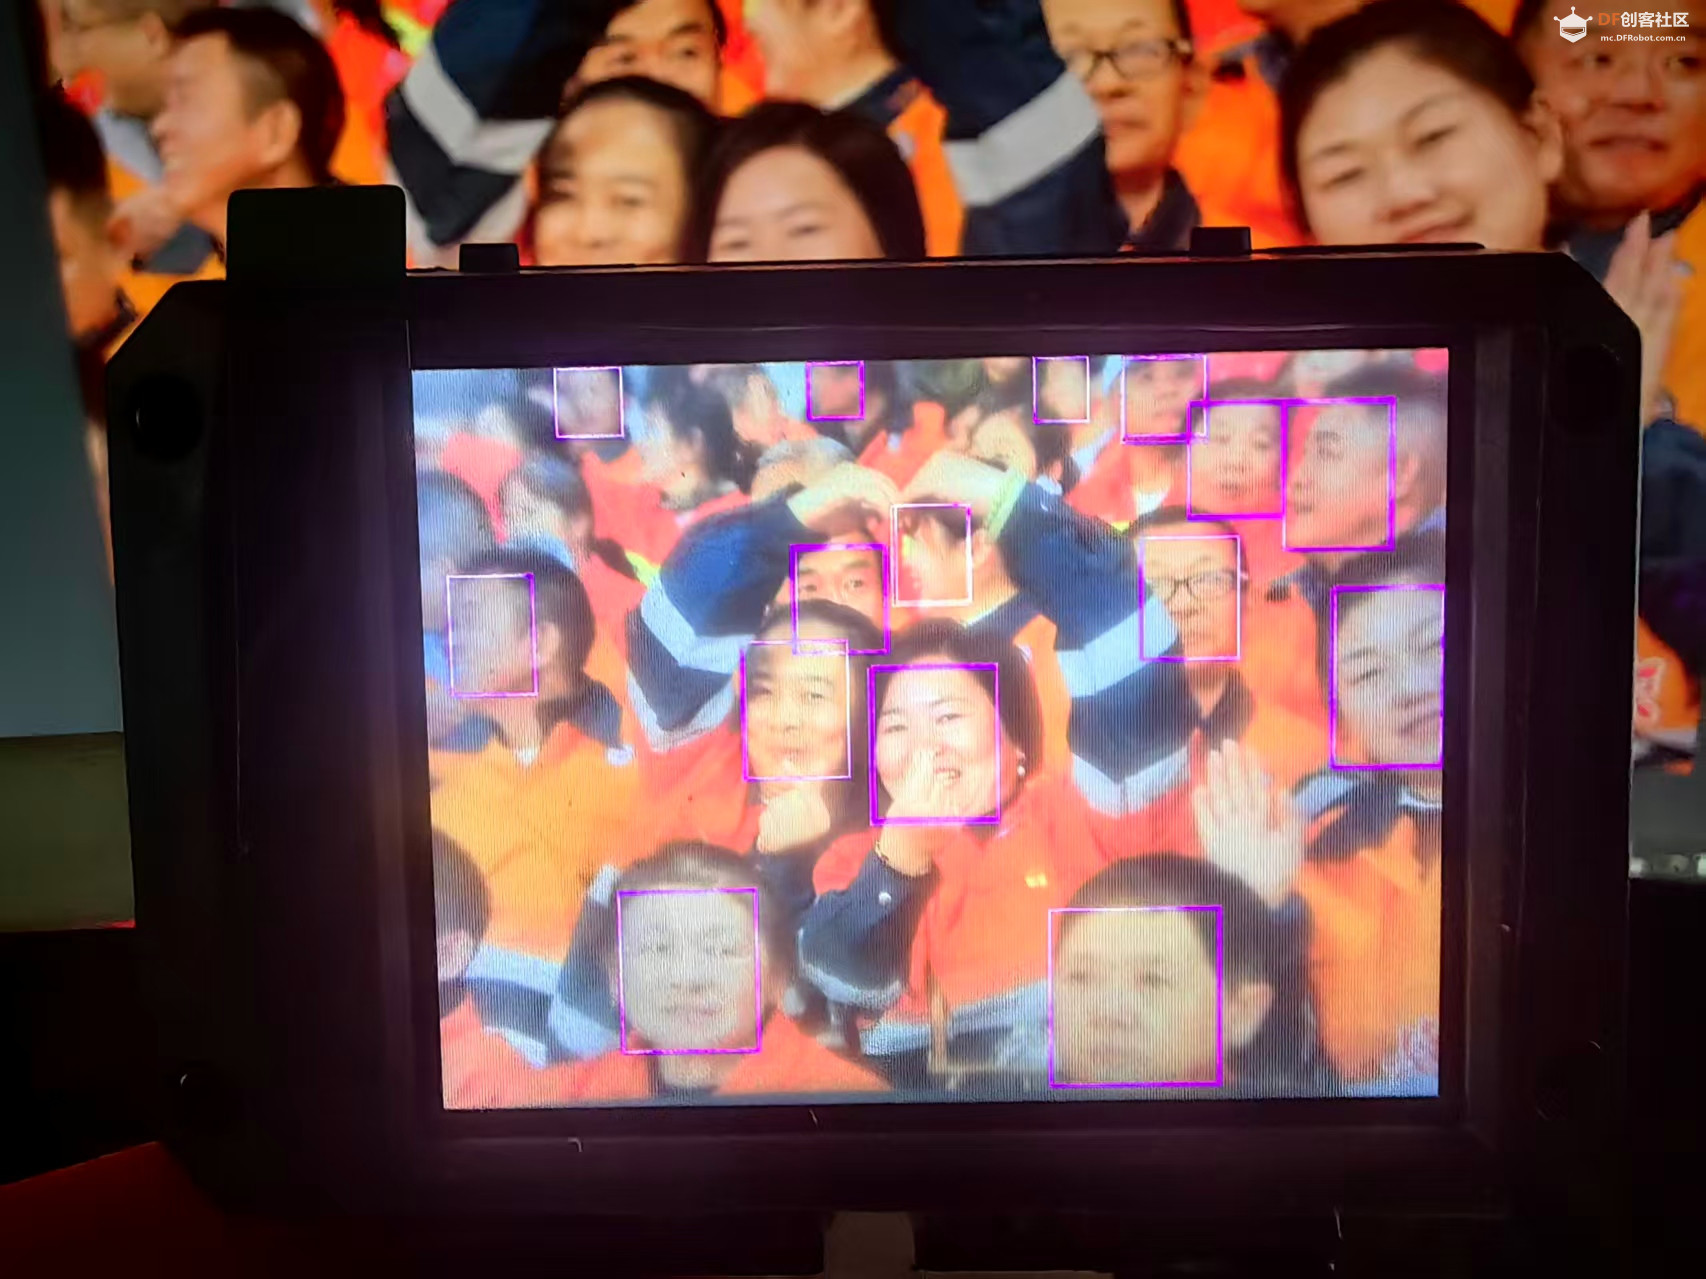
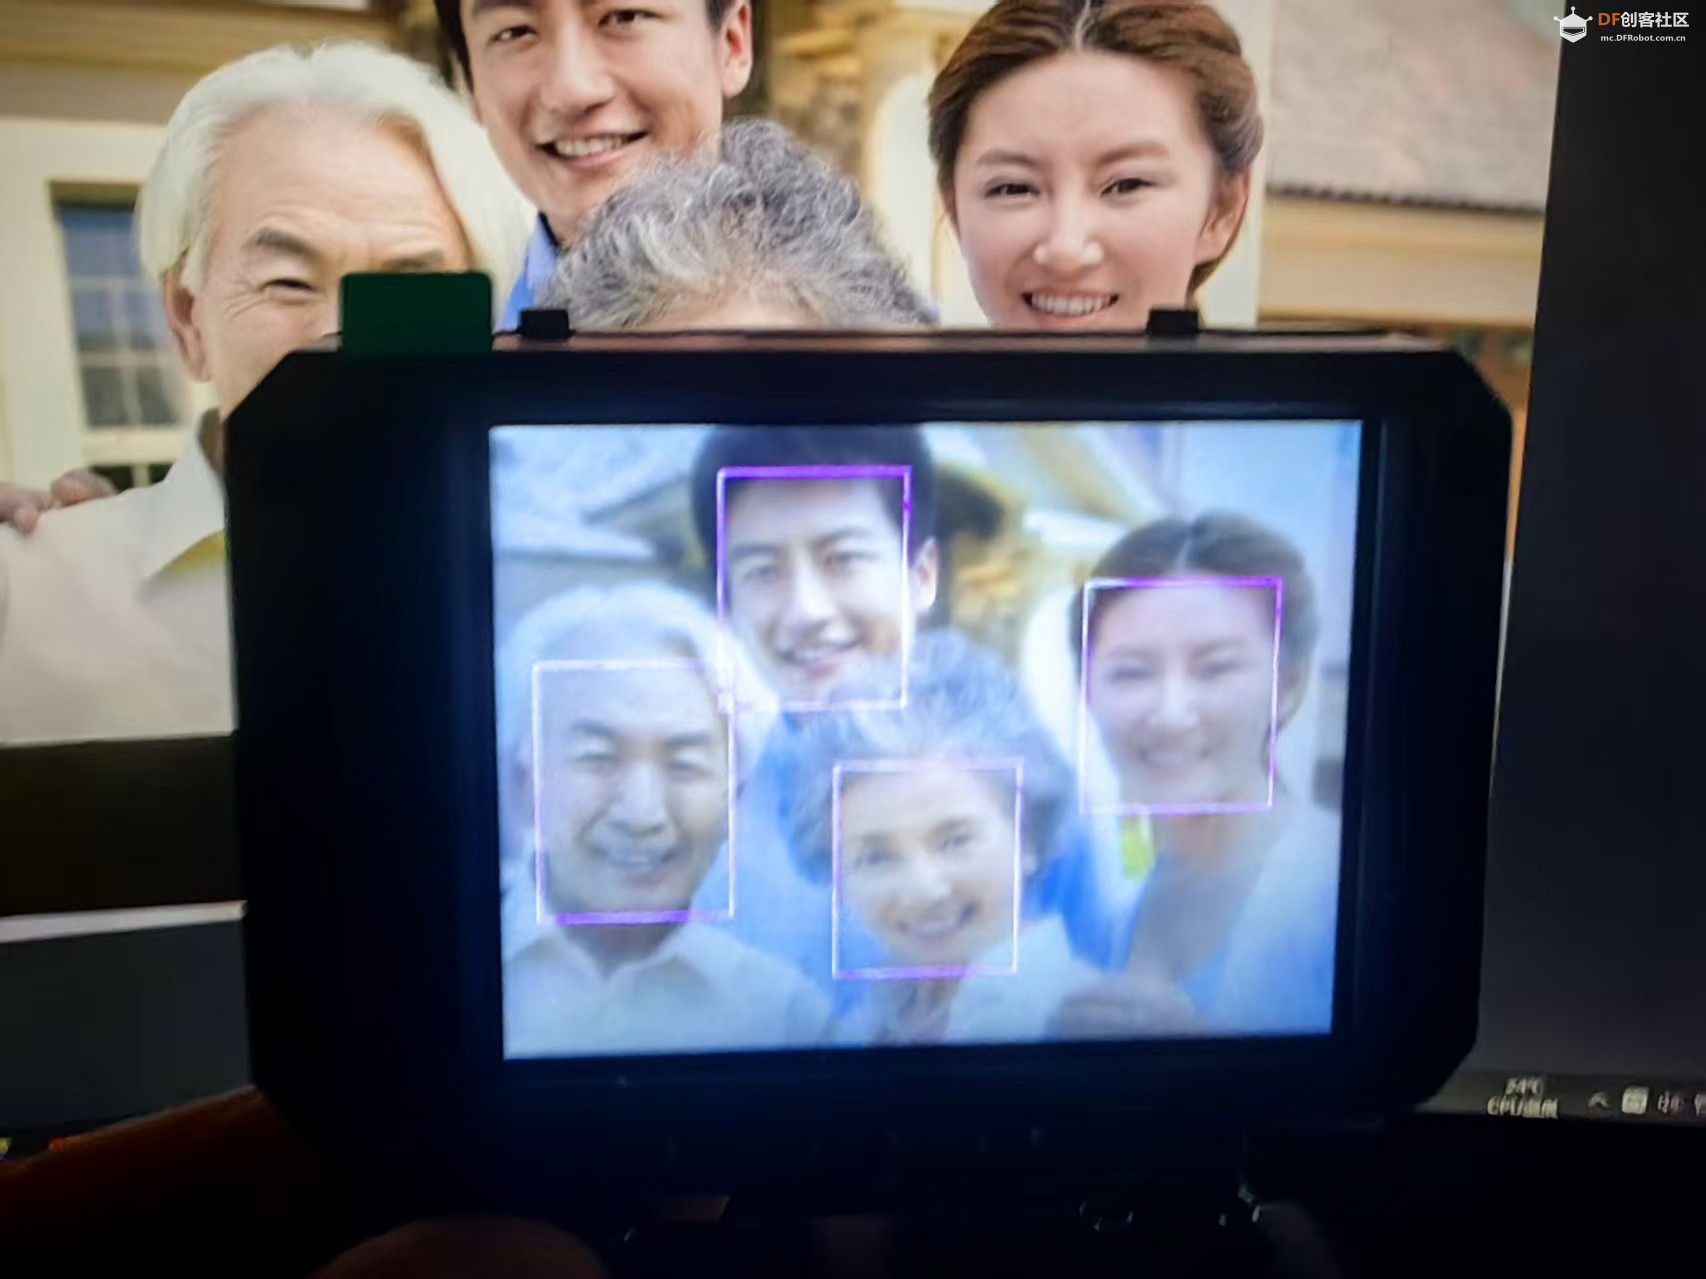
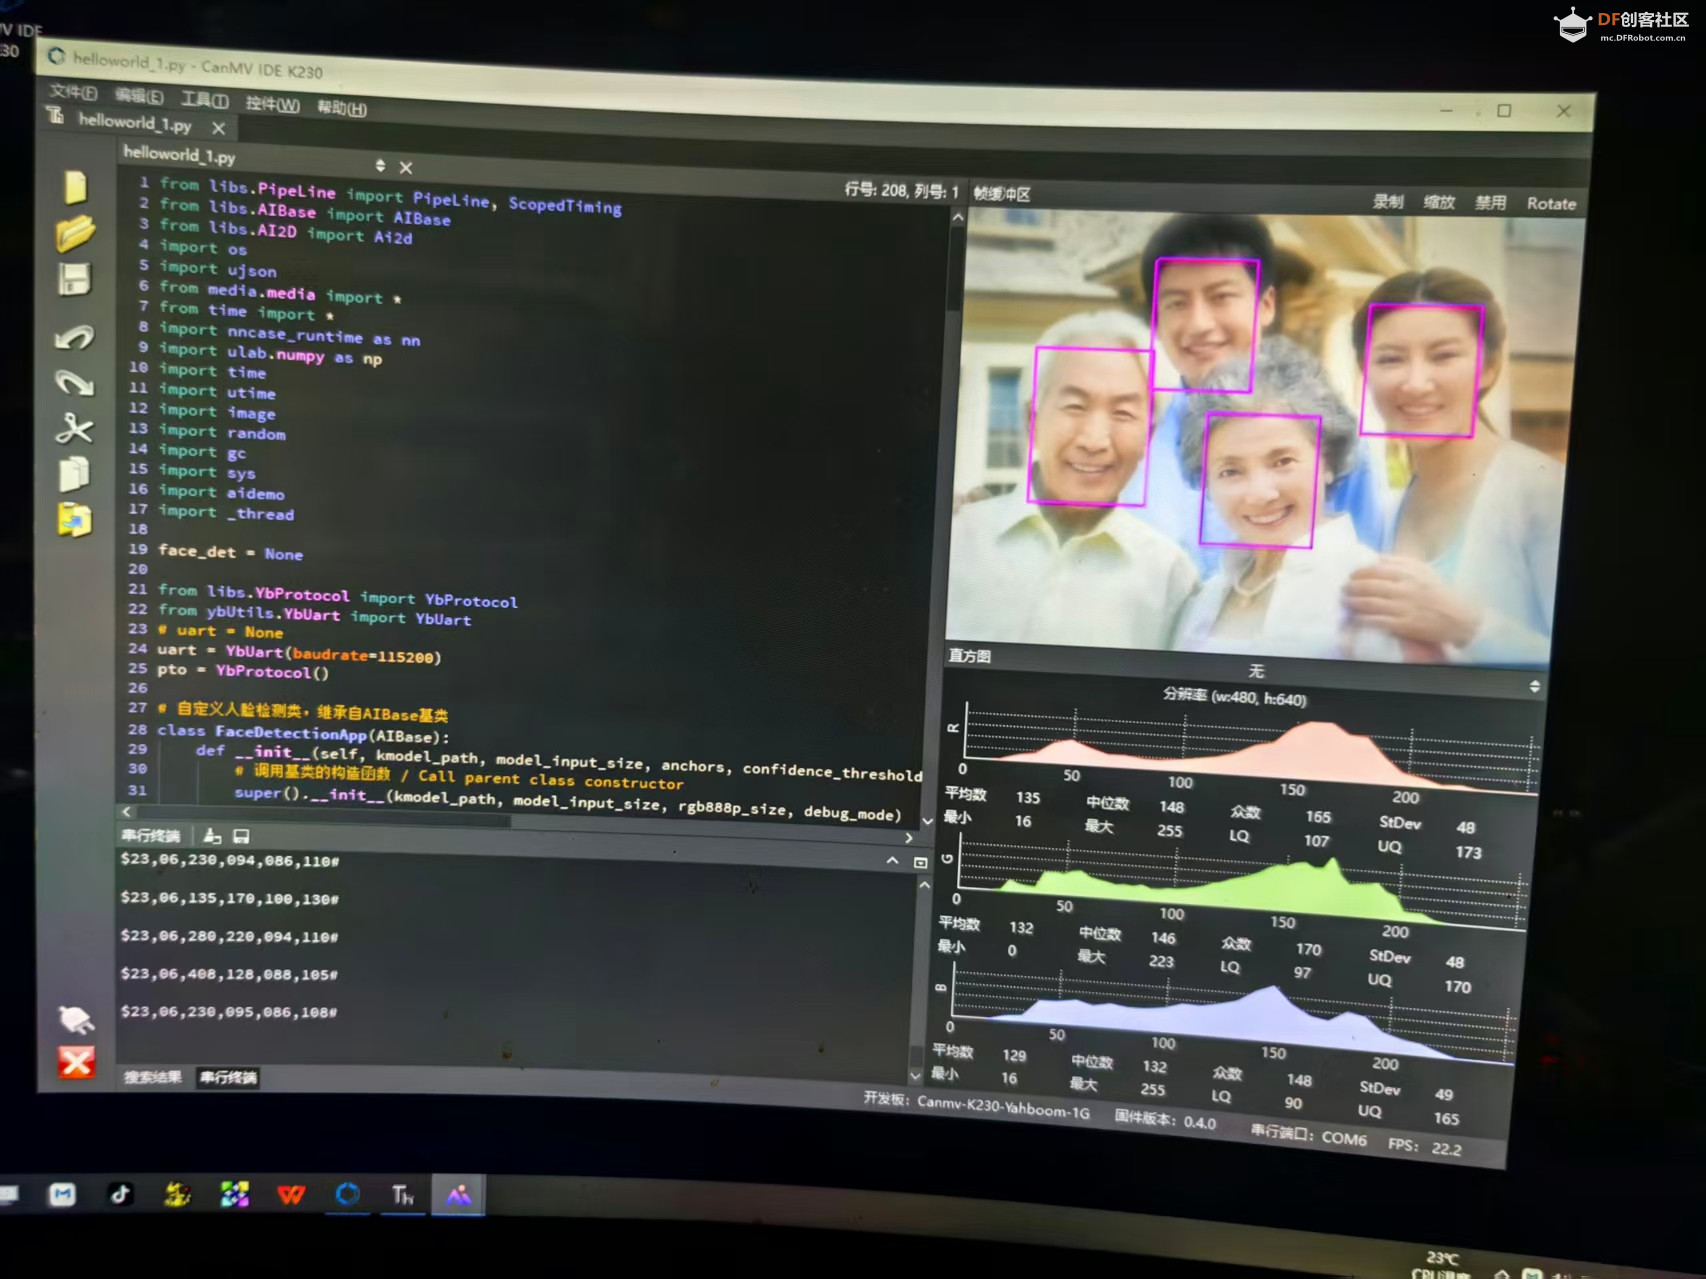
调试运行的人脸代码
- # 导入图像处理管线类和计时器工具类
- from libs.PipeLine import PipeLine, ScopedTiming
- # 导入 AI 模型基础类
- from libs.AIBase import AIBase
- # 导入图像预处理类
- from libs.AI2D import Ai2d
- # 导入系统和图像处理相关模块
- import os
- import ujson # Micropython 下的 JSON 库
- from media.media import * # 图像采集与显示相关函数
- from time import * # 时间控制函数
- import nncase_runtime as nn # K230 模型推理运行时库
- import ulab.numpy as np # Micropython 下的轻量级 numpy 库
- import time
- import utime
- import image # 图像处理模块
- import random
- import gc # 垃圾回收模块
- import sys
- import aidemo # AI 推理后处理模块(如人脸检测后处理)
- import _thread # 多线程支持
-
- # 初始化串口通信模块
- from libs.YbProtocol import YbProtocol # 自定义串口协议封装
- from ybUtils.YbUart import YbUart # 串口通信类
- uart = YbUart(baudrate=115200) # 创建串口对象,设置波特率为 115200
- pto = YbProtocol() # 创建协议对象,用于封装串口发送的数据格式
-
- # 定义全局变量用于人脸检测实例
- face_det = None
-
- # 定义人脸检测应用类,继承自 AIBase,封装模型加载、预处理、推理、后处理、绘图等功能
- class FaceDetectionApp(AIBase):
- def __init__(self, kmodel_path, model_input_size, anchors, confidence_threshold=0.5, nms_threshold=0.2, rgb888p_size=[224,224], display_size=[1920,1080], debug_mode=0):
- super().__init__(kmodel_path, model_input_size, rgb888p_size, debug_mode)
- self.kmodel_path = kmodel_path # 模型路径
- self.model_input_size = model_input_size # 模型输入尺寸
- self.confidence_threshold = confidence_threshold # 检测置信度阈值
- self.nms_threshold = nms_threshold # 非极大值抑制阈值
- self.anchors = anchors # 锚框数据
- self.rgb888p_size = [ALIGN_UP(rgb888p_size[0], 16), rgb888p_size[1]] # 图像输入尺寸(宽度按 16 对齐)
- self.display_size = [ALIGN_UP(display_size[0], 16), display_size[1]] # 显示尺寸(宽度按 16 对齐)
- self.debug_mode = debug_mode # 调试模式标志
- self.ai2d = Ai2d(debug_mode) # 初始化图像预处理对象
- self.ai2d.set_ai2d_dtype(nn.ai2d_format.NCHW_FMT, nn.ai2d_format.NCHW_FMT, np.uint8, np.uint8) # 设置输入输出格式
-
- def config_preprocess(self, input_image_size=None):
- with ScopedTiming("set preprocess config", self.debug_mode > 0):
- ai2d_input_size = input_image_size if input_image_size else self.rgb888p_size # 获取输入尺寸
- top, bottom, left, right = self.get_padding_param() # 获取 padding 参数
- self.ai2d.pad([0, 0, 0, 0, top, bottom, left, right], 0, [104, 117, 123]) # 设置边缘填充
- self.ai2d.resize(nn.interp_method.tf_bilinear, nn.interp_mode.half_pixel) # 设置插值方式
- self.ai2d.build([1,3,ai2d_input_size[1],ai2d_input_size[0]], [1,3,self.model_input_size[1],self.model_input_size[0]]) # 构建预处理流程
-
- def postprocess(self, results):
- with ScopedTiming("postprocess", self.debug_mode > 0):
- post_ret = aidemo.face_det_post_process(self.confidence_threshold, self.nms_threshold, self.model_input_size[1], self.anchors, self.rgb888p_size, results) # 调用后处理函数
- return post_ret[0] if post_ret else post_ret # 返回检测结果
-
- def draw_result(self, pl, dets):
- with ScopedTiming("display_draw", self.debug_mode > 0):
- if dets:
- pl.osd_img.clear() # 清除上一帧绘制内容
- for det in dets:
- x, y, w, h = map(lambda x: int(round(x, 0)), det[:4]) # 获取检测框坐标
- x = x * self.display_size[0] // self.rgb888p_size[0]
- y = y * self.display_size[1] // self.rgb888p_size[1]
- w = w * self.display_size[0] // self.rgb888p_size[0]
- h = h * self.display_size[1] // self.rgb888p_size[1]
- pl.osd_img.draw_rectangle(x, y, w, h, color=(255, 255, 0, 255), thickness=2) # 绘制黄色矩形框
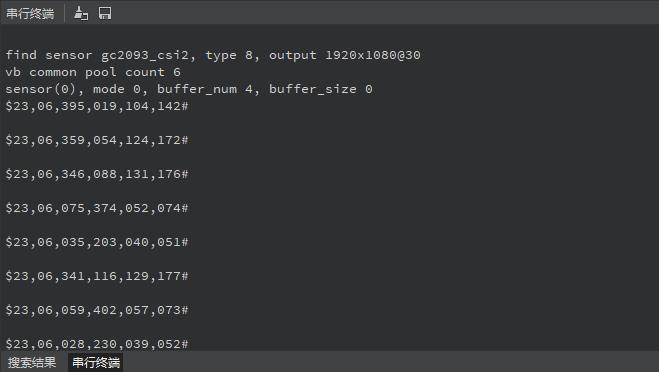
- pto_data = pto.get_face_detect_data(x, y, w, h) # 生成串口数据
- uart.send(pto_data) # 发送串口数据
- print(pto_data) # 打印数据
- else:
- pl.osd_img.clear() # 无检测结果时清屏
-
- def get_padding_param(self):
- dst_w = self.model_input_size[0]
- dst_h = self.model_input_size[1]
- ratio_w = dst_w / self.rgb888p_size[0]
- ratio_h = dst_h / self.rgb888p_size[1]
- ratio = min(ratio_w, ratio_h)
- new_w = int(ratio * self.rgb888p_size[0])
- new_h = int(ratio * self.rgb888p_size[1])
- dw = (dst_w - new_w) / 2
- dh = (dst_h - new_h) / 2
- return (int(round(0)), int(round(dh * 2 + 0.1)), int(round(0)), int(round(dw * 2 - 0.1))) # 返回 padding 参数
-
- # 主执行函数:加载模型、处理图像、显示结果
- def exce_demo(pl):
- global face_det
- display_mode = pl.display_mode # 获取显示模式
- rgb888p_size = pl.rgb888p_size # 获取图像尺寸
- display_size = pl.display_size # 获取显示尺寸
- kmodel_path = "/sdcard/kmodel/face_detection_320.kmodel" # 模型路径
- confidence_threshold = 0.5 # 置信度阈值
- nms_threshold = 0.2 # 非极大值抑制阈值
- anchor_len = 4200 # 锚框数量
- det_dim = 4 # 检测框维度
- anchors_path = "/sdcard/utils/prior_data_320.bin" # 锚框数据路径
- anchors = np.fromfile(anchors_path, dtype=np.float) # 加载锚框数据
- anchors = anchors.reshape((anchor_len, det_dim)) # 重塑锚框数据形状
-
- try:
- face_det = FaceDetectionApp(kmodel_path, model_input_size=[320, 320], anchors=anchors, confidence_threshold=confidence_threshold, nms_threshold=nms_threshold, rgb888p_size=rgb888p_size, display_size=display_size, debug_mode=0) # 初始化人脸检测实例
- face_det.config_preprocess() # 配置图像预处理
-
- while True:
- with ScopedTiming("total",0): # 总计时器
- img = pl.get_frame() # 获取摄像头图像
- res = face_det.run(img) # 执行人脸检测推理
- face_det.draw_result(pl, res) # 绘制检测结果
- pl.show_image() # 显示图像
- gc.collect() # 垃圾回收
- time.sleep_us(10) # 微秒级延时
-
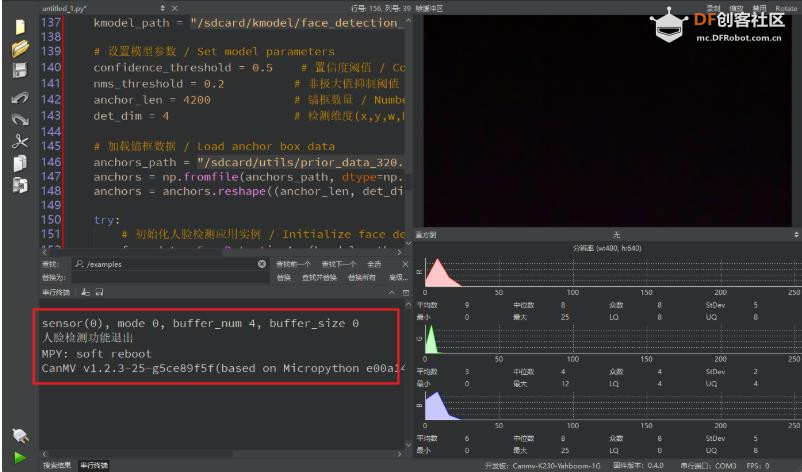
- except Exception as e:
- print("人脸检测功能退出") # 异常退出提示
- finally:
- face_det.deinit() # 释放资源
-
- # 程序退出时释放资源
- def exit_demo():
- global face_det
- face_det.deinit()
-
- # 主程序入口
- if __name__ == "__main__":
- rgb888p_size=[640,480] # 设置图像尺寸
- display_size=[640,480] # 设置显示尺寸
- display_mode
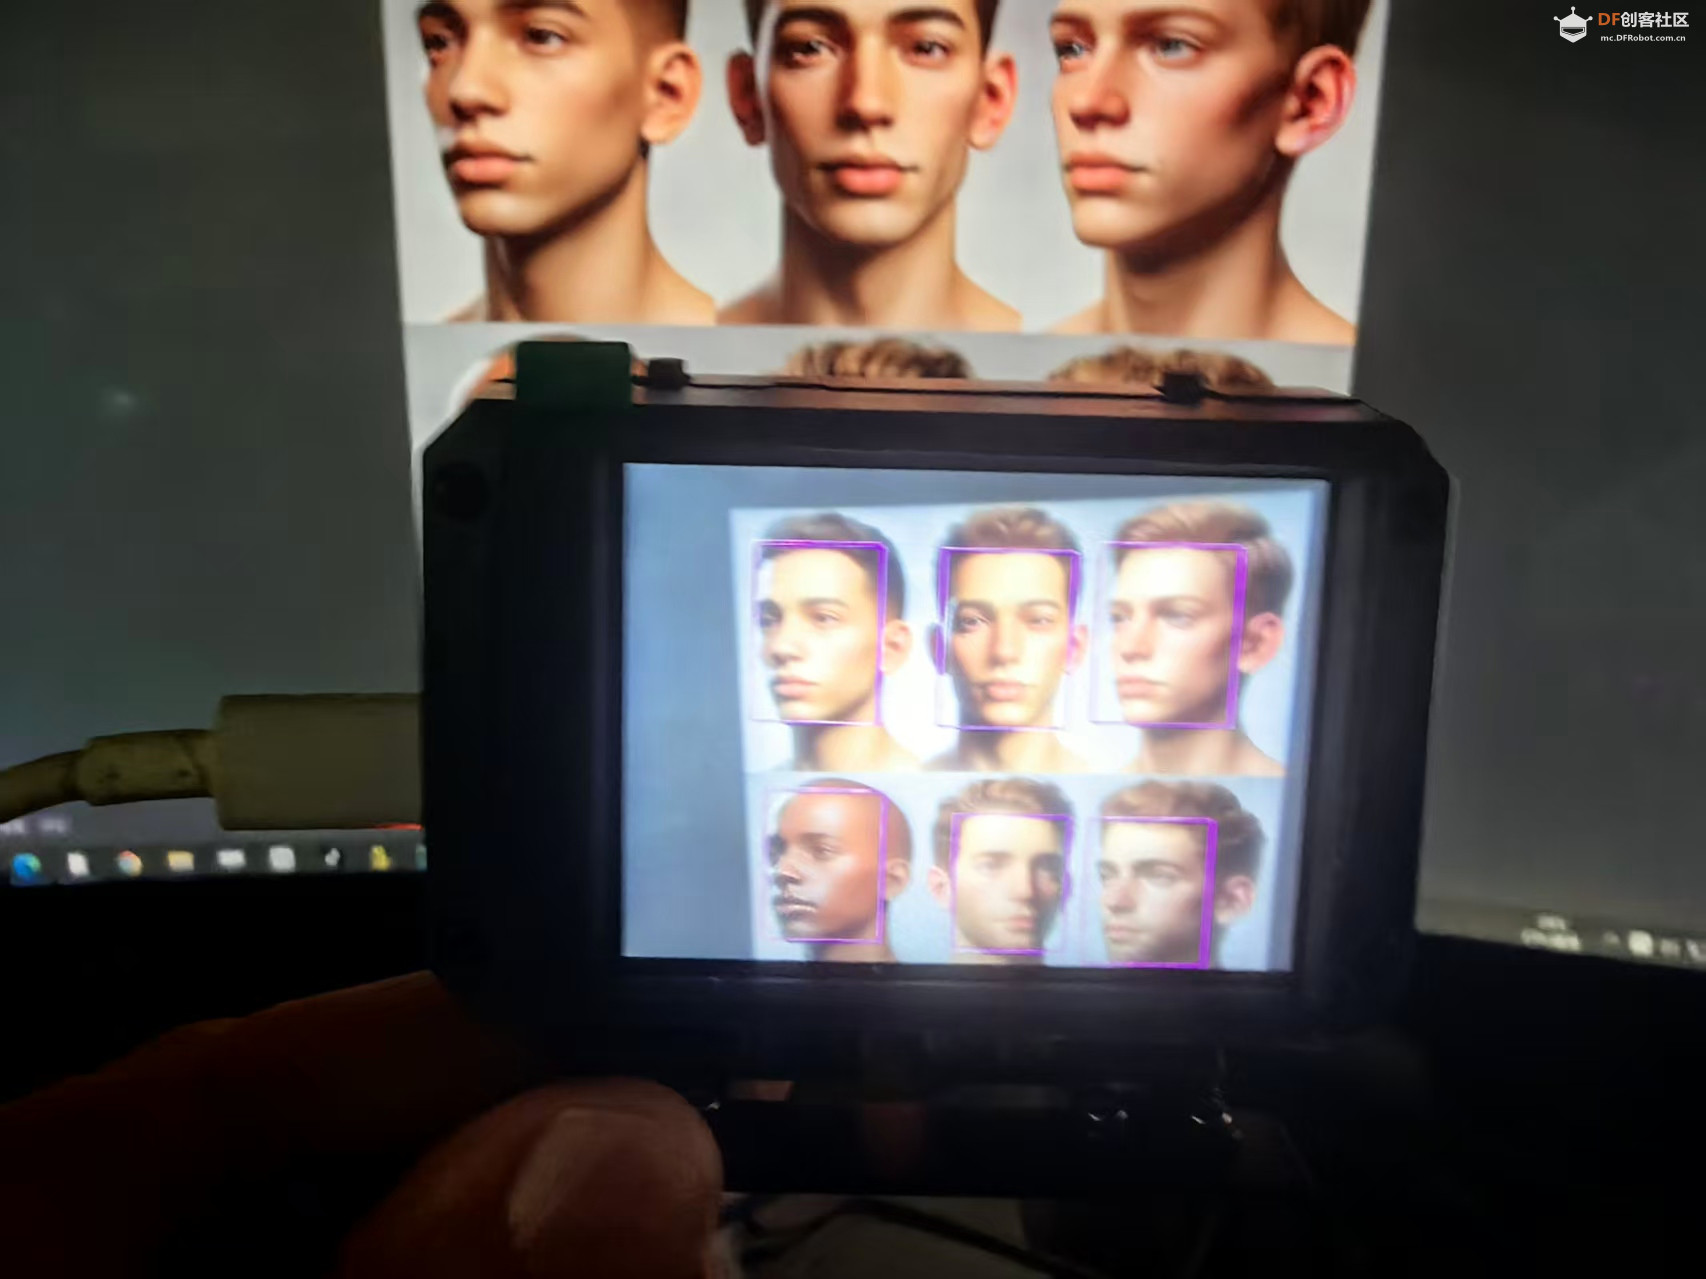
相关代码解读
程序整体目标
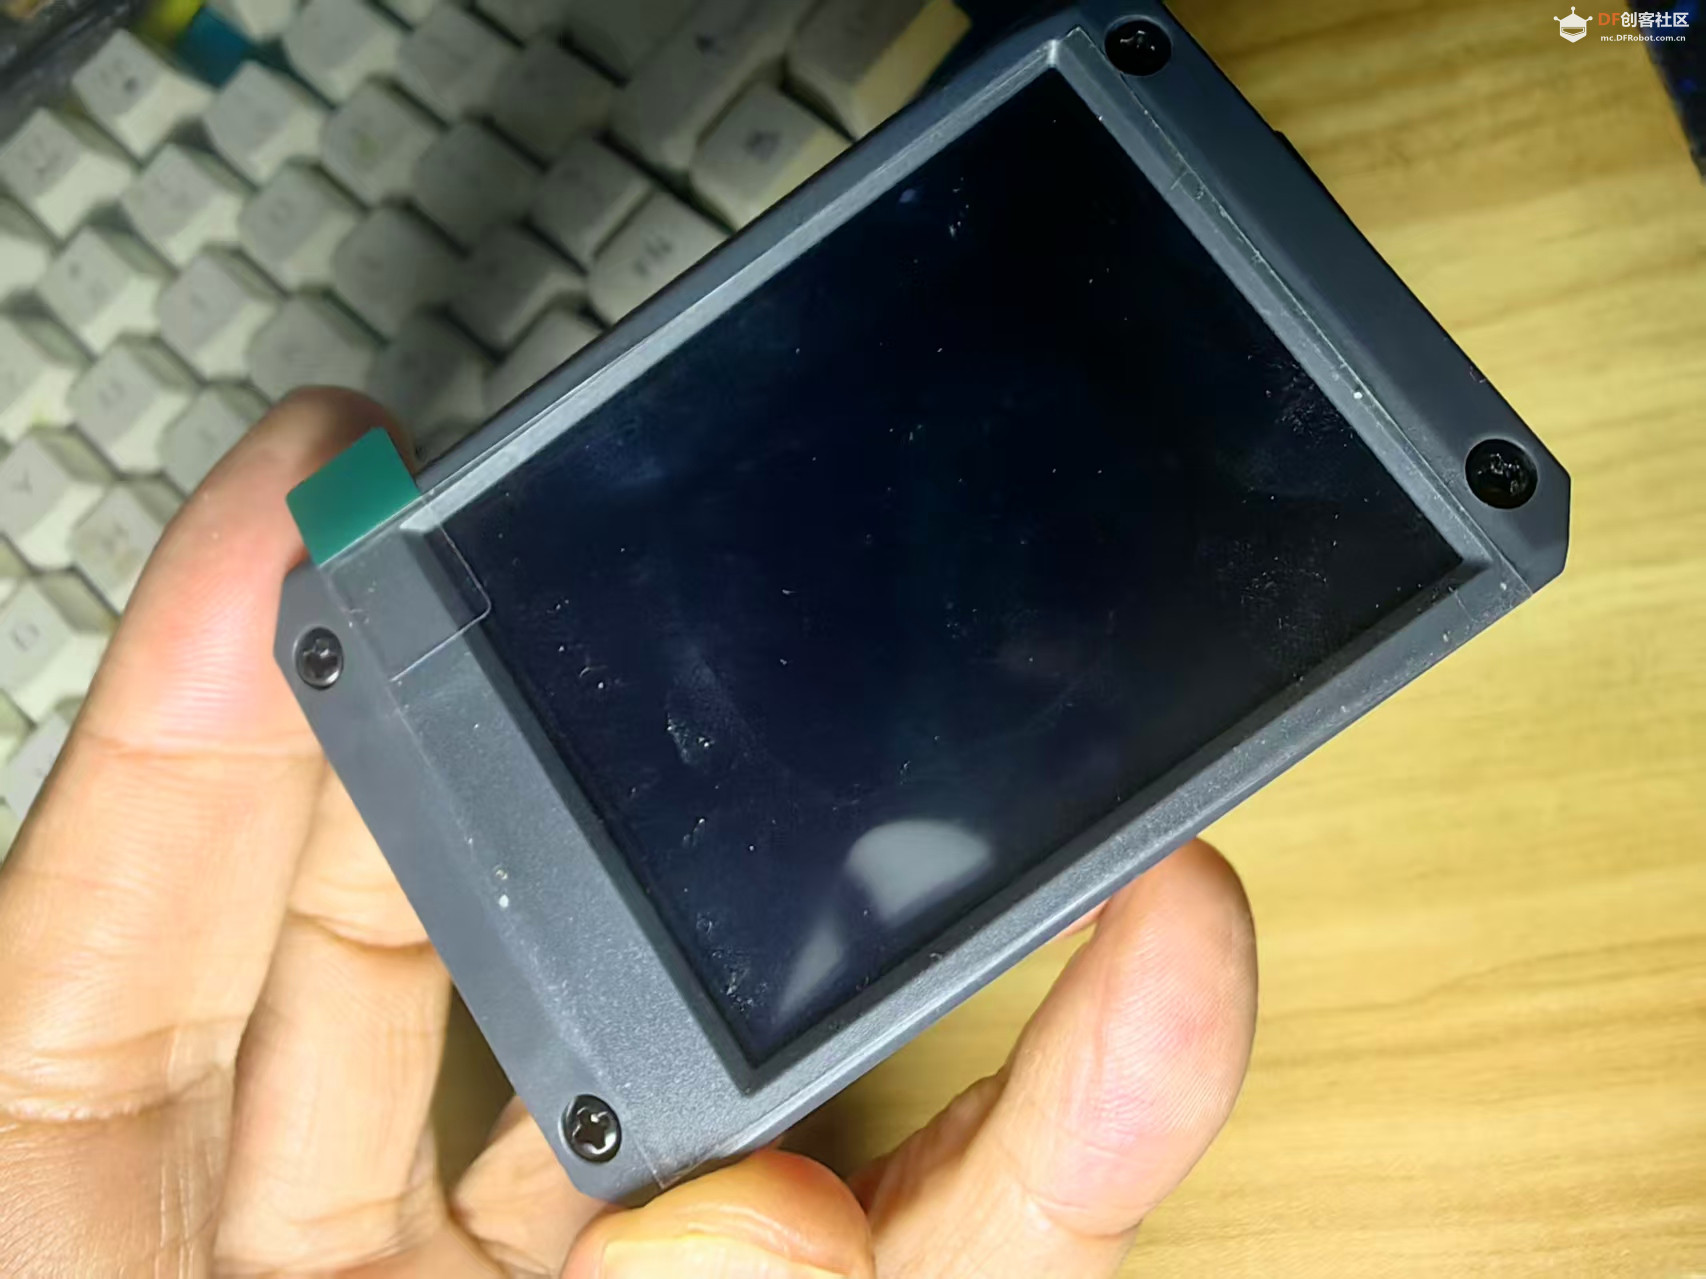
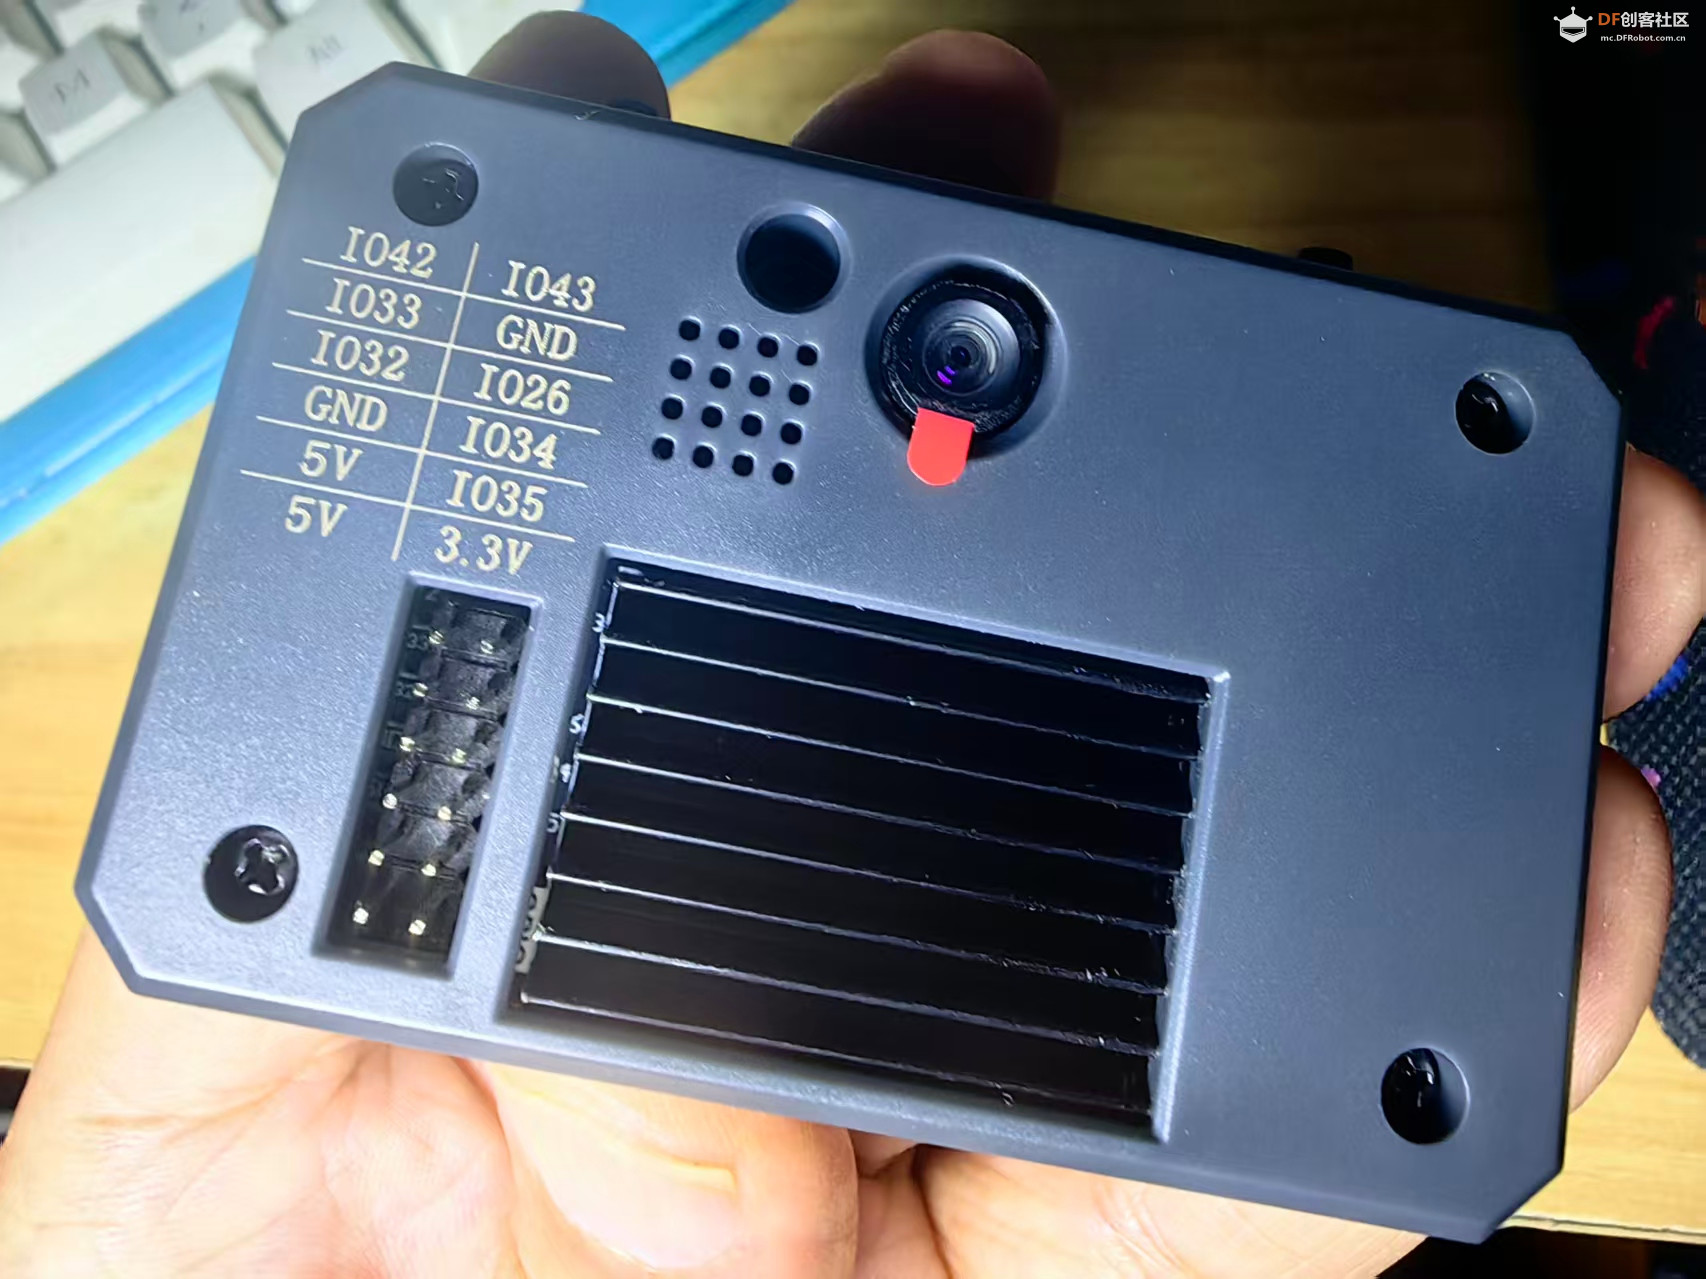
该程序运行在 K230 AI视觉模块上,使用 Micropython 编写,主要功能是:
加载人脸检测模型(.kmodel)
采集摄像头图像并进行预处理
执行 AI 推理识别人脸
绘制检测框并通过串口发送识别结果
在 LCD 屏幕上实时显示处理后的图像
1. 模块导入与初始化
程序首先导入了多个模块:
AI 模型相关:AIBase, Ai2d, nncase_runtime
图像处理与显示:PipeLine, image, media
数据处理:ulab.numpy, ujson, gc, sys
串口通信:YbUart, YbProtocol
后处理逻辑:aidemo.face_det_post_process
并初始化了串口通信对象 uart 和协议封装对象 pto,用于将识别结果发送到外部设备。
2. FaceDetectionApp 类
这是程序的核心类,继承自 AIBase,封装了人脸检测的完整流程:
构造函数 __init__
加载模型路径、输入尺寸、锚框、置信度阈值等参数
初始化图像预处理模块 Ai2d
设置图像格式为 NCHW(适配模型输入)
方法 config_preprocess()
设置图像的 padding(边缘填充)和 resize(尺寸缩放)方式
构建预处理流程,将摄像头图像转换为模型输入格式
方法 postprocess(results)
使用 aidemo 库对模型输出进行后处理
提取人脸框坐标、置信度等信息
方法 draw_result(pl, dets)
将识别结果绘制到屏幕上
使用 draw_rectangle() 画出人脸框
通过串口发送识别数据(x, y, w, h)
方法 get_padding_param()
根据模型输入尺寸与原始图像尺寸计算缩放比例
自动生成 padding 参数,保证图像居中对齐
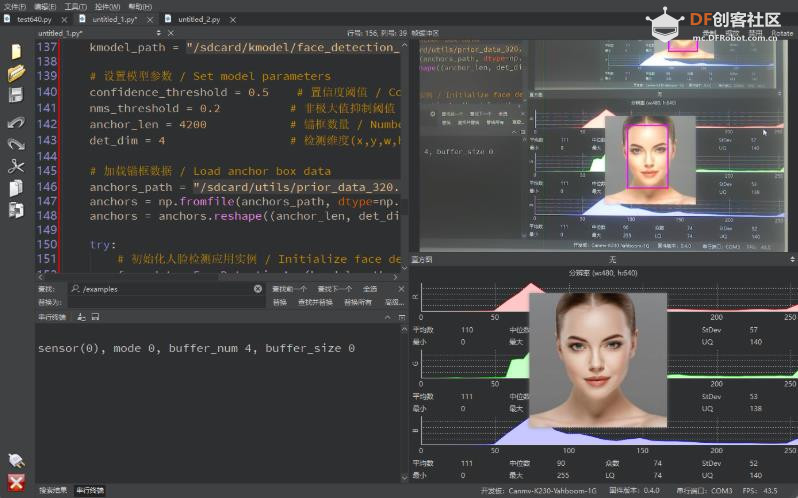
3. exce_demo(pl) 主执行函数
这是程序的主入口函数,执行以下步骤:
加载模型与锚框数据
从 TF 卡读取 .kmodel 和 .bin 文件
设置模型参数(输入尺寸、置信度、NMS 等)
初始化人脸检测实例
创建 FaceDetectionApp 对象
配置图像预处理流程
进入主循环
获取摄像头图像帧
执行模型推理
绘制识别结果
显示图像
进行垃圾回收与短暂延时
4. exit_demo()
程序退出时调用 face_det.deinit() 释放模型资源,避免内存泄漏。
5. 主程序入口
python
- if __name__ == "__main__":
设置图像尺寸与显示模式(如 LCD)
创建图像处理管线 PipeLine
调用 exce_demo(pl) 启动人脸检测流程
程序执行流程图
plaintext
[摄像头图像] → [PipeLine 获取图像] → [AI2D 预处理] → [Kmodel 推理] → [后处理] → [绘制结果] → [显示图像 + 串口发送]
实验串口返回情况
|


 沪公网安备31011502402448
 置顶卡
置顶卡 变色卡
变色卡 千斤顶
千斤顶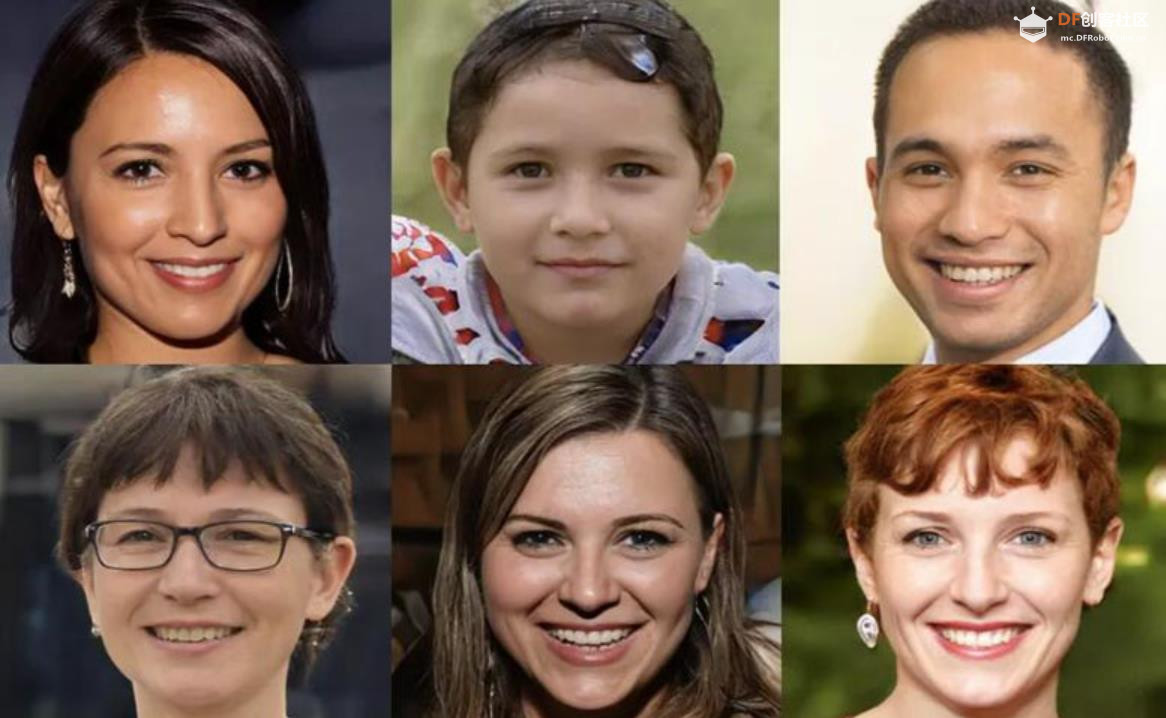


 萌萌哒新人
萌萌哒新人
 活跃会员
活跃会员
 宣传大使
宣传大使
 牛X认证
牛X认证
 创作达人
创作达人
 ARD DAY
 摸鱼团员
摸鱼团员
 志“童”道合
 编辑选择奖
编辑选择奖


